Building a weird lamp (Pixelcube Part 2)
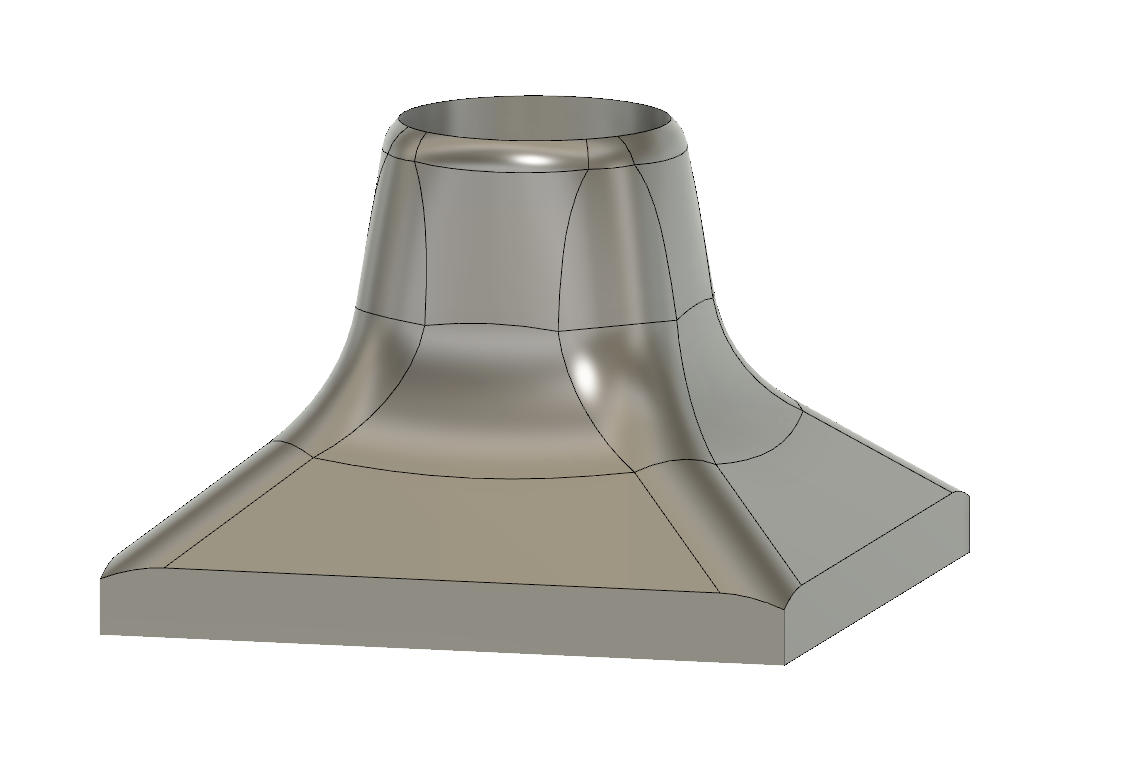
I needed a way to test my setup and have something small visible when i work on the Pixelcube in order to see what sort of mounting will work for all this. Since I already had all material needed to build a small one off project I started Fusion 360 and started sketching. The point of this was also to get more familiar with Fusion 360 for the other sketching, i understood the basics prior but there were a lot of “workflow” related approaches i needed to experiment with in order to get to a point where i could build the other parts faster.
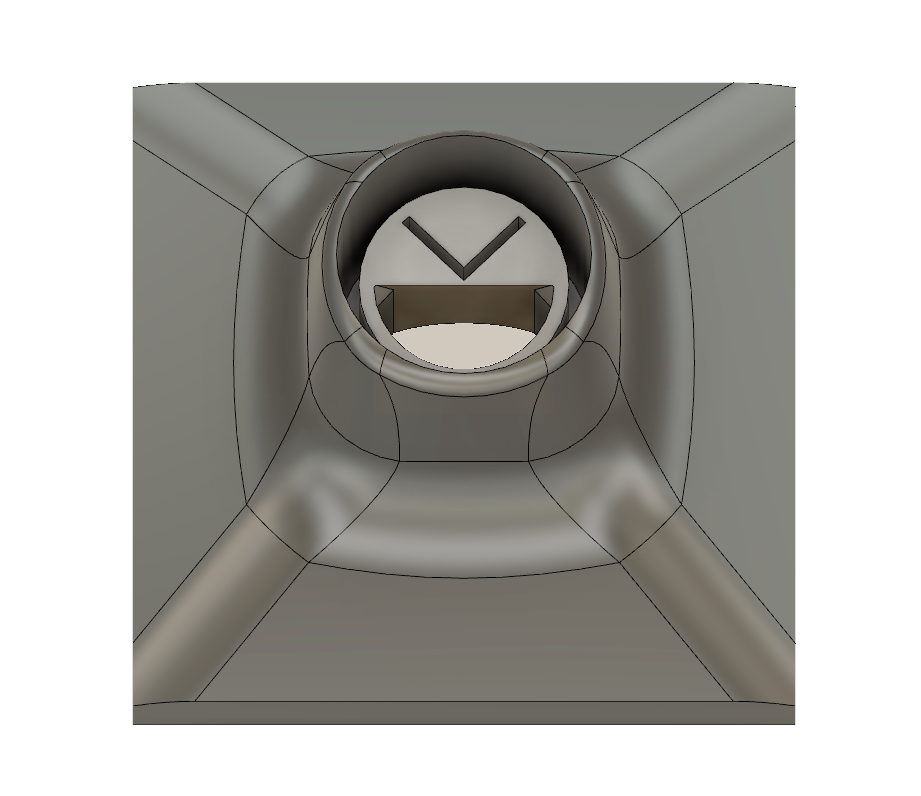
In order to mount the rod, there needed to be a solid base that could hold the PixelBlaze controller. It also needed to hold the L angle on which the LED strips were to be mounted, something I solved by drawing out a 45 degree angled L in the print.
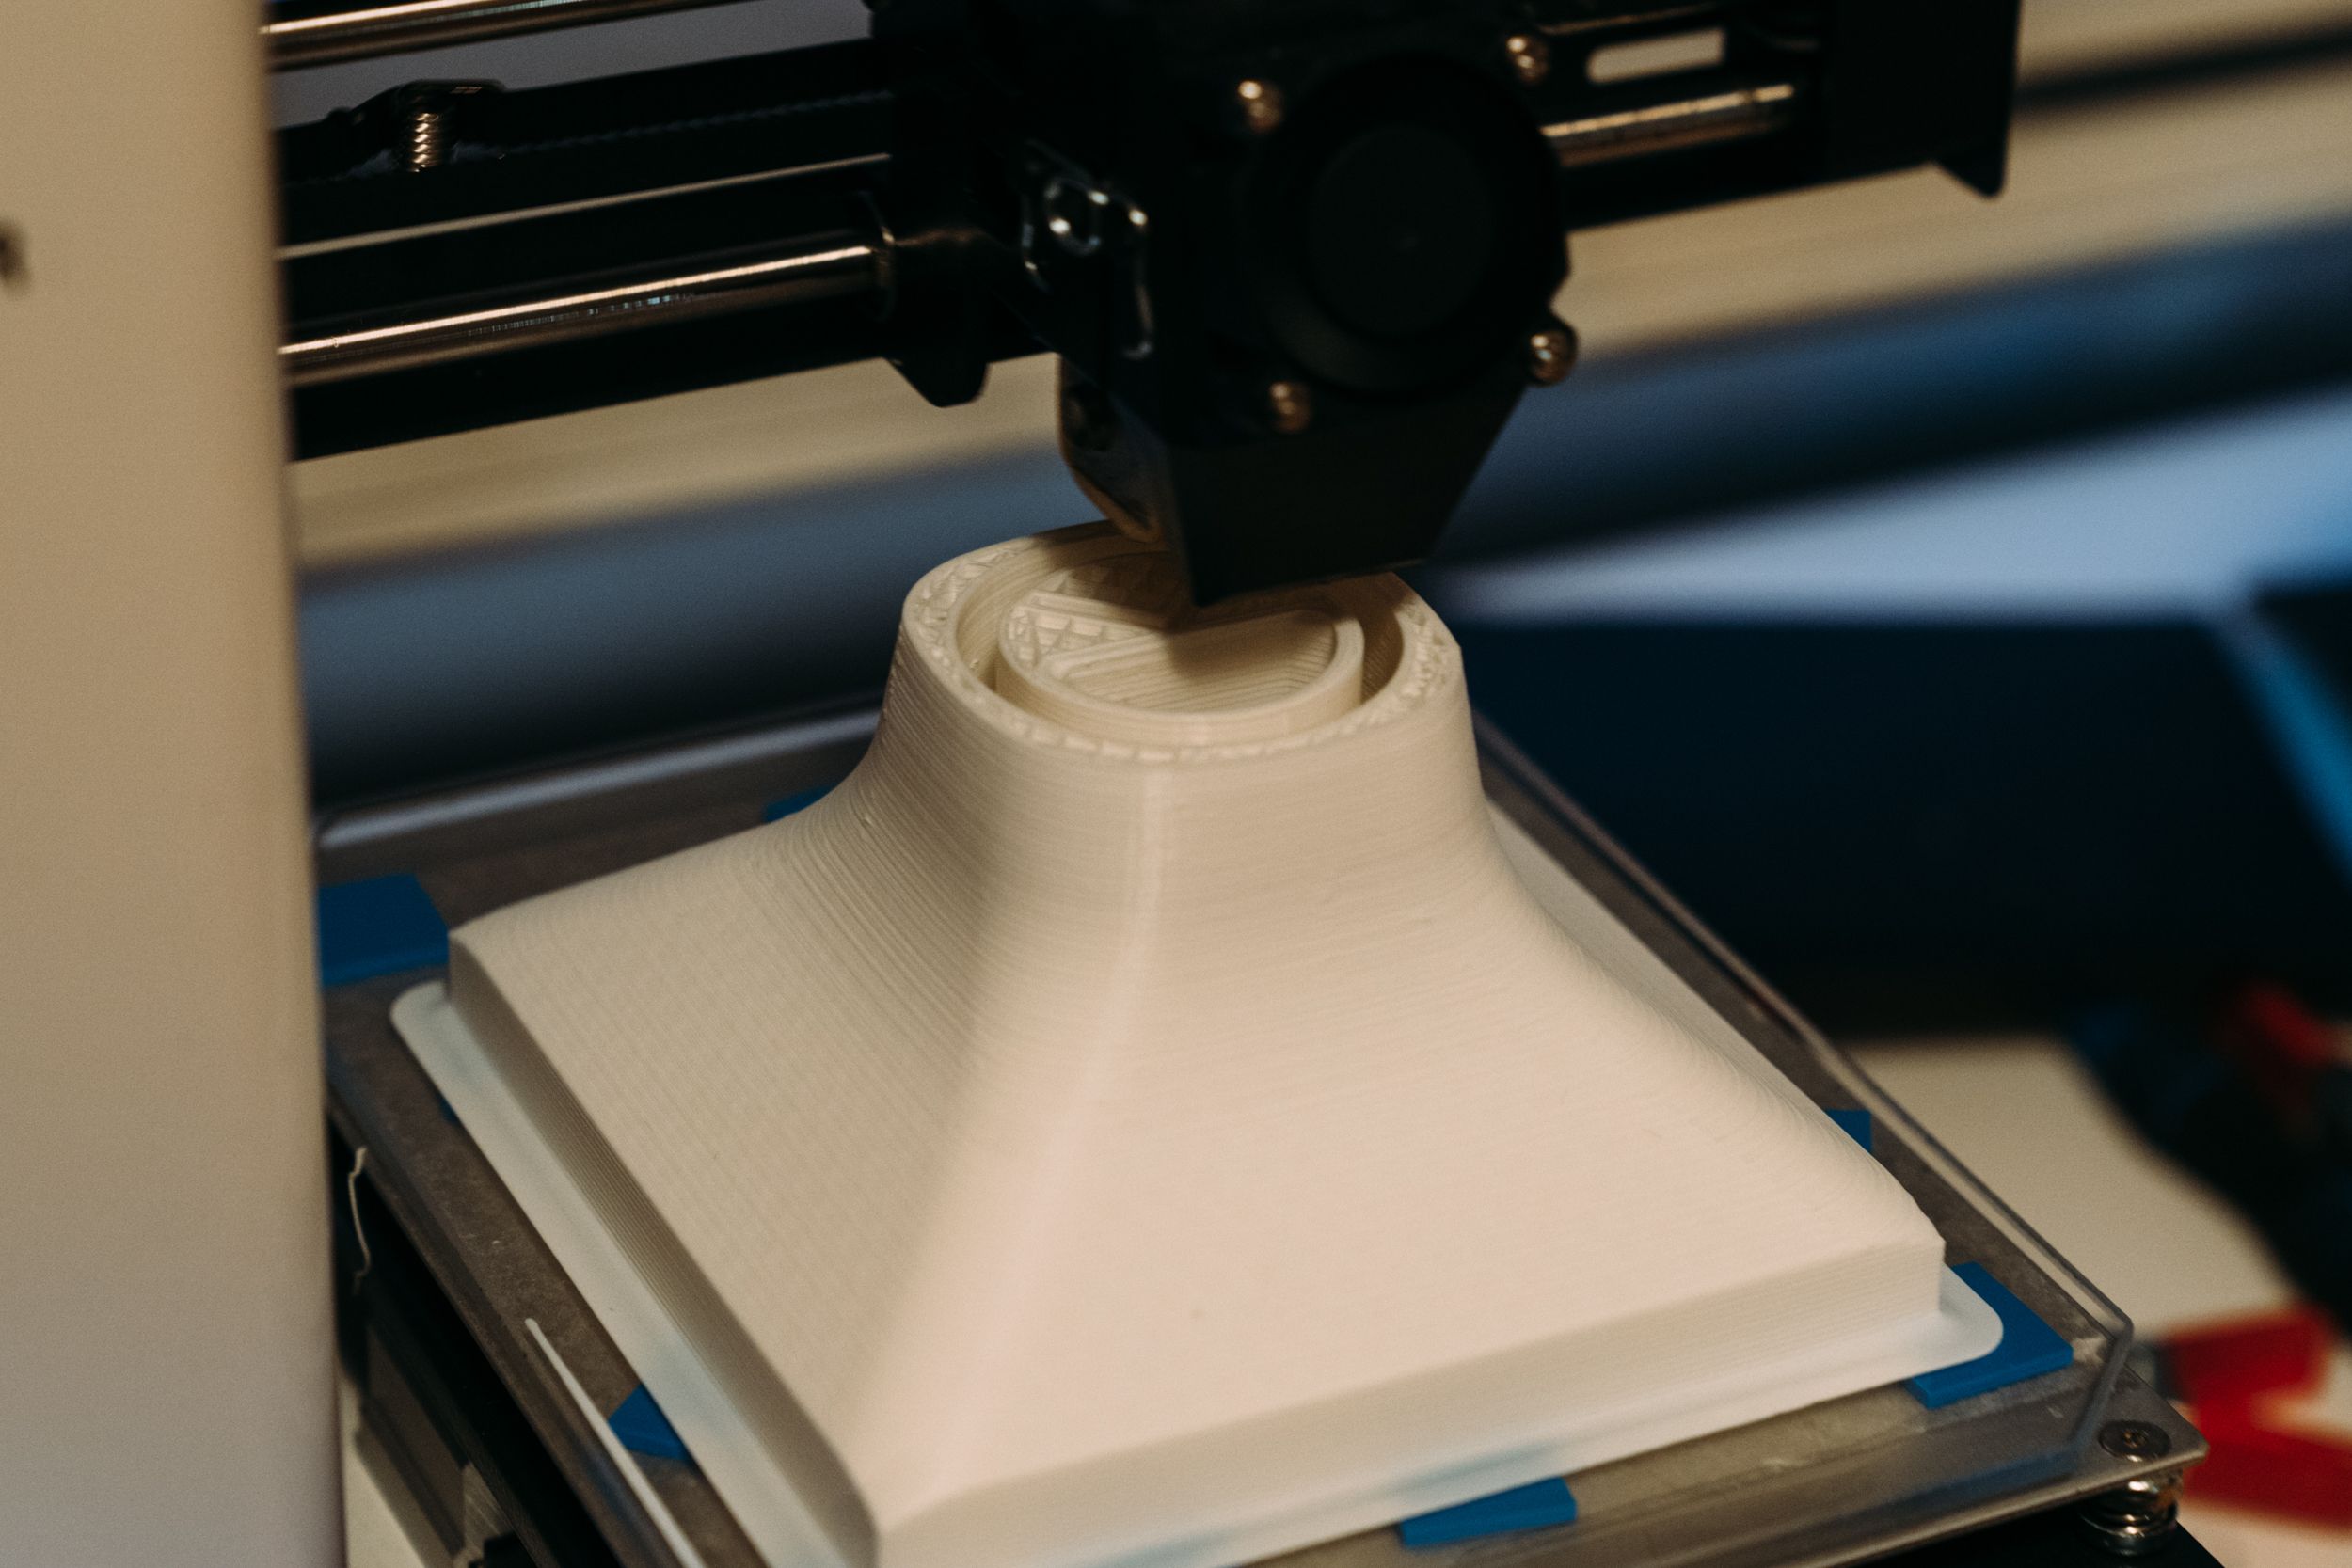
The fascinating thing about 3D printing is how the 3D printer doesn’t do any smart operations at all. It follows orders in a large text document on where to move the nozzle and how much to extrude. All the smart layouting is done by the “slicer” which divides the model into “layers” that can then be printed. The slicer also understands where it needs to build supports and how it should build the project up in the most optimal way. Down below is a video of they layers that CURA sliced for me.
Printing this foot took 10 hours and 13 minutes. The printer I’m using (Monoprice MP Select Mini 3D Printer V2) isn’t the fastest so I’m sure this could have been done much quicker with a faster printer.
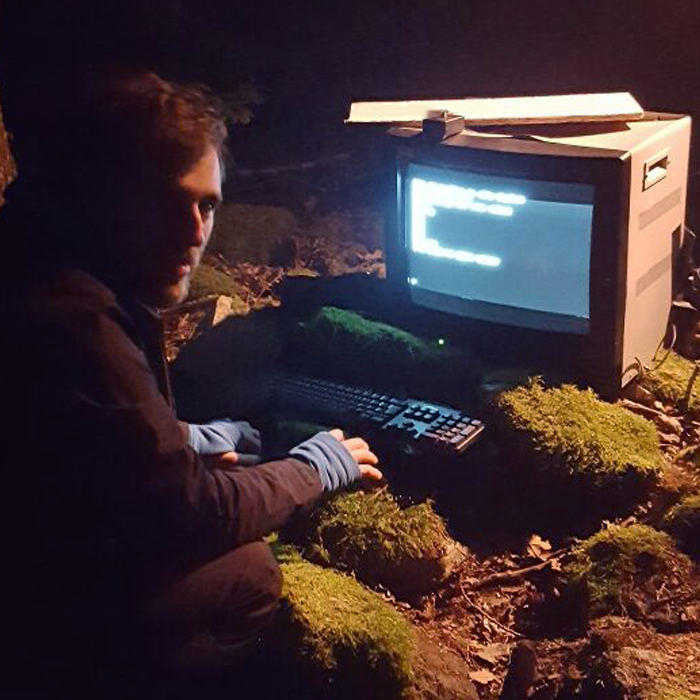
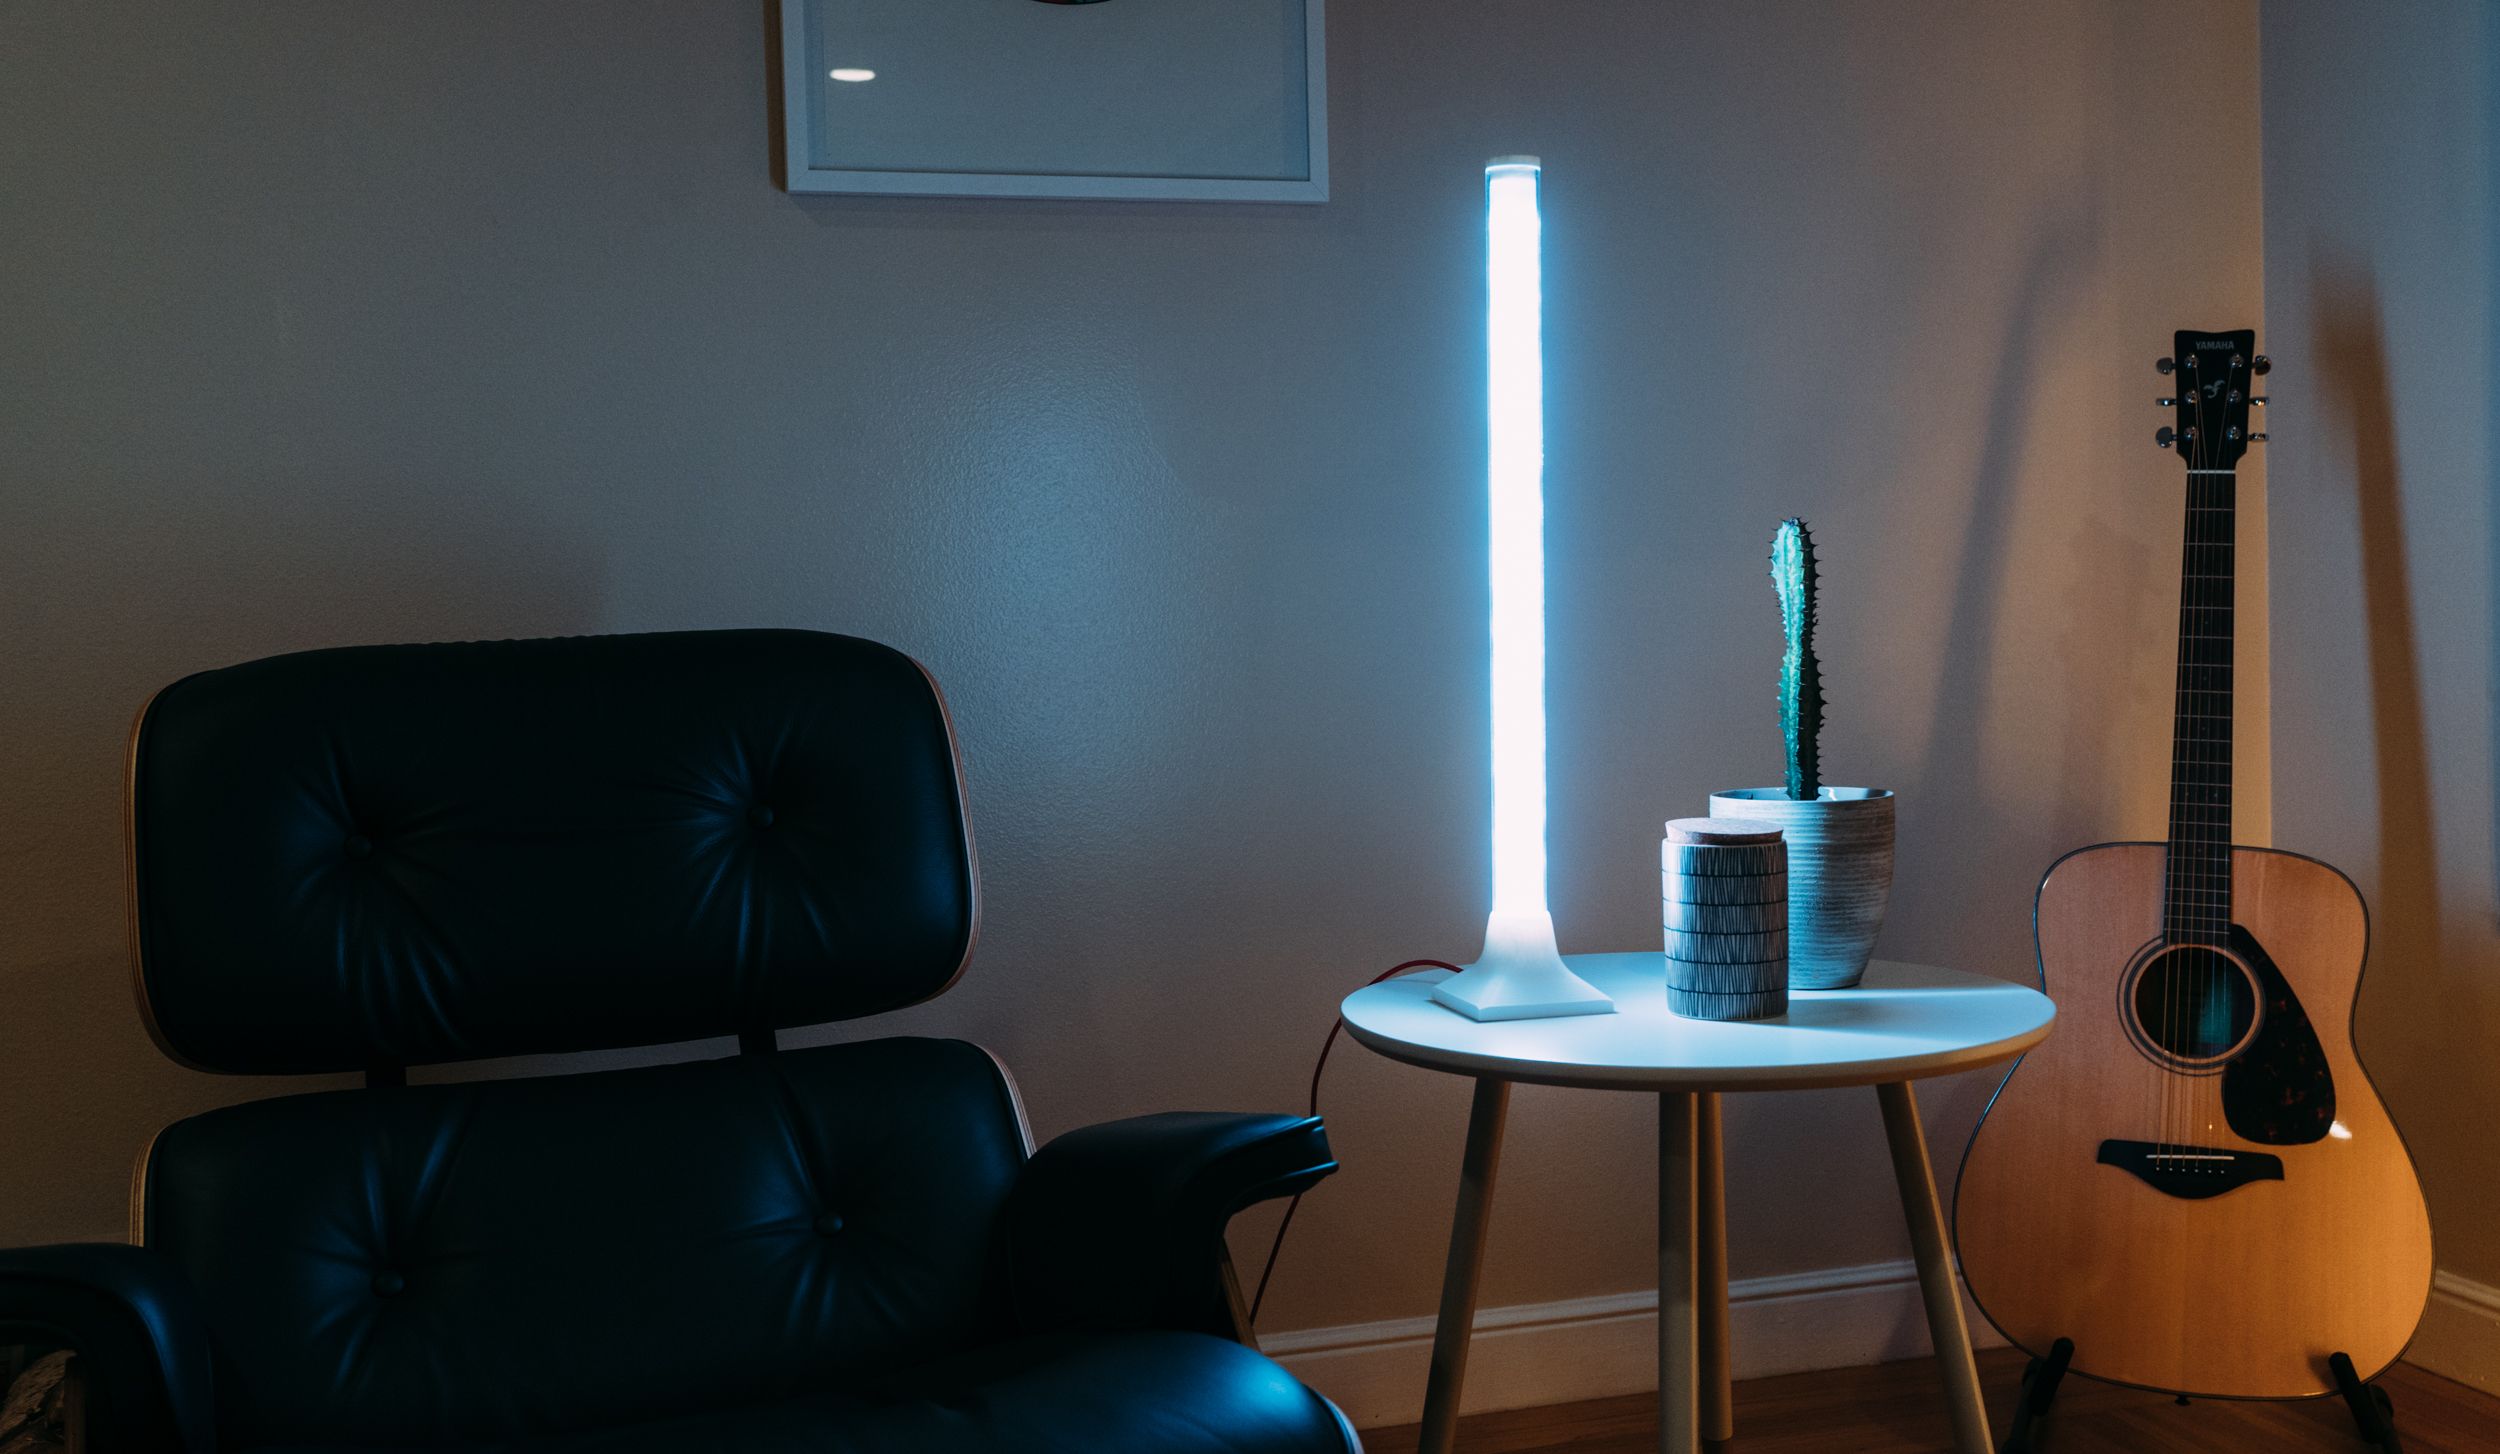
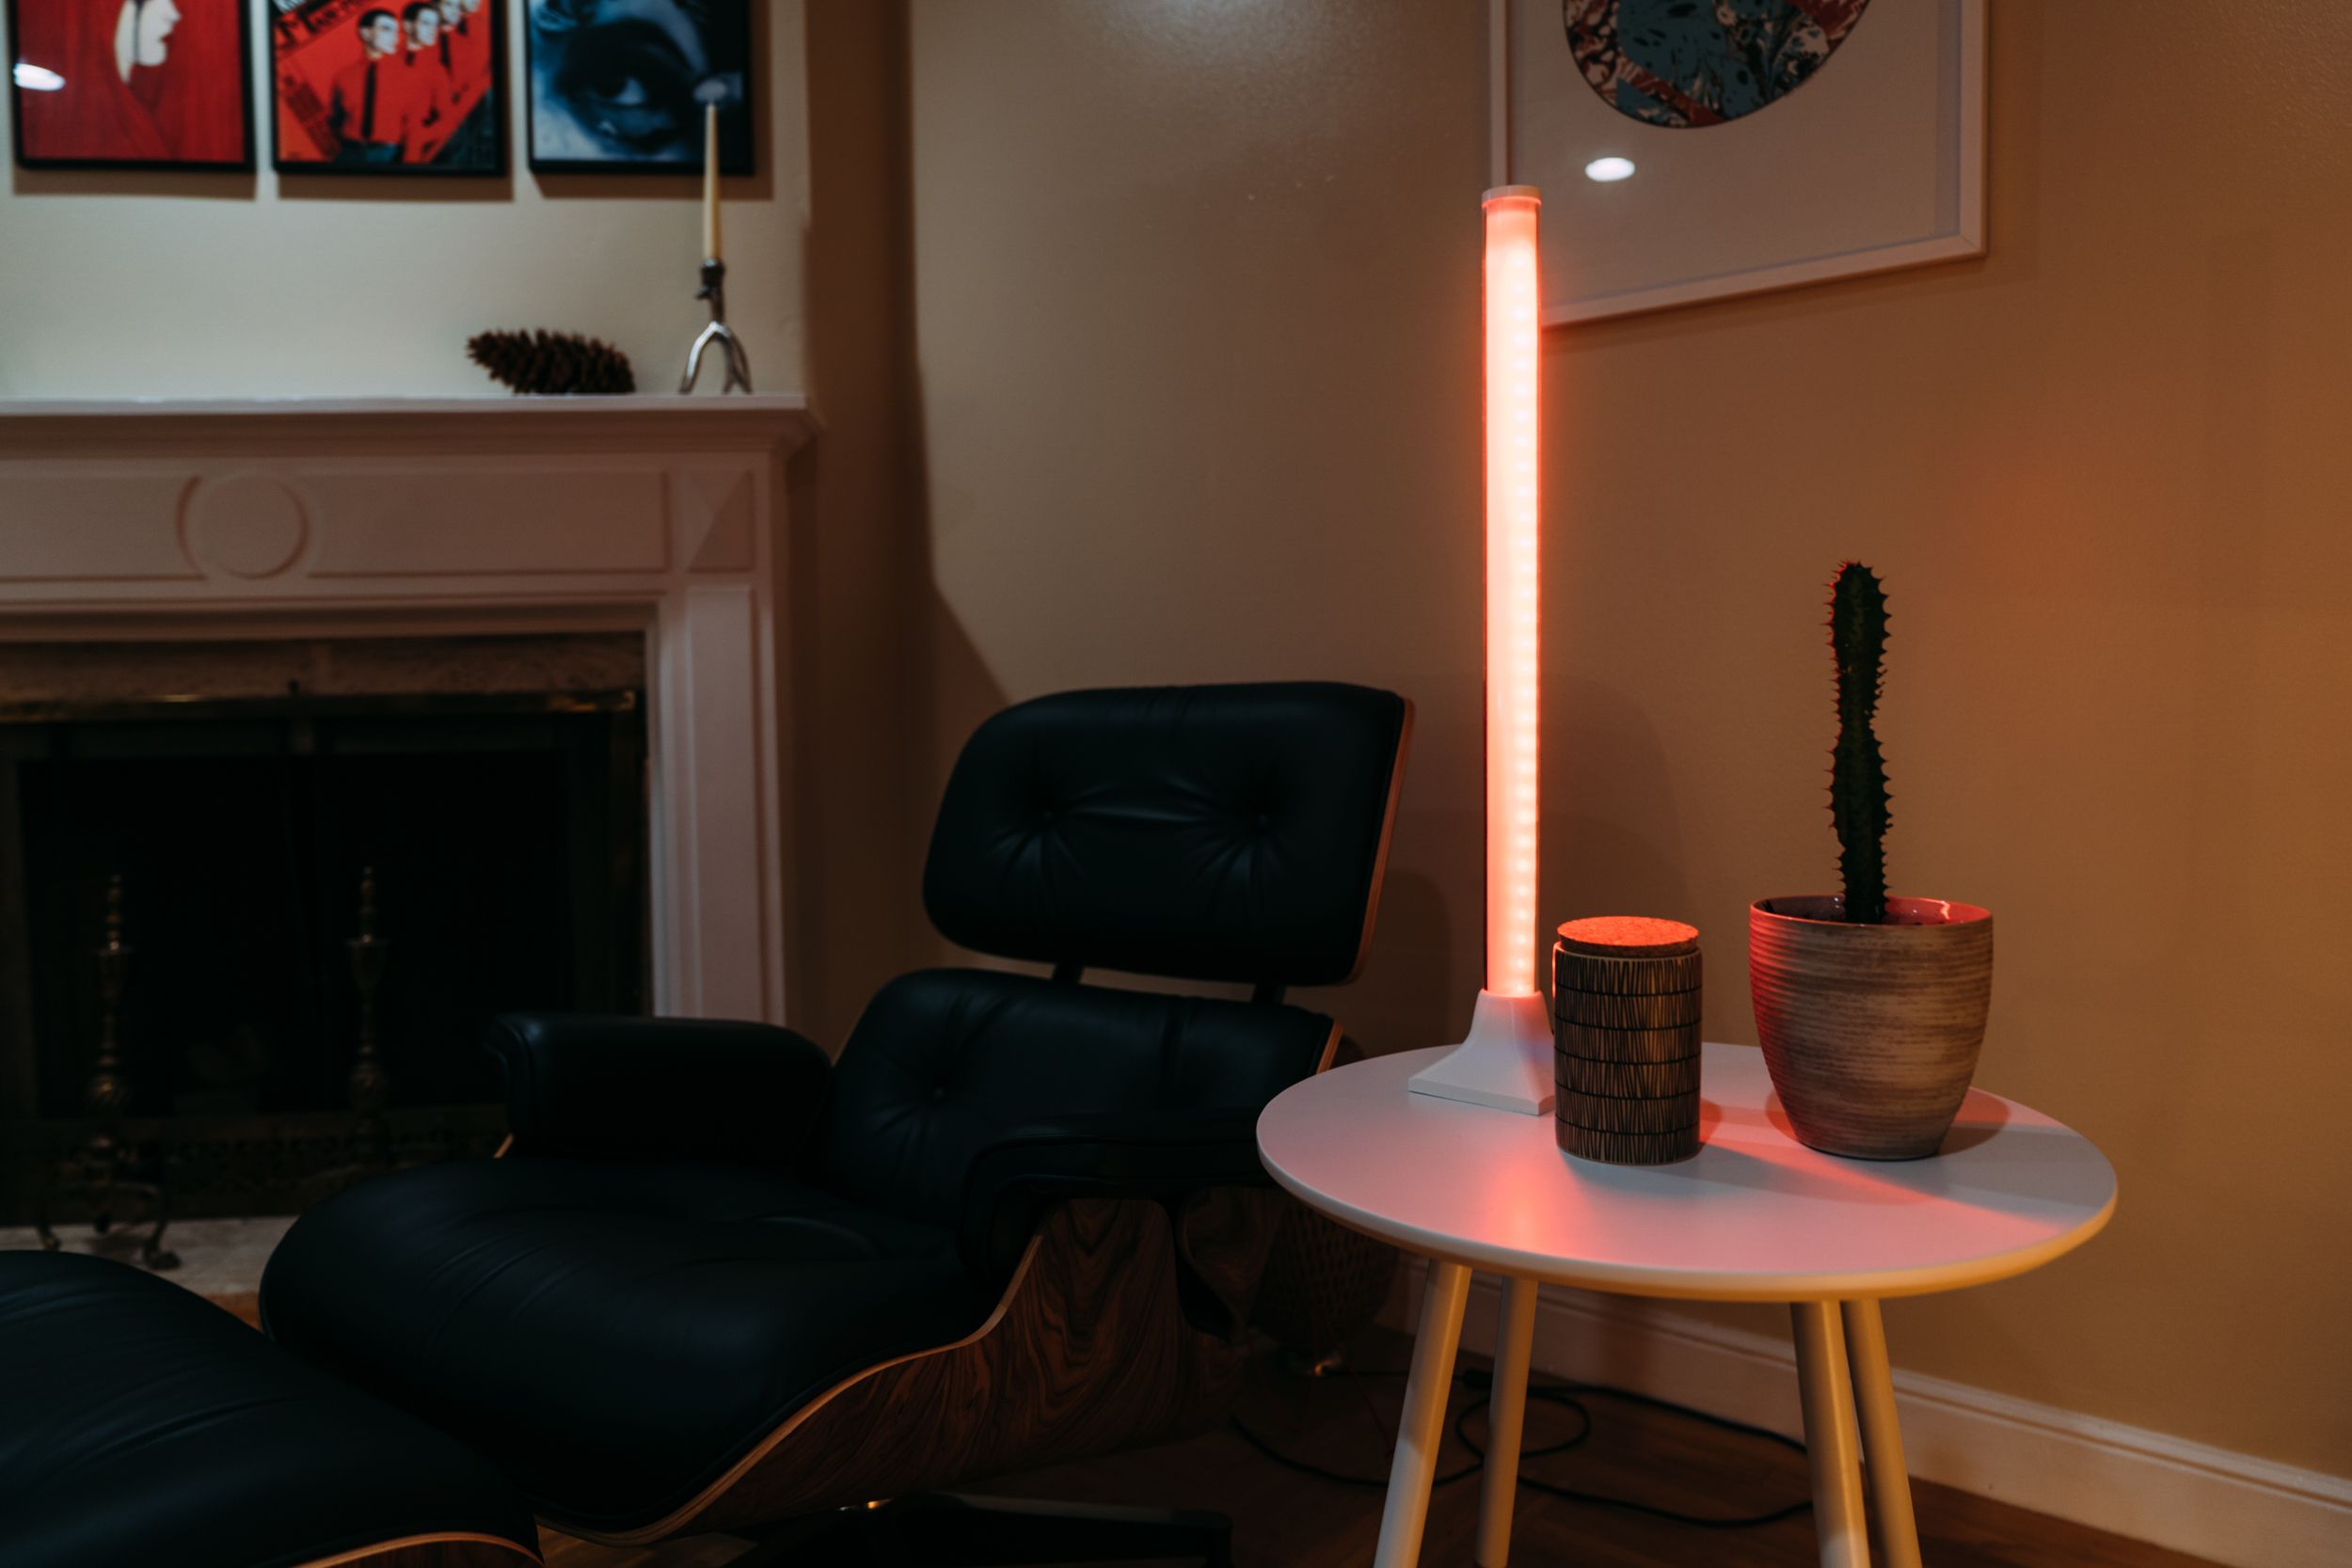
Soldering it all together and connecting the Pixelblaze ended up looking like this, which is a fair lamp, being built only from spare parts.
So with all this done there’s a couple of things i need to figure out for the Pixelcube:
How do I mount the LED strips in a better way, stripes turned out to take up to much real estate within the rod. Is there a better way that’s smaller? Can i use electrical tape?
The L angle mounting system works well. I need to tweak the measurements of the angle to fit better within but the general approach is solid so far. This is an appreciated positive development of this project.
Soldering the APA102 LED’s is going to be pain and suffering. I need to order connectors ASAP and start solder the MOLEX as possible.