Dazed & Blazed (Pixelcube Part 5)
Been a while since I wrote an update about this project. Lot has happened in life which is why this post has been postponed a bit. Traveled a lot for work and managed to catch the flu on one of these trips which had me spending a lot of time at home, playing RDR2.
Last post talked a bit about drilling but at that time I still hadn’t figured out how to fit all the electronics within the cube. One of the design goals is to have no visible wires except for the power/signal feed coming in at one of the sides. This means that all the power distribution has to happen inside the cube. Since the space and the AWG cable requirement is so high it was impossible to just do this the simple way. Everything has to fit in that tiny 3 way connector which meant that most of the connectors had to be perfectly flush with the 3D printed ends.
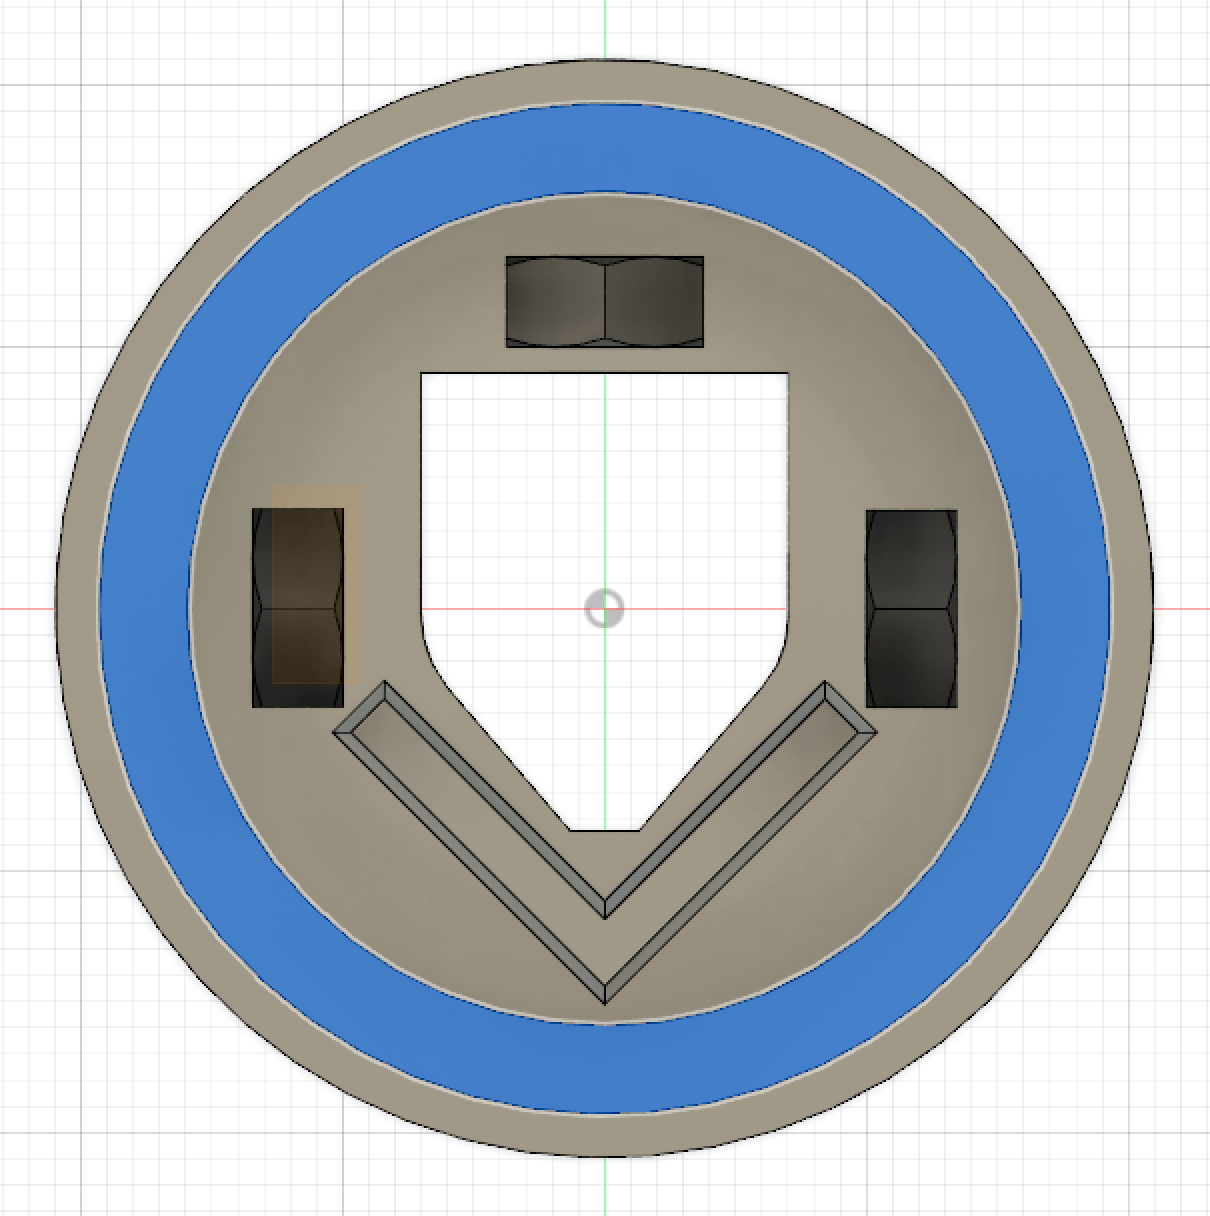
The blue outlined part representes the acrylic tube, meaning the inner diameter is about 31,5mm. Within this diameter, the aluminium profile, passthrough data cable, power cable and LED strip has to fit with junctions and soldering + the MOLEX connector that connects with the other tubes. In order to get this right i tapped the knowledge of 2 good friends who happened to be in San Francisco, Love and Pajlada once again spent a day with me to bounce ideas on how to build this.

What we ended up deciding on was that the power rail cable would be crimped separately in the MOLEX connector, then there would be a soldered junction in parallel with the power rail that branched out to the LED strip from both directions in order to ensure that there would not be a voltage drop which causes less intensity. The signal passthrough would be fixated using hot glue to the aluminium angle.
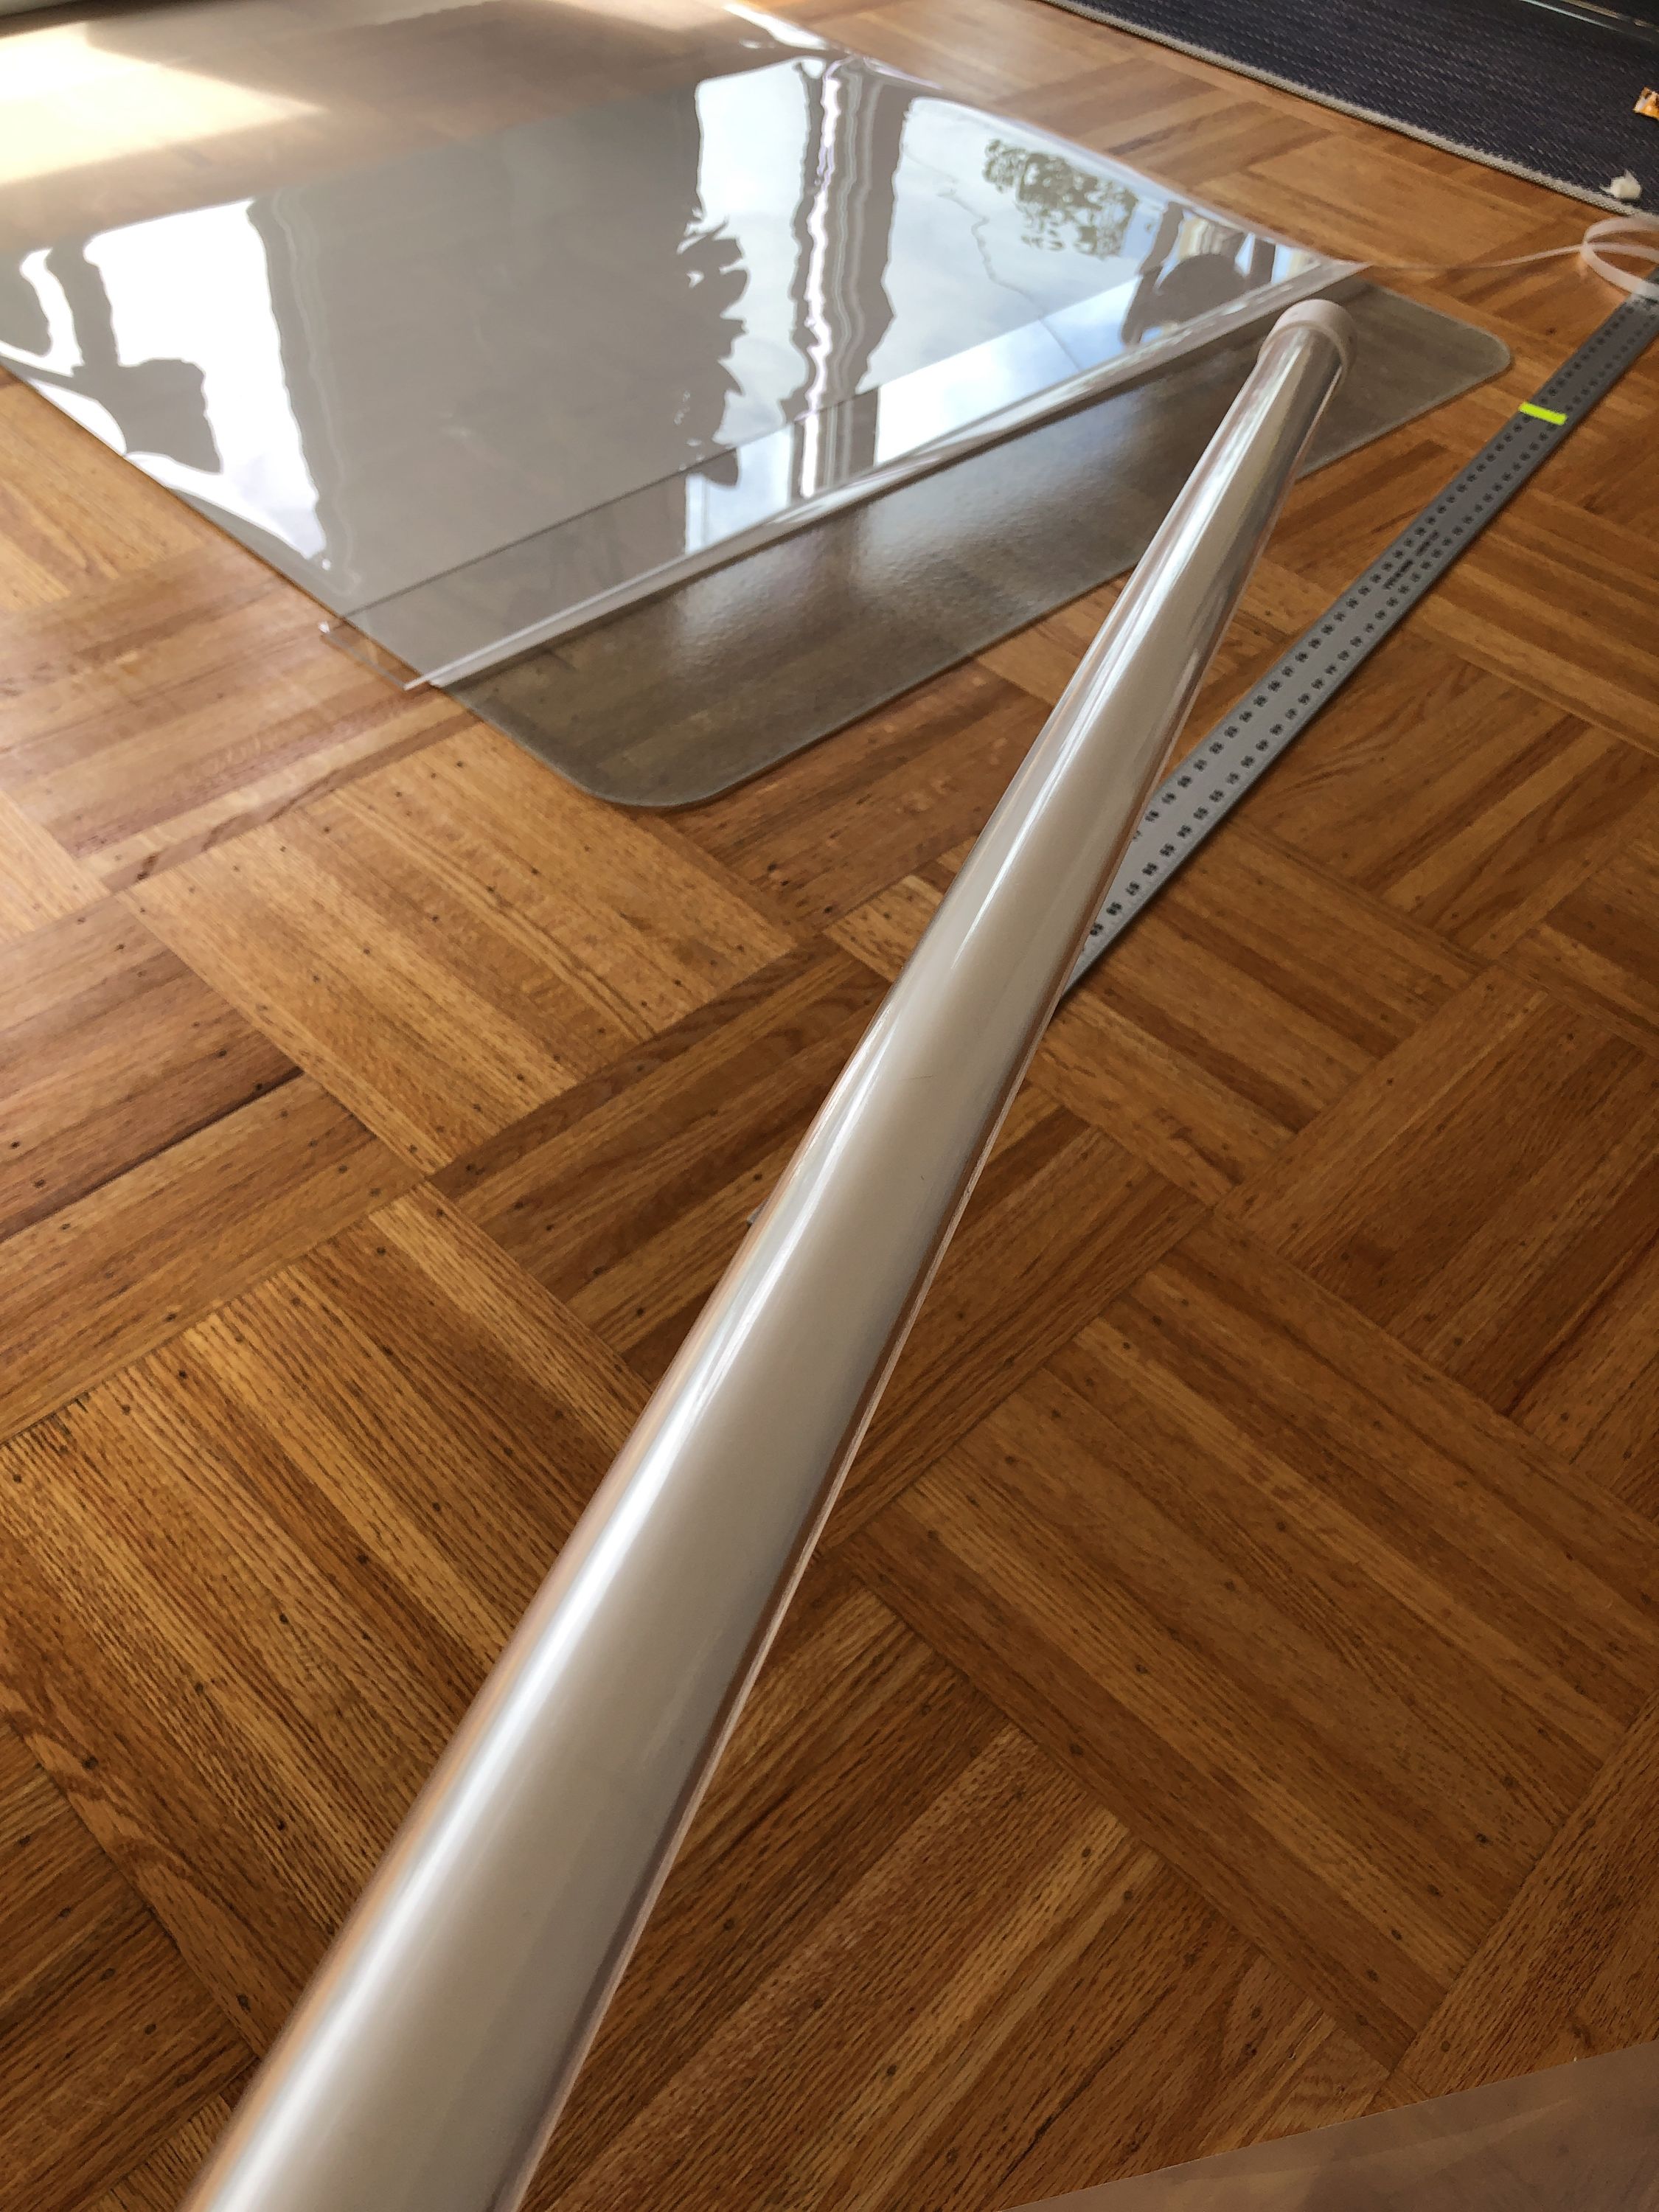
Next up, the diffusion film that goes inside of the tubes had to be inserted. Since the diameter is 31,5mm and this film isn’t made to be rolled it was quite a challenge to insert this film without damaging it and creating crevasses in the film. What ended up working is using a round wooden stick on which the film was first rolled up onto, pushed into an acrylic tube and expanding onto it’s shape inside the acrylic tube. Since I once again went too far with my perfectionism I wanted the seem to be invisible, this however meant that the cut between the 2 rolls of film had to align perfectly, so cutting this had to be very exact. Luckily I had just the solution for this.
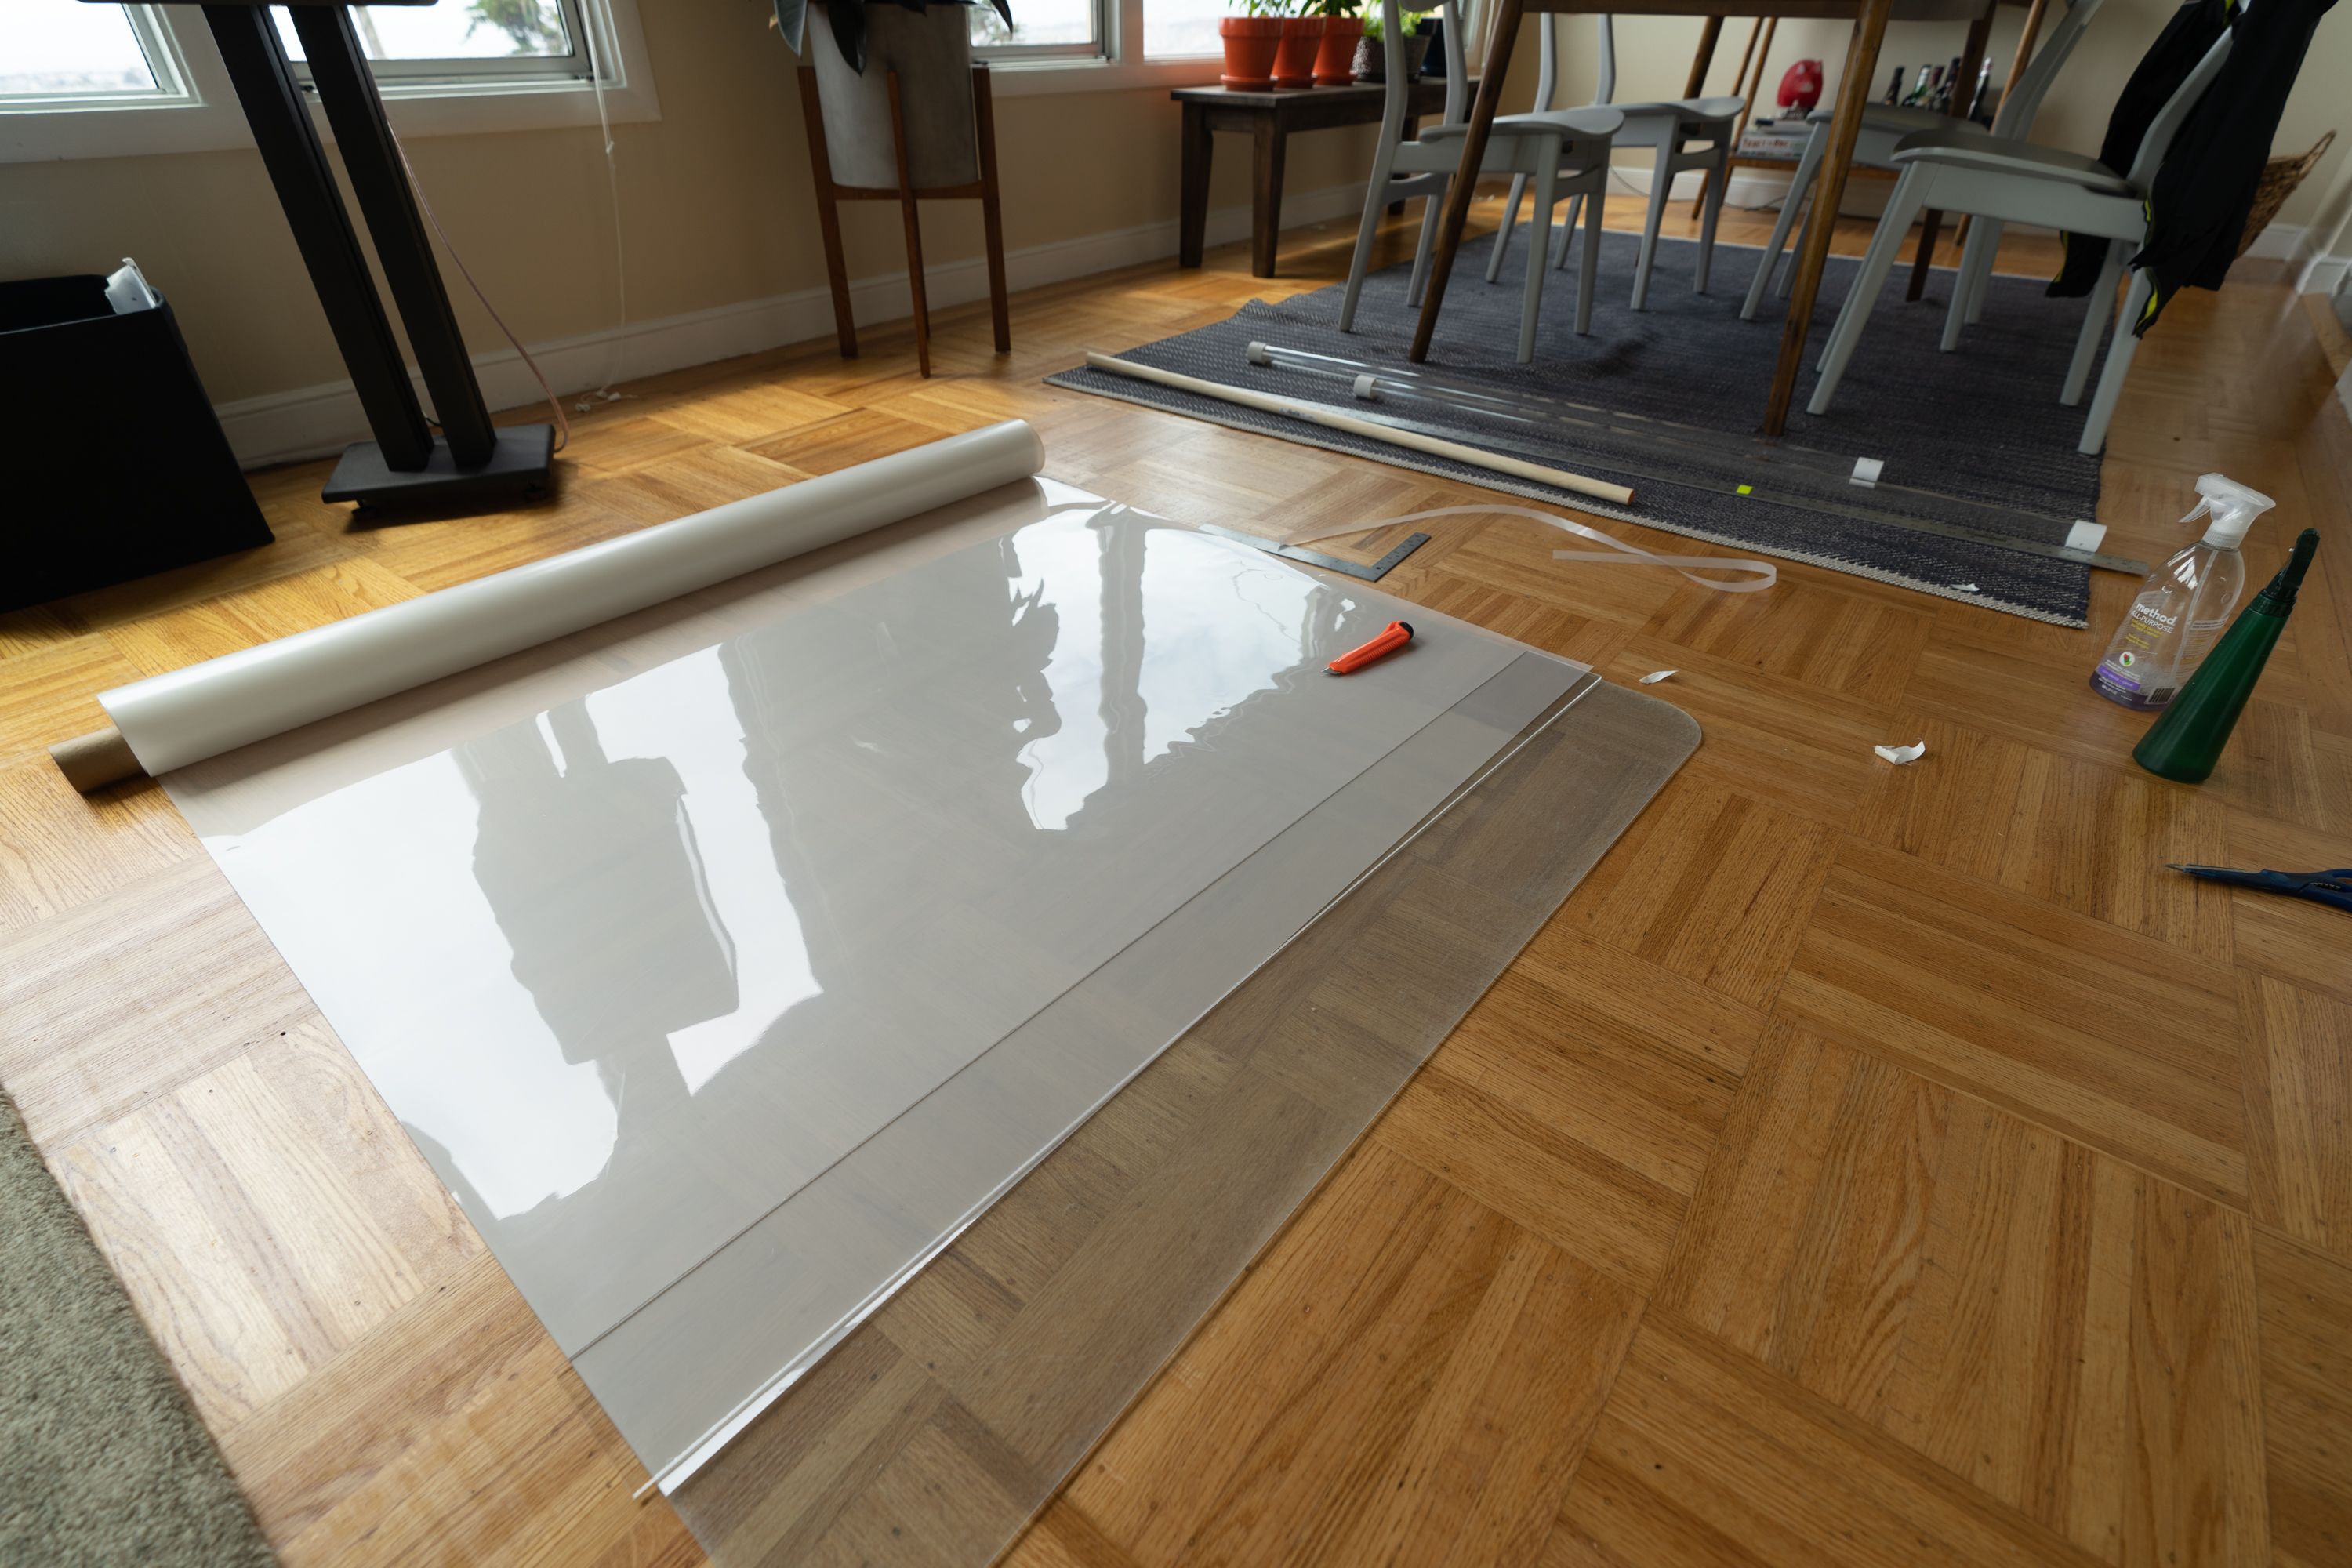
It turns out you can use one of these plastic mats from IKEA designed for office chairs to not damage the floor as a cutting board, couple this with some 3D printed measurement brackets and a laser cut acrylic template, it was easy to cut these up and fit them into the tubes. You can see the nice effect that becomes when the diffusion is inside of the tubes rather than outside, as the acrylic tube creates a certain glossy depth.
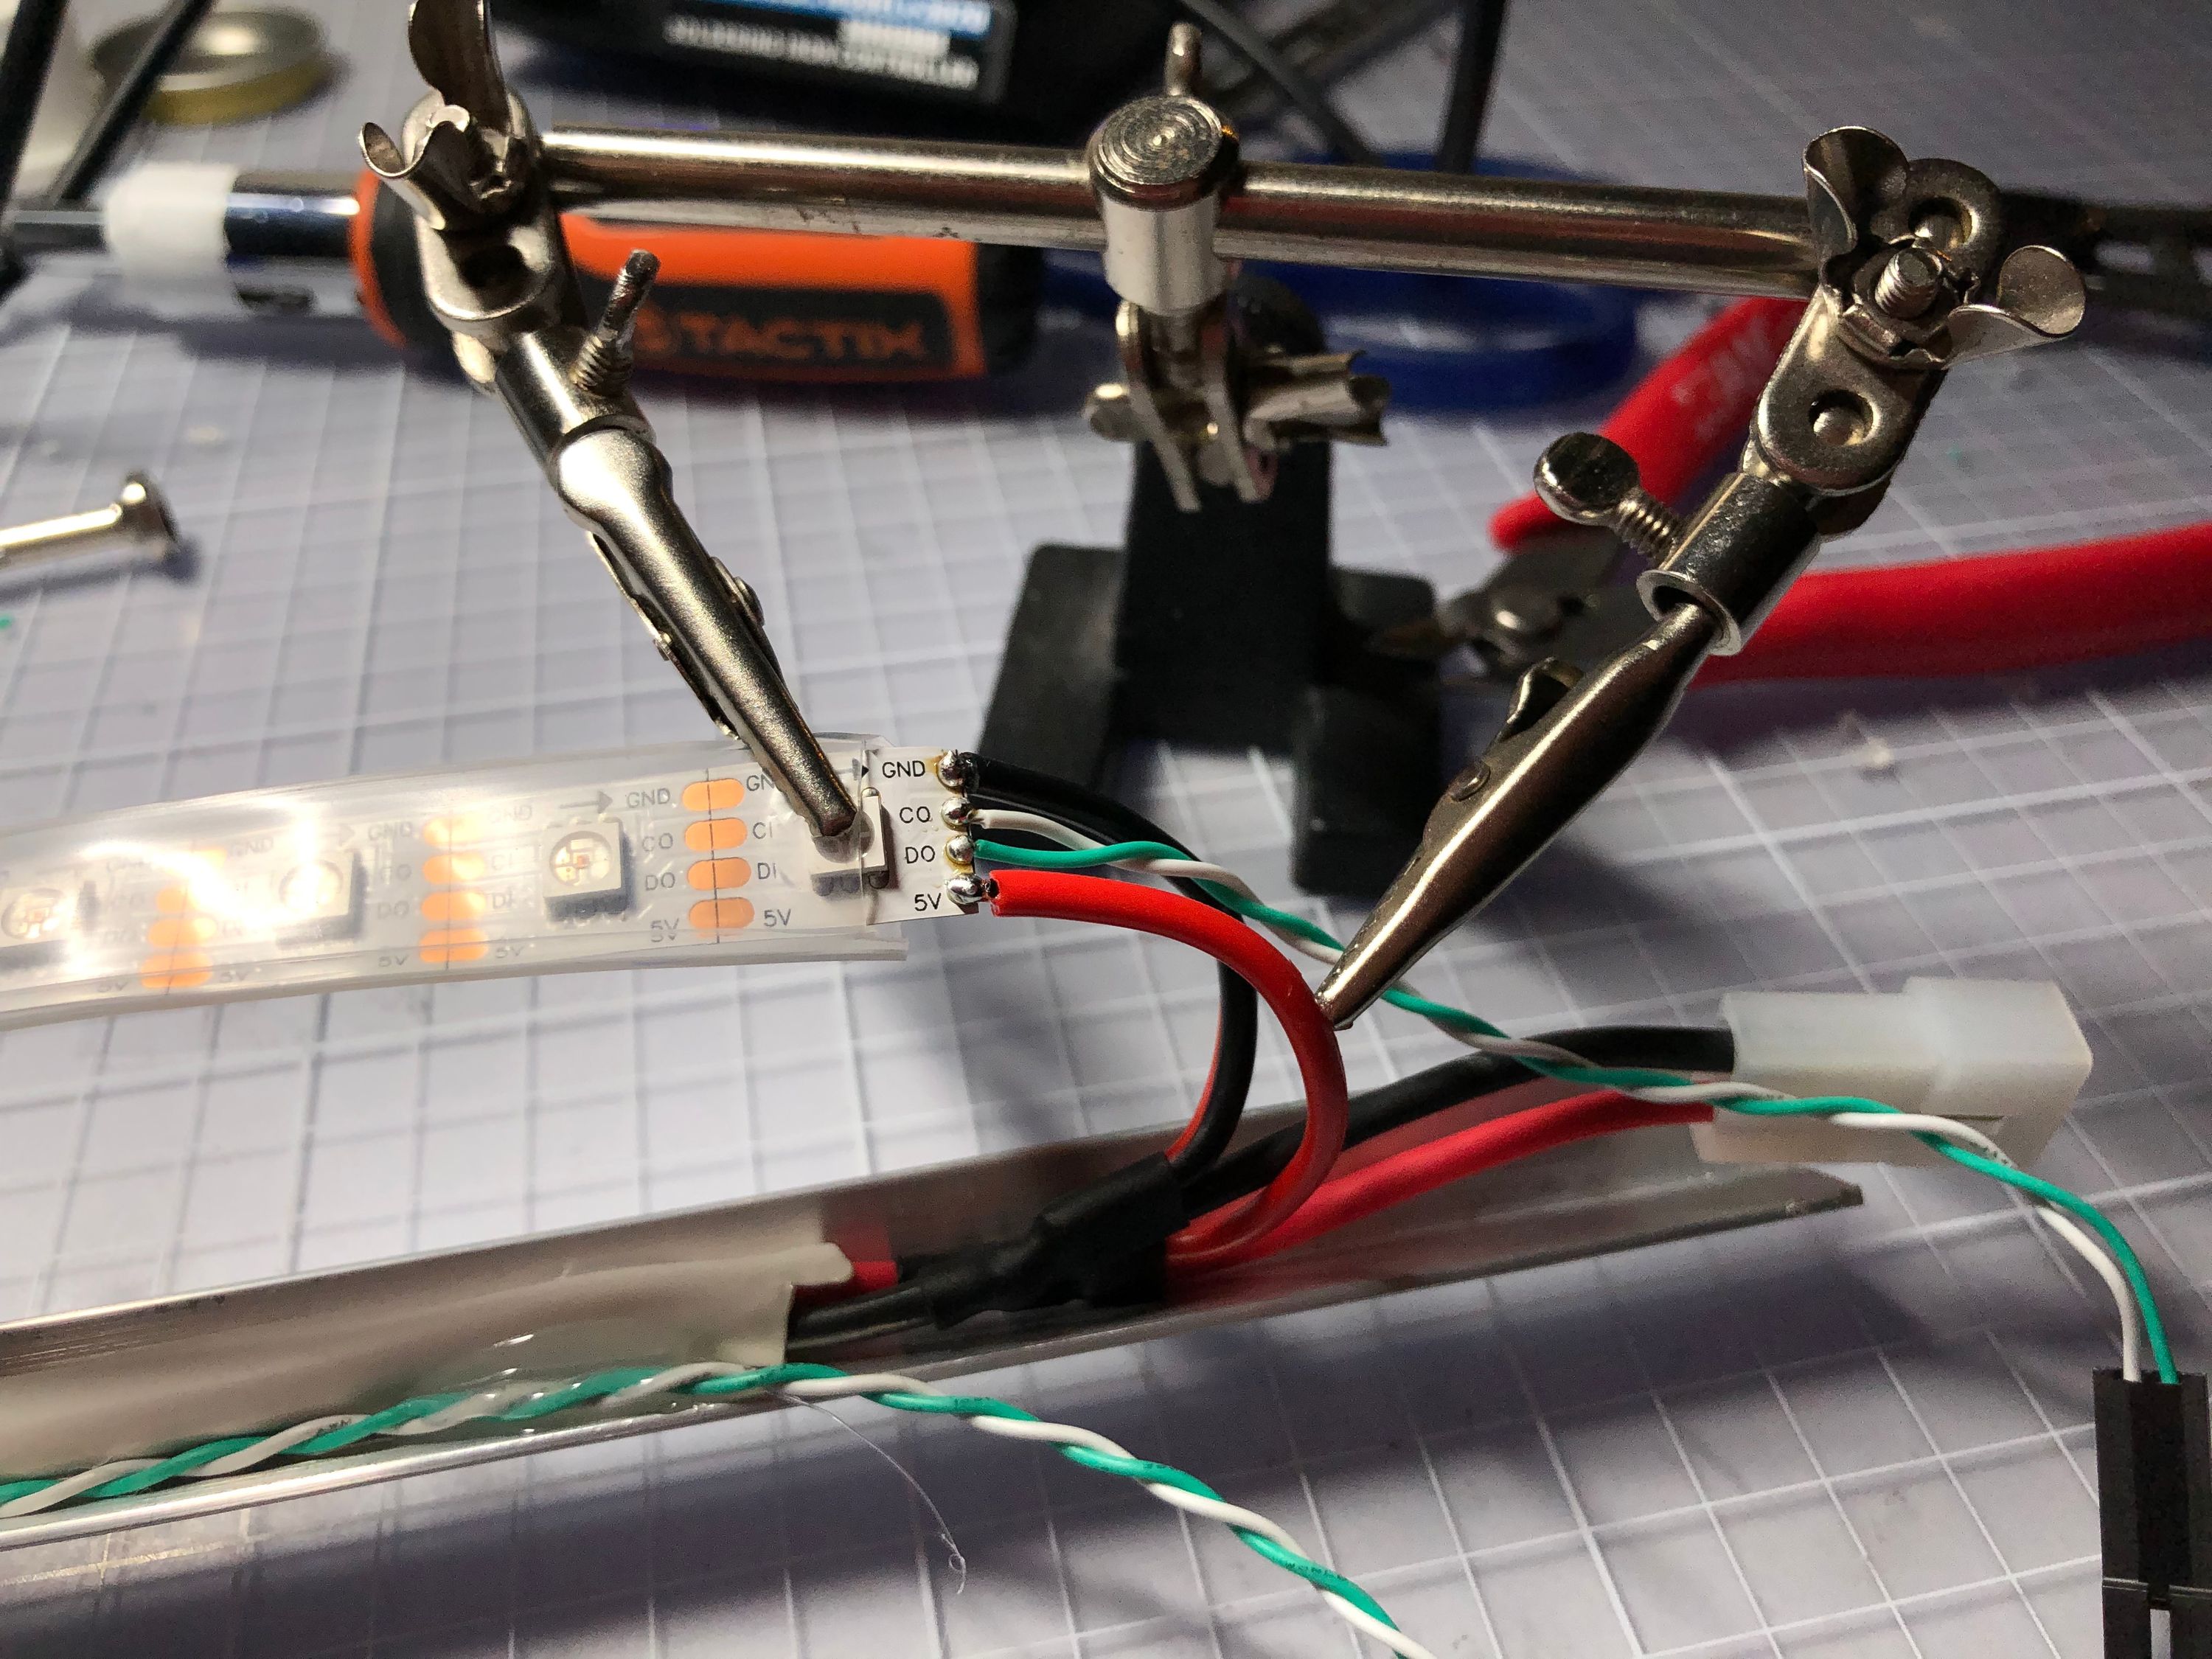
Lots of time was spent soldering these together and fixating the LED strip onto the structural bracket. The neat thing about the bracket is that it reflects a lot of the light so the result is a very even light distribution. This picture also shows the passthrough and the exiting power cables from the rail in more clearly, this allowed the result to be very flush.
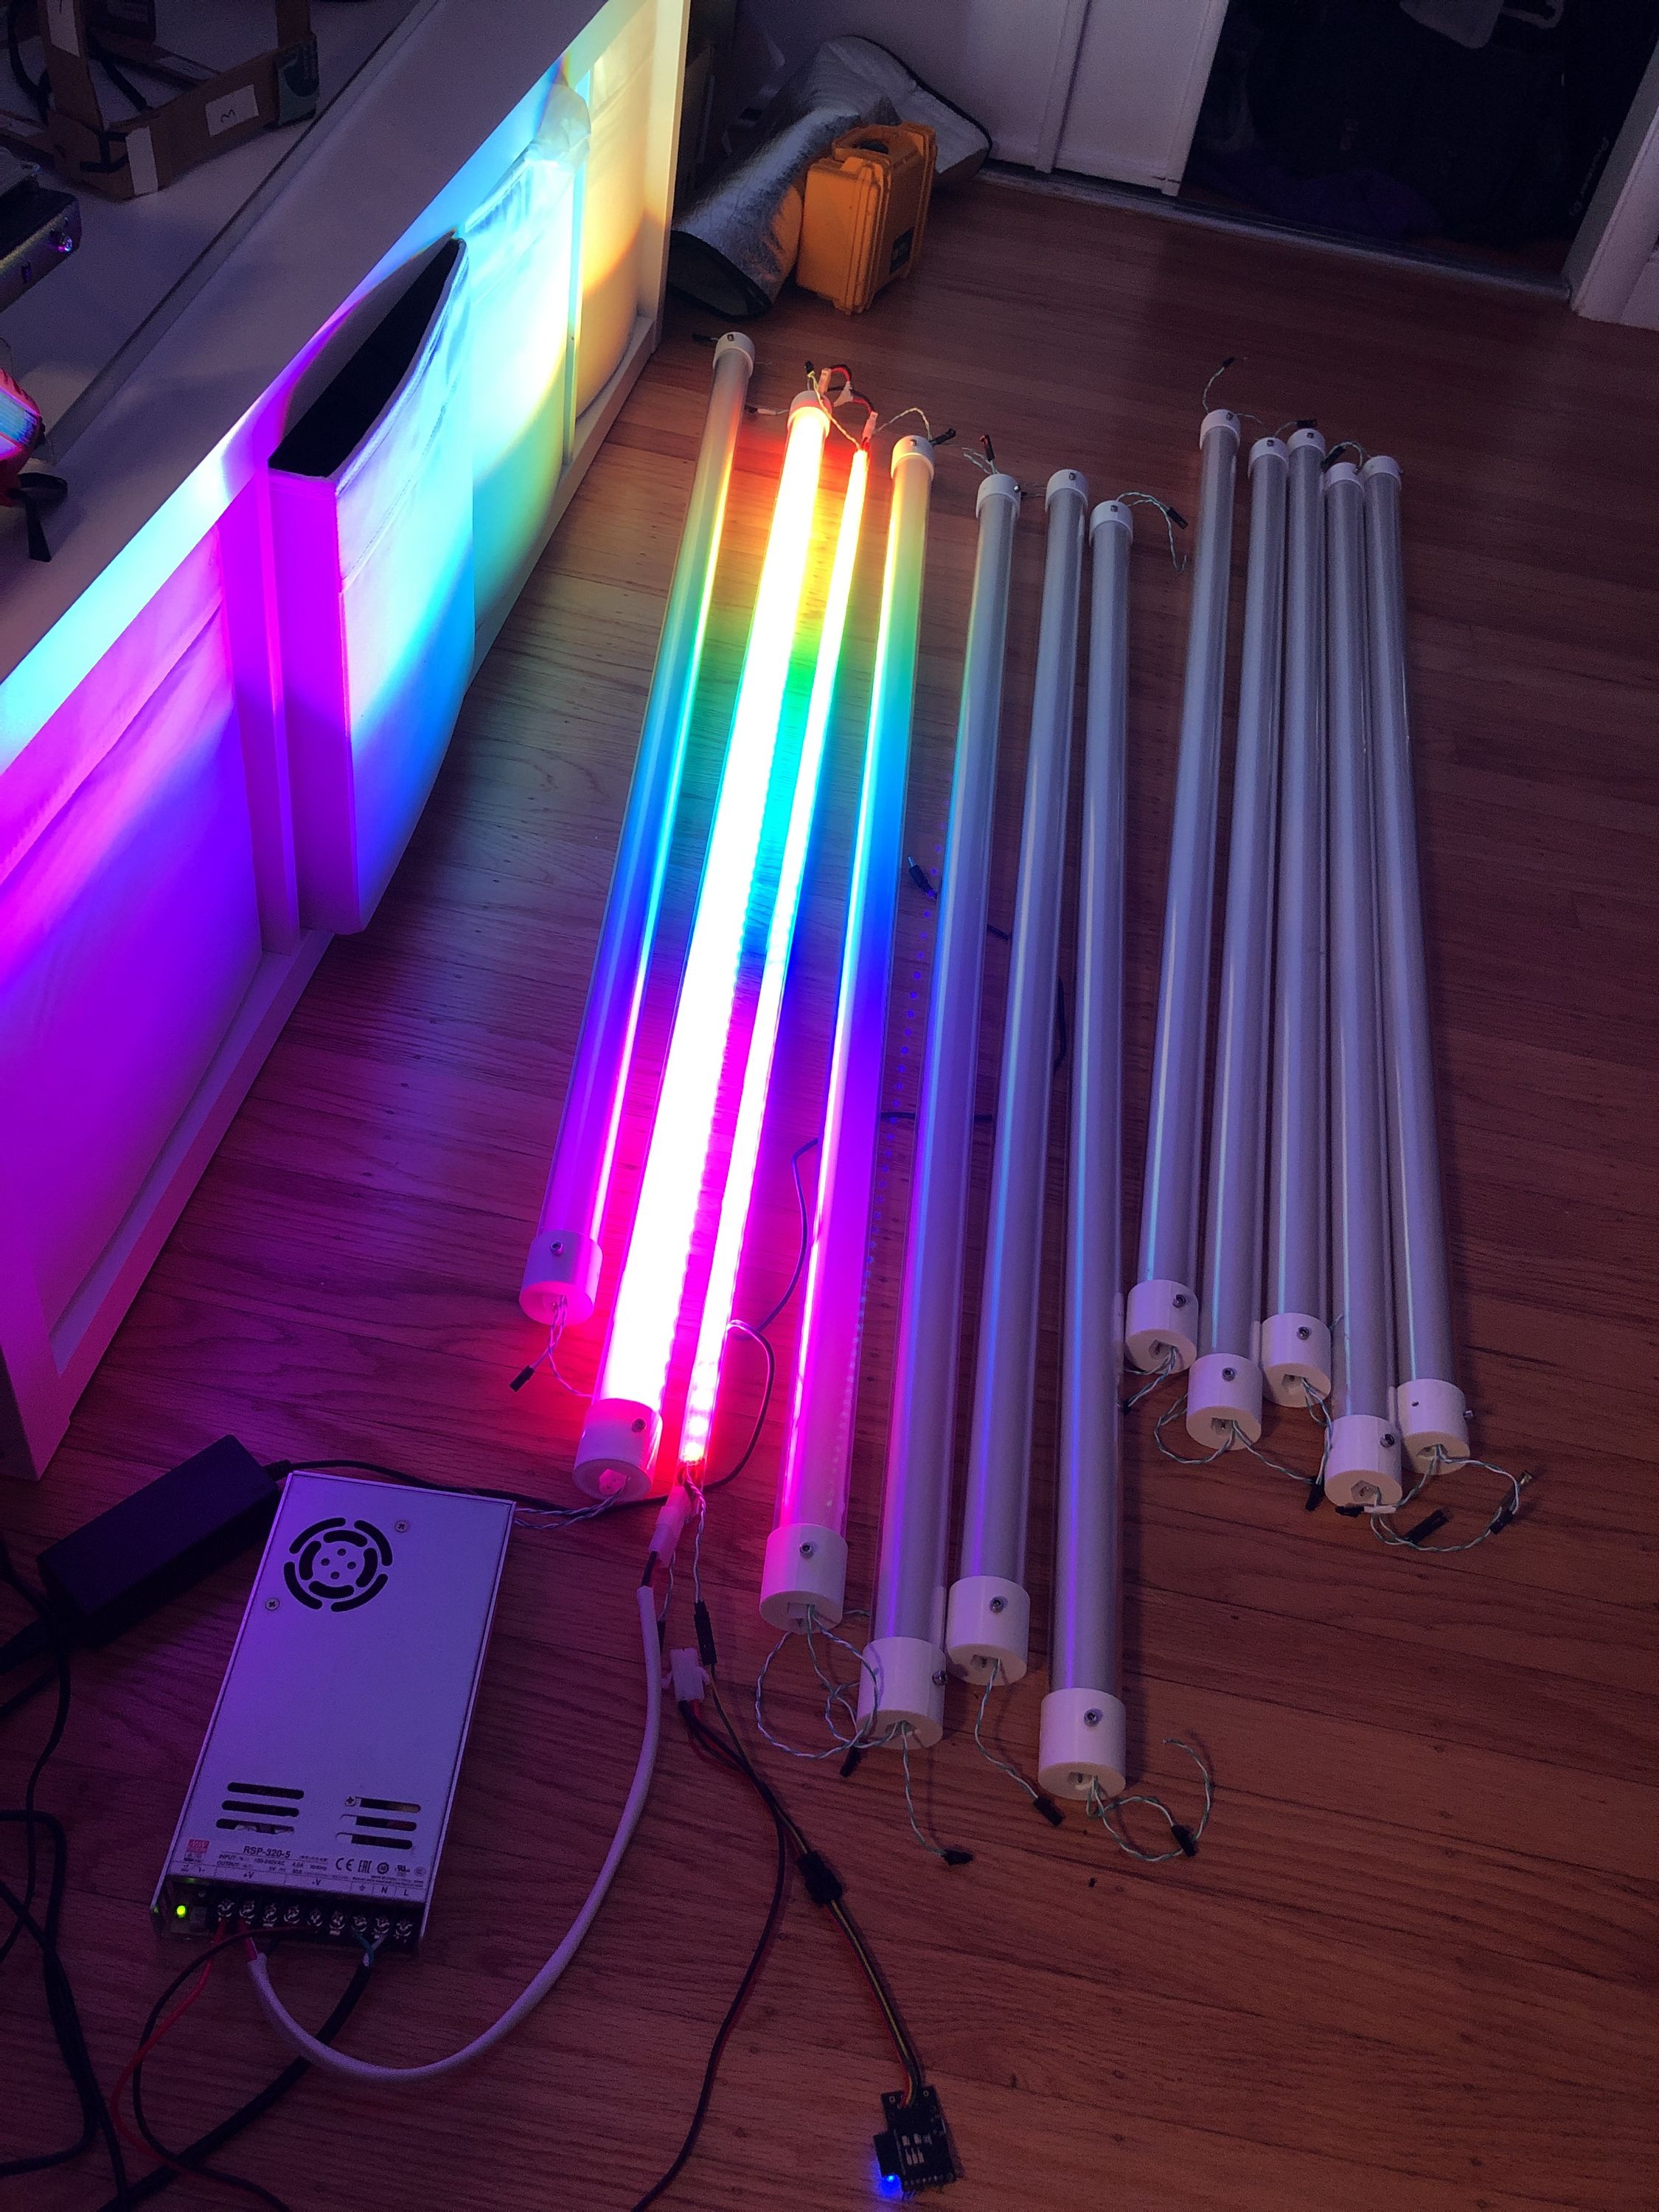
Finishing these up felt like a real milestone in this project. The only hardware part remaining now is the connector cables for the ends, which can be made very fast. From now on I need to focus more on getting the software up and running as that has been a bit on backburner due to me focusing on some other projects related to ANDERSTORPSFESTIVALEN.
My hope is to write 2 more updates about this cube in rapid succession, one about how the code has developed and one about the actual launch of this in July, see you then!