Deep Down Inside (Pixelcube Part 4)
Few weeks has passed since my last entry, mostly because I’ve had a lot of “actual” work on my plate which has had priority over the project. Humans tend to see progress as a exponential process or a skipping process. You will see the result of the creator and the result has to stand for itself, meaning that the time that was put into the project is transparent to the viewer of the project itself. This is probably the hardest part of building a project as for a good project to work, there is a lot of scaffolding that has to be done that progresses the project but not the result. Hence projects progress on a linear timescale while results progress on an exponential timescale. The project will show no result for a long amount of time until all the pieces align and the result evolves quickly. Same goes for this project, spending tons of time on designing the small parts does advance the state but I feel it’s just further away from when the prototype was mounted in my living room. It’s almost like the result has progressed backwards but knowing this and pushing through it is what will take me out of the local minima.
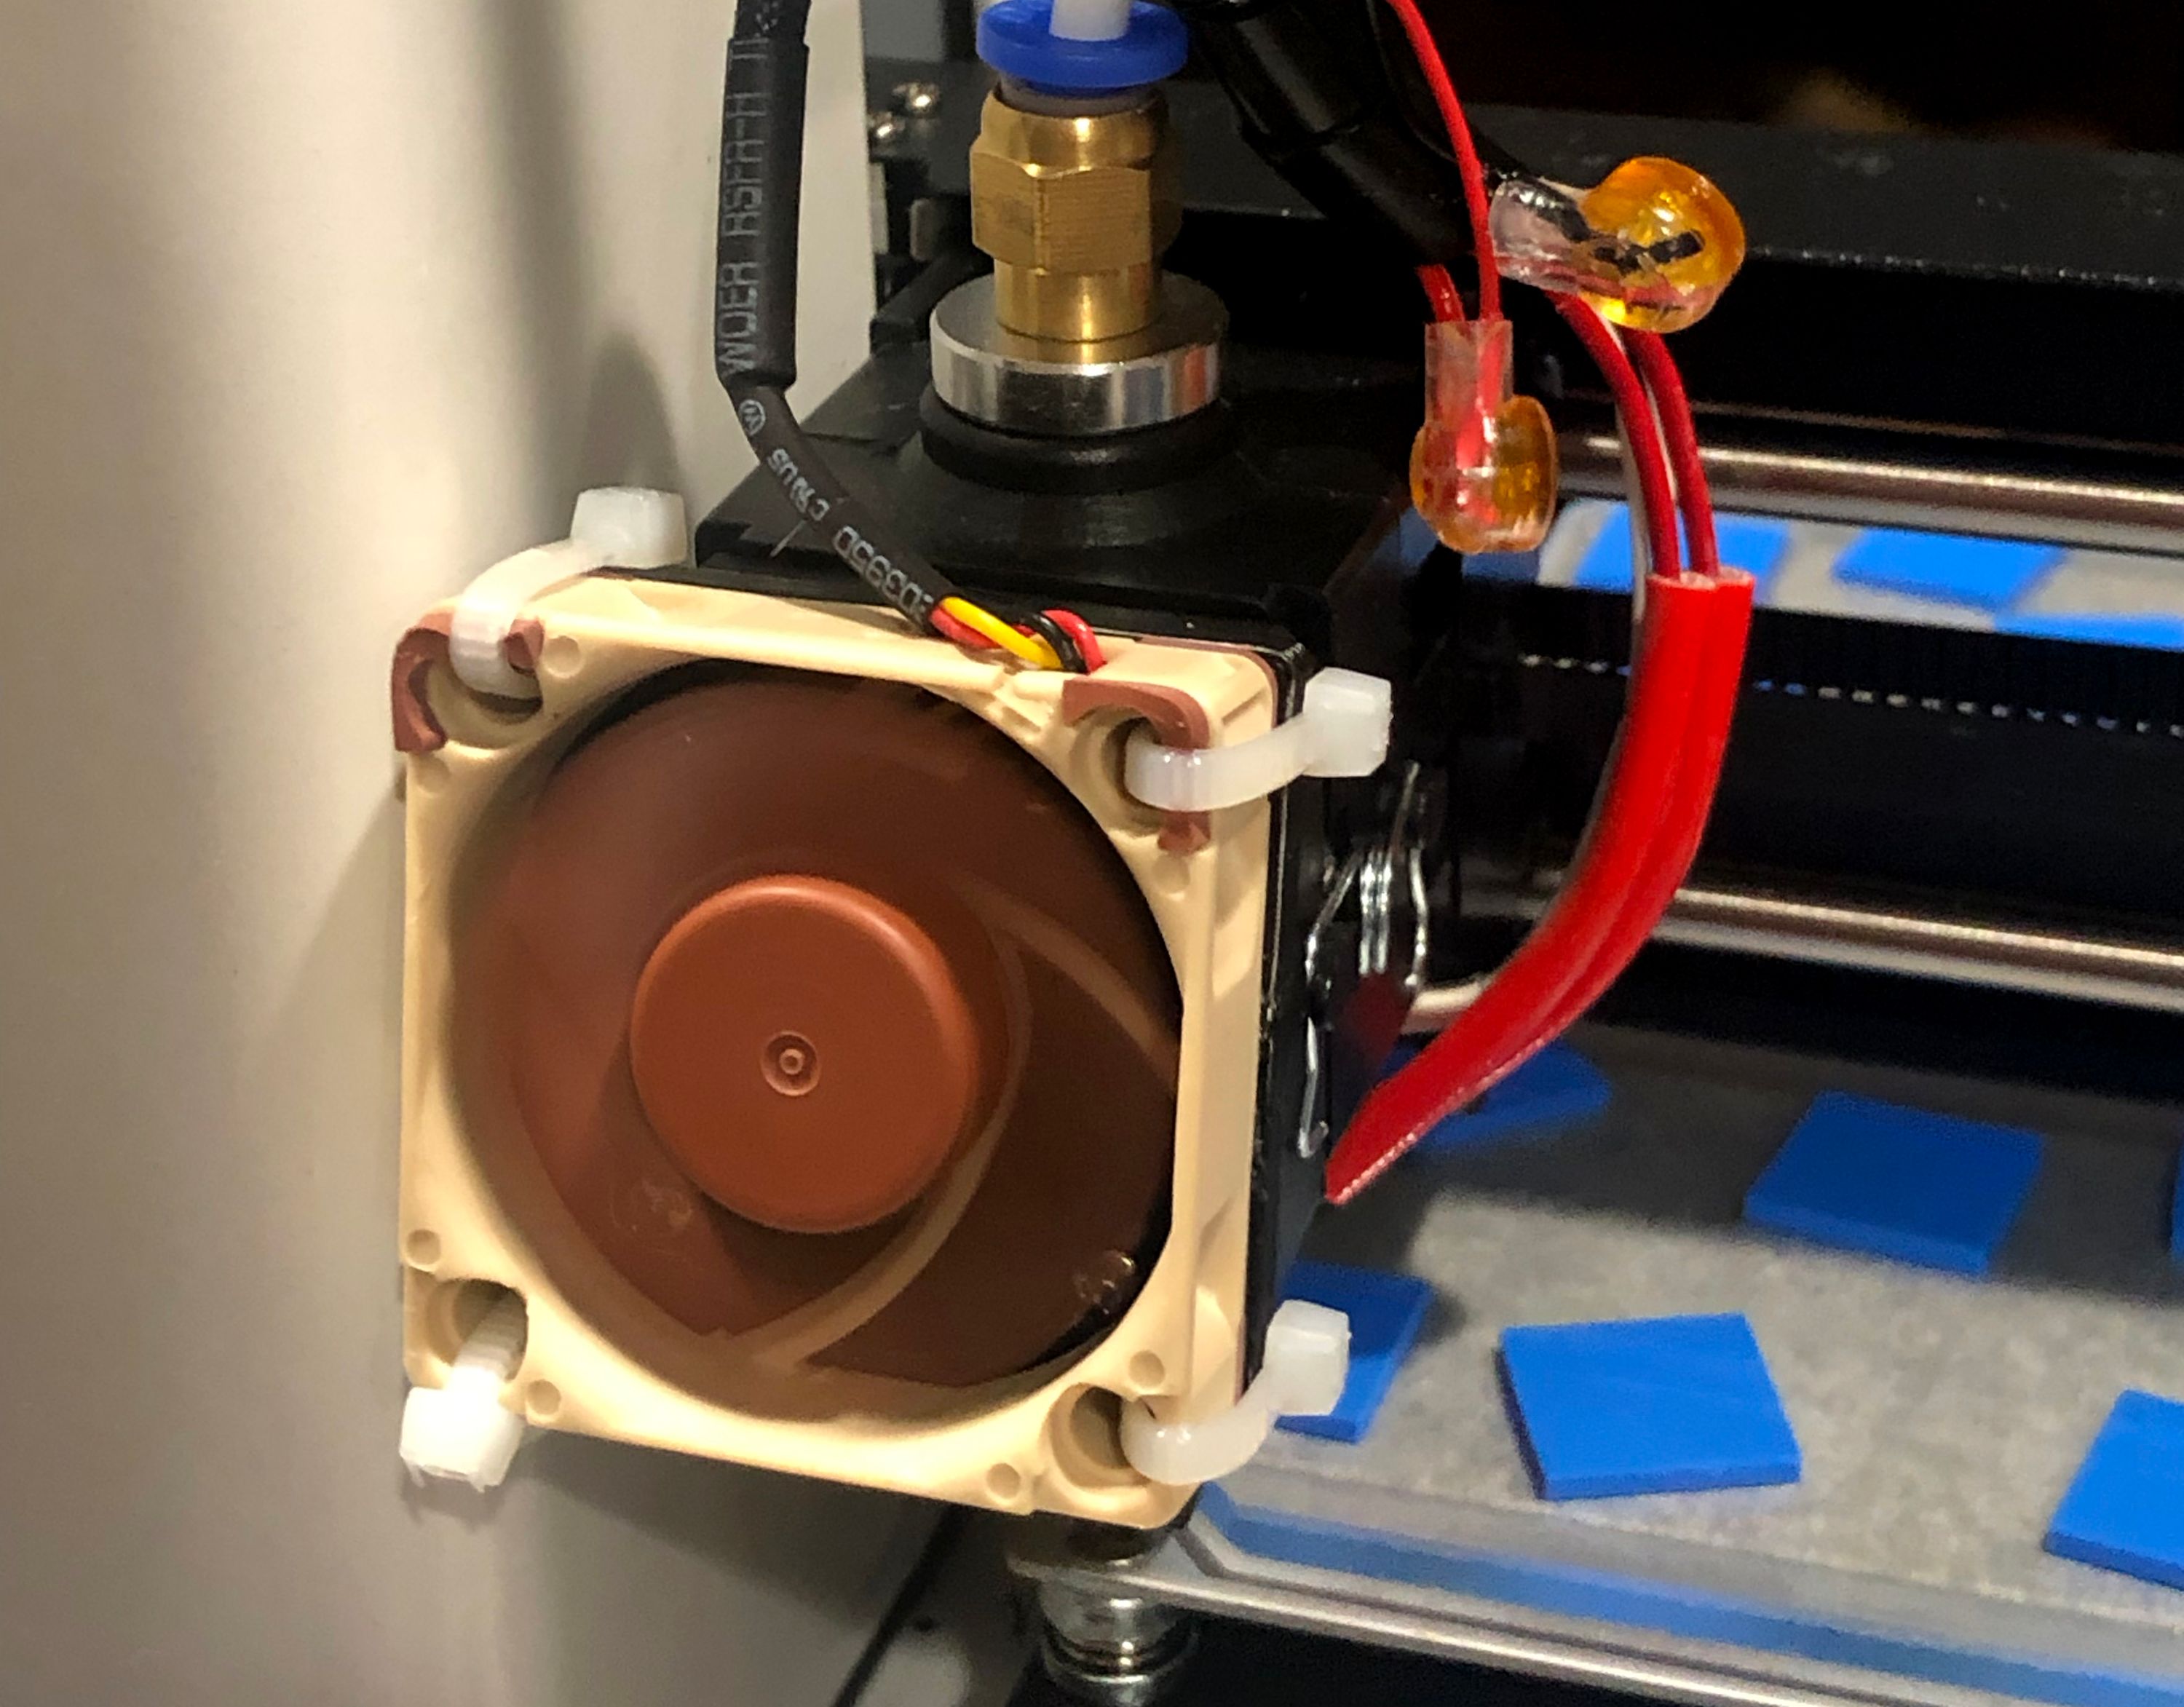
With that said there has still been a ton of progress happening in the few off hours that has surfaced over the weeks. It turns out that repeating a task multiple times just multiplies the odds of something going wrong in each step. As an example, the cheap 3D printer that I’m printing the parts on has broken down in every single imaginable way and I have had to spend time replacing components, driving my to the point of purchasing a new different 3D printer (Prusa i3). The first thing that broke down was the build plate. Adhesive tape just didn’t cut it for me so i decided on printing on glass with thermal pads which has been very successful for my projects so far, while the act of making prints stick are harder, the print quality is better. The second thing that broke down was the stepper motor, quickly followed by the hot-end fan. Both replaced with better components and modded onto the printer in place.
I guess you just can’t assume great consistent quality from a $159 (with shipping) printer from Monoprice. It’s clear that the printer hit that price point by cutting tons of corners and while I still recommend the printer to get into 3D printing, be aware that it will not last you printing over 3 kilos of PLA before something breaks.
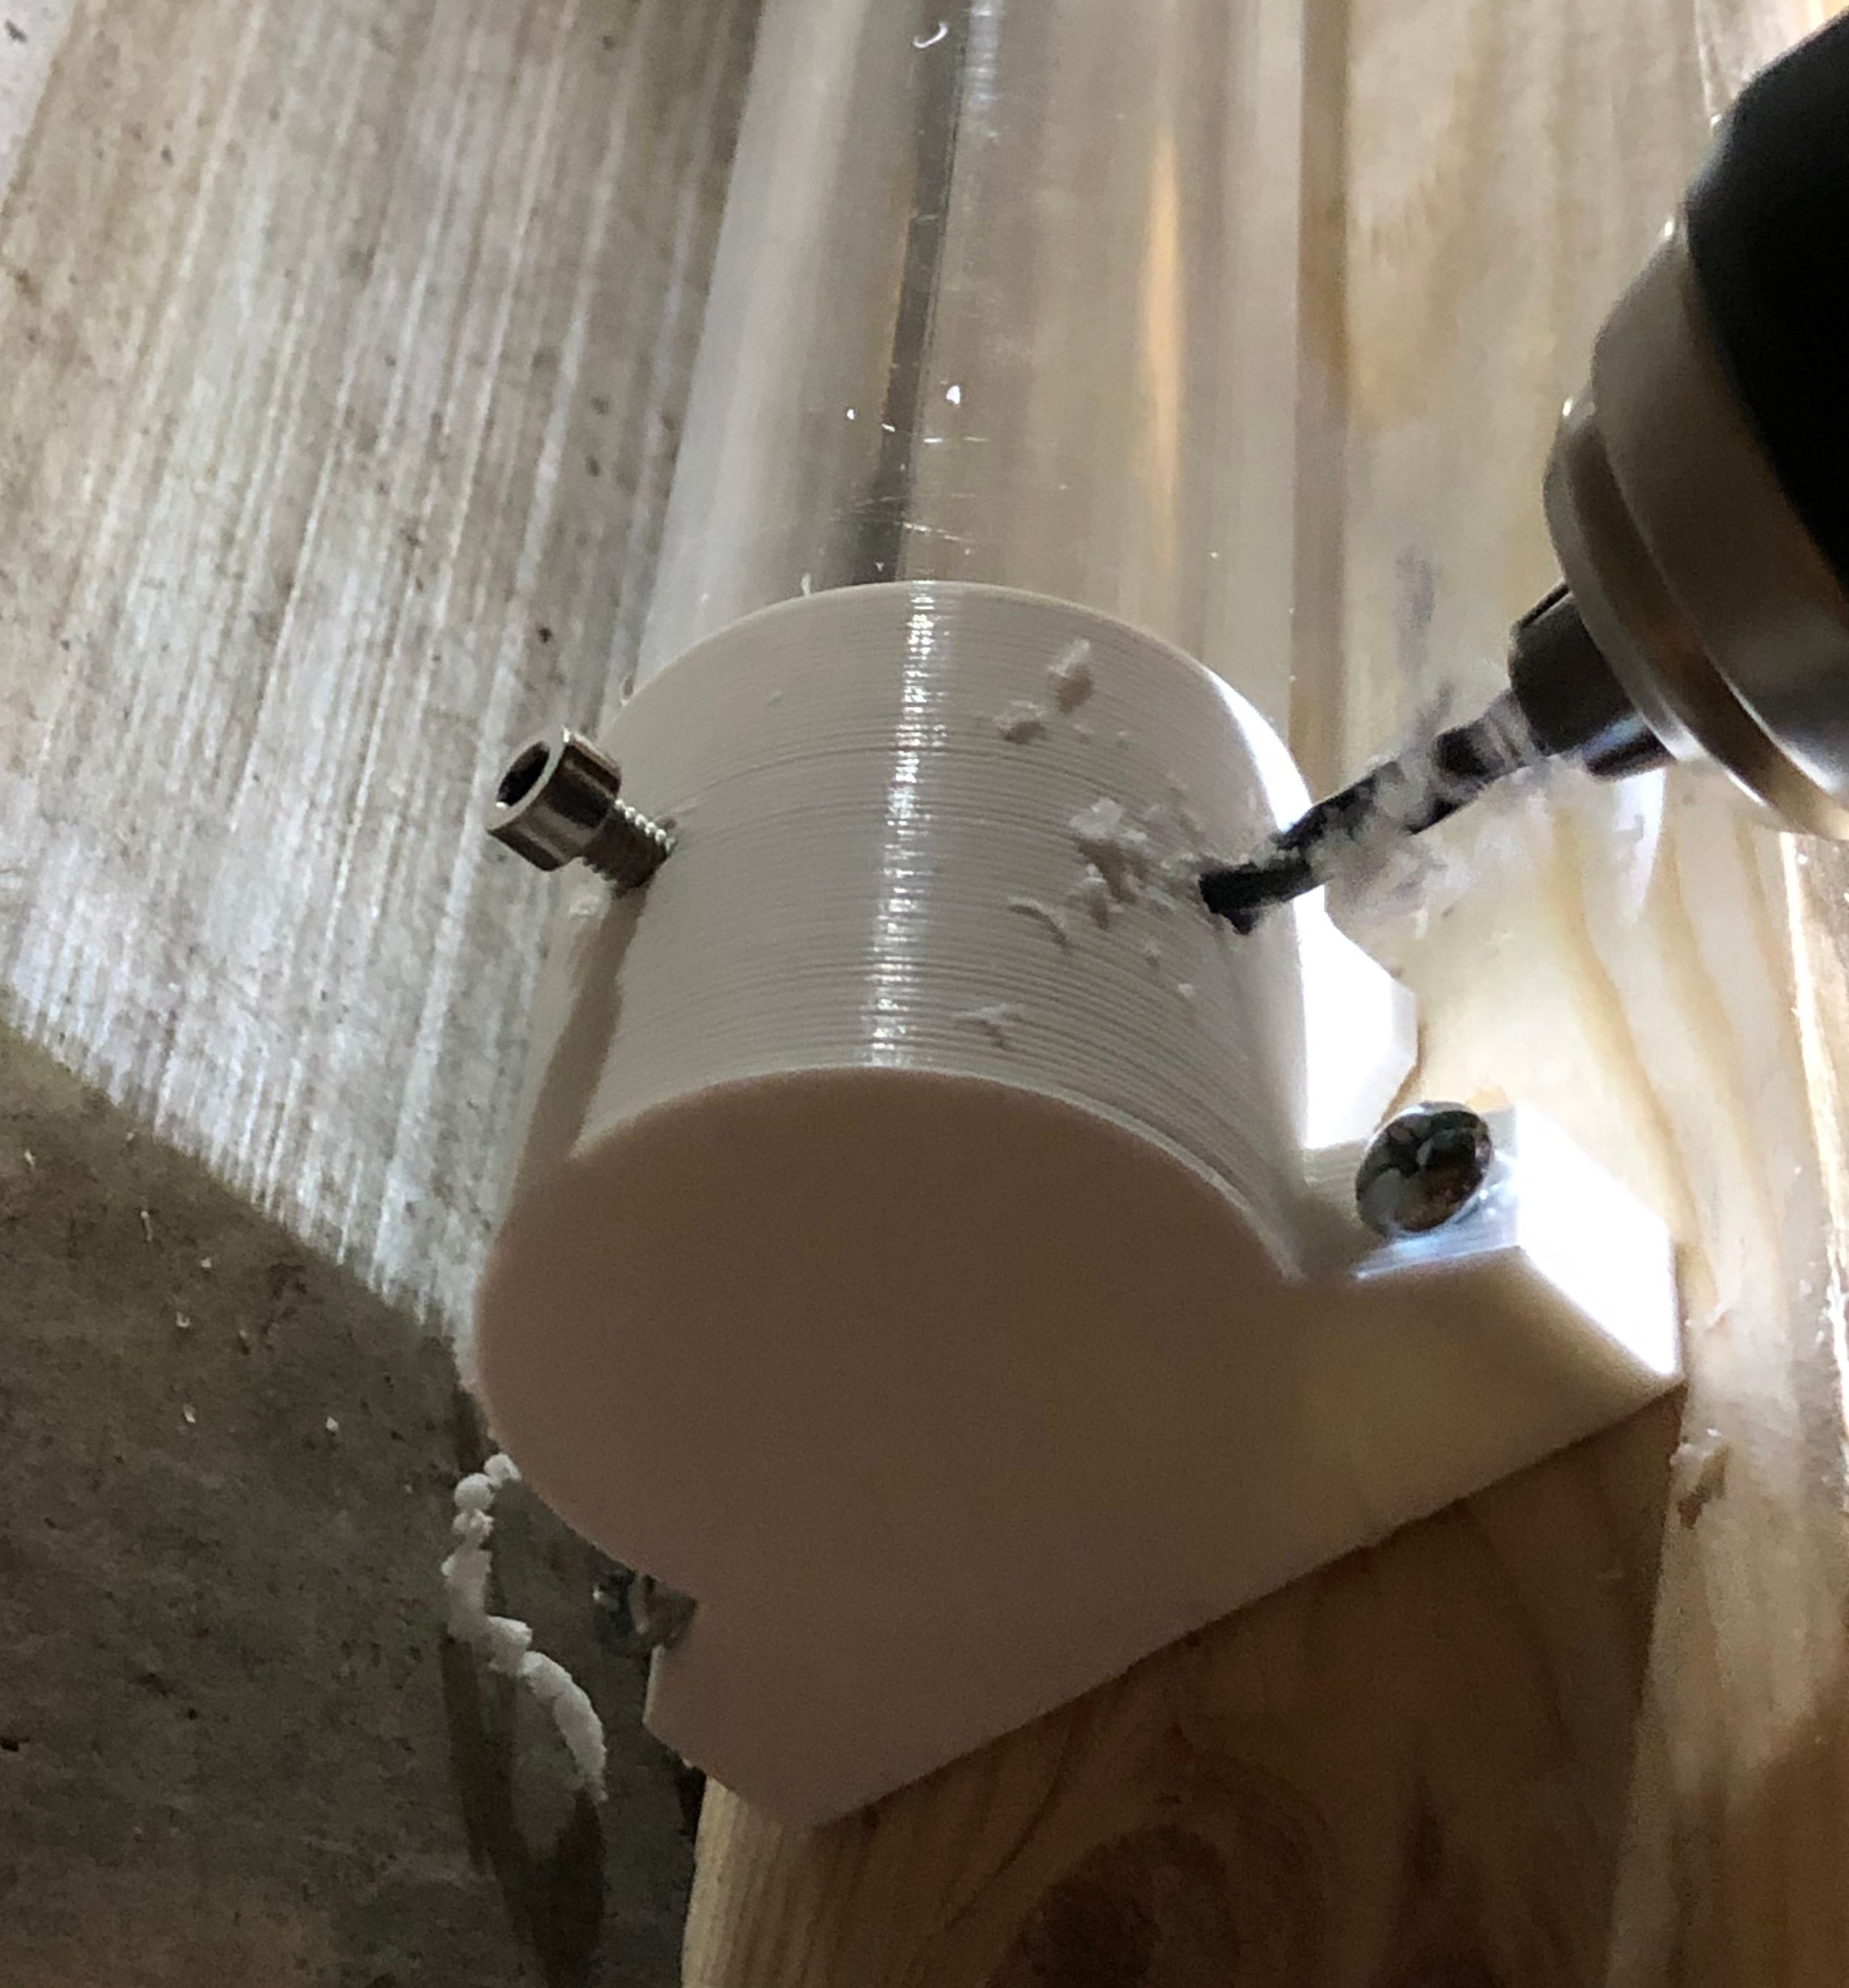
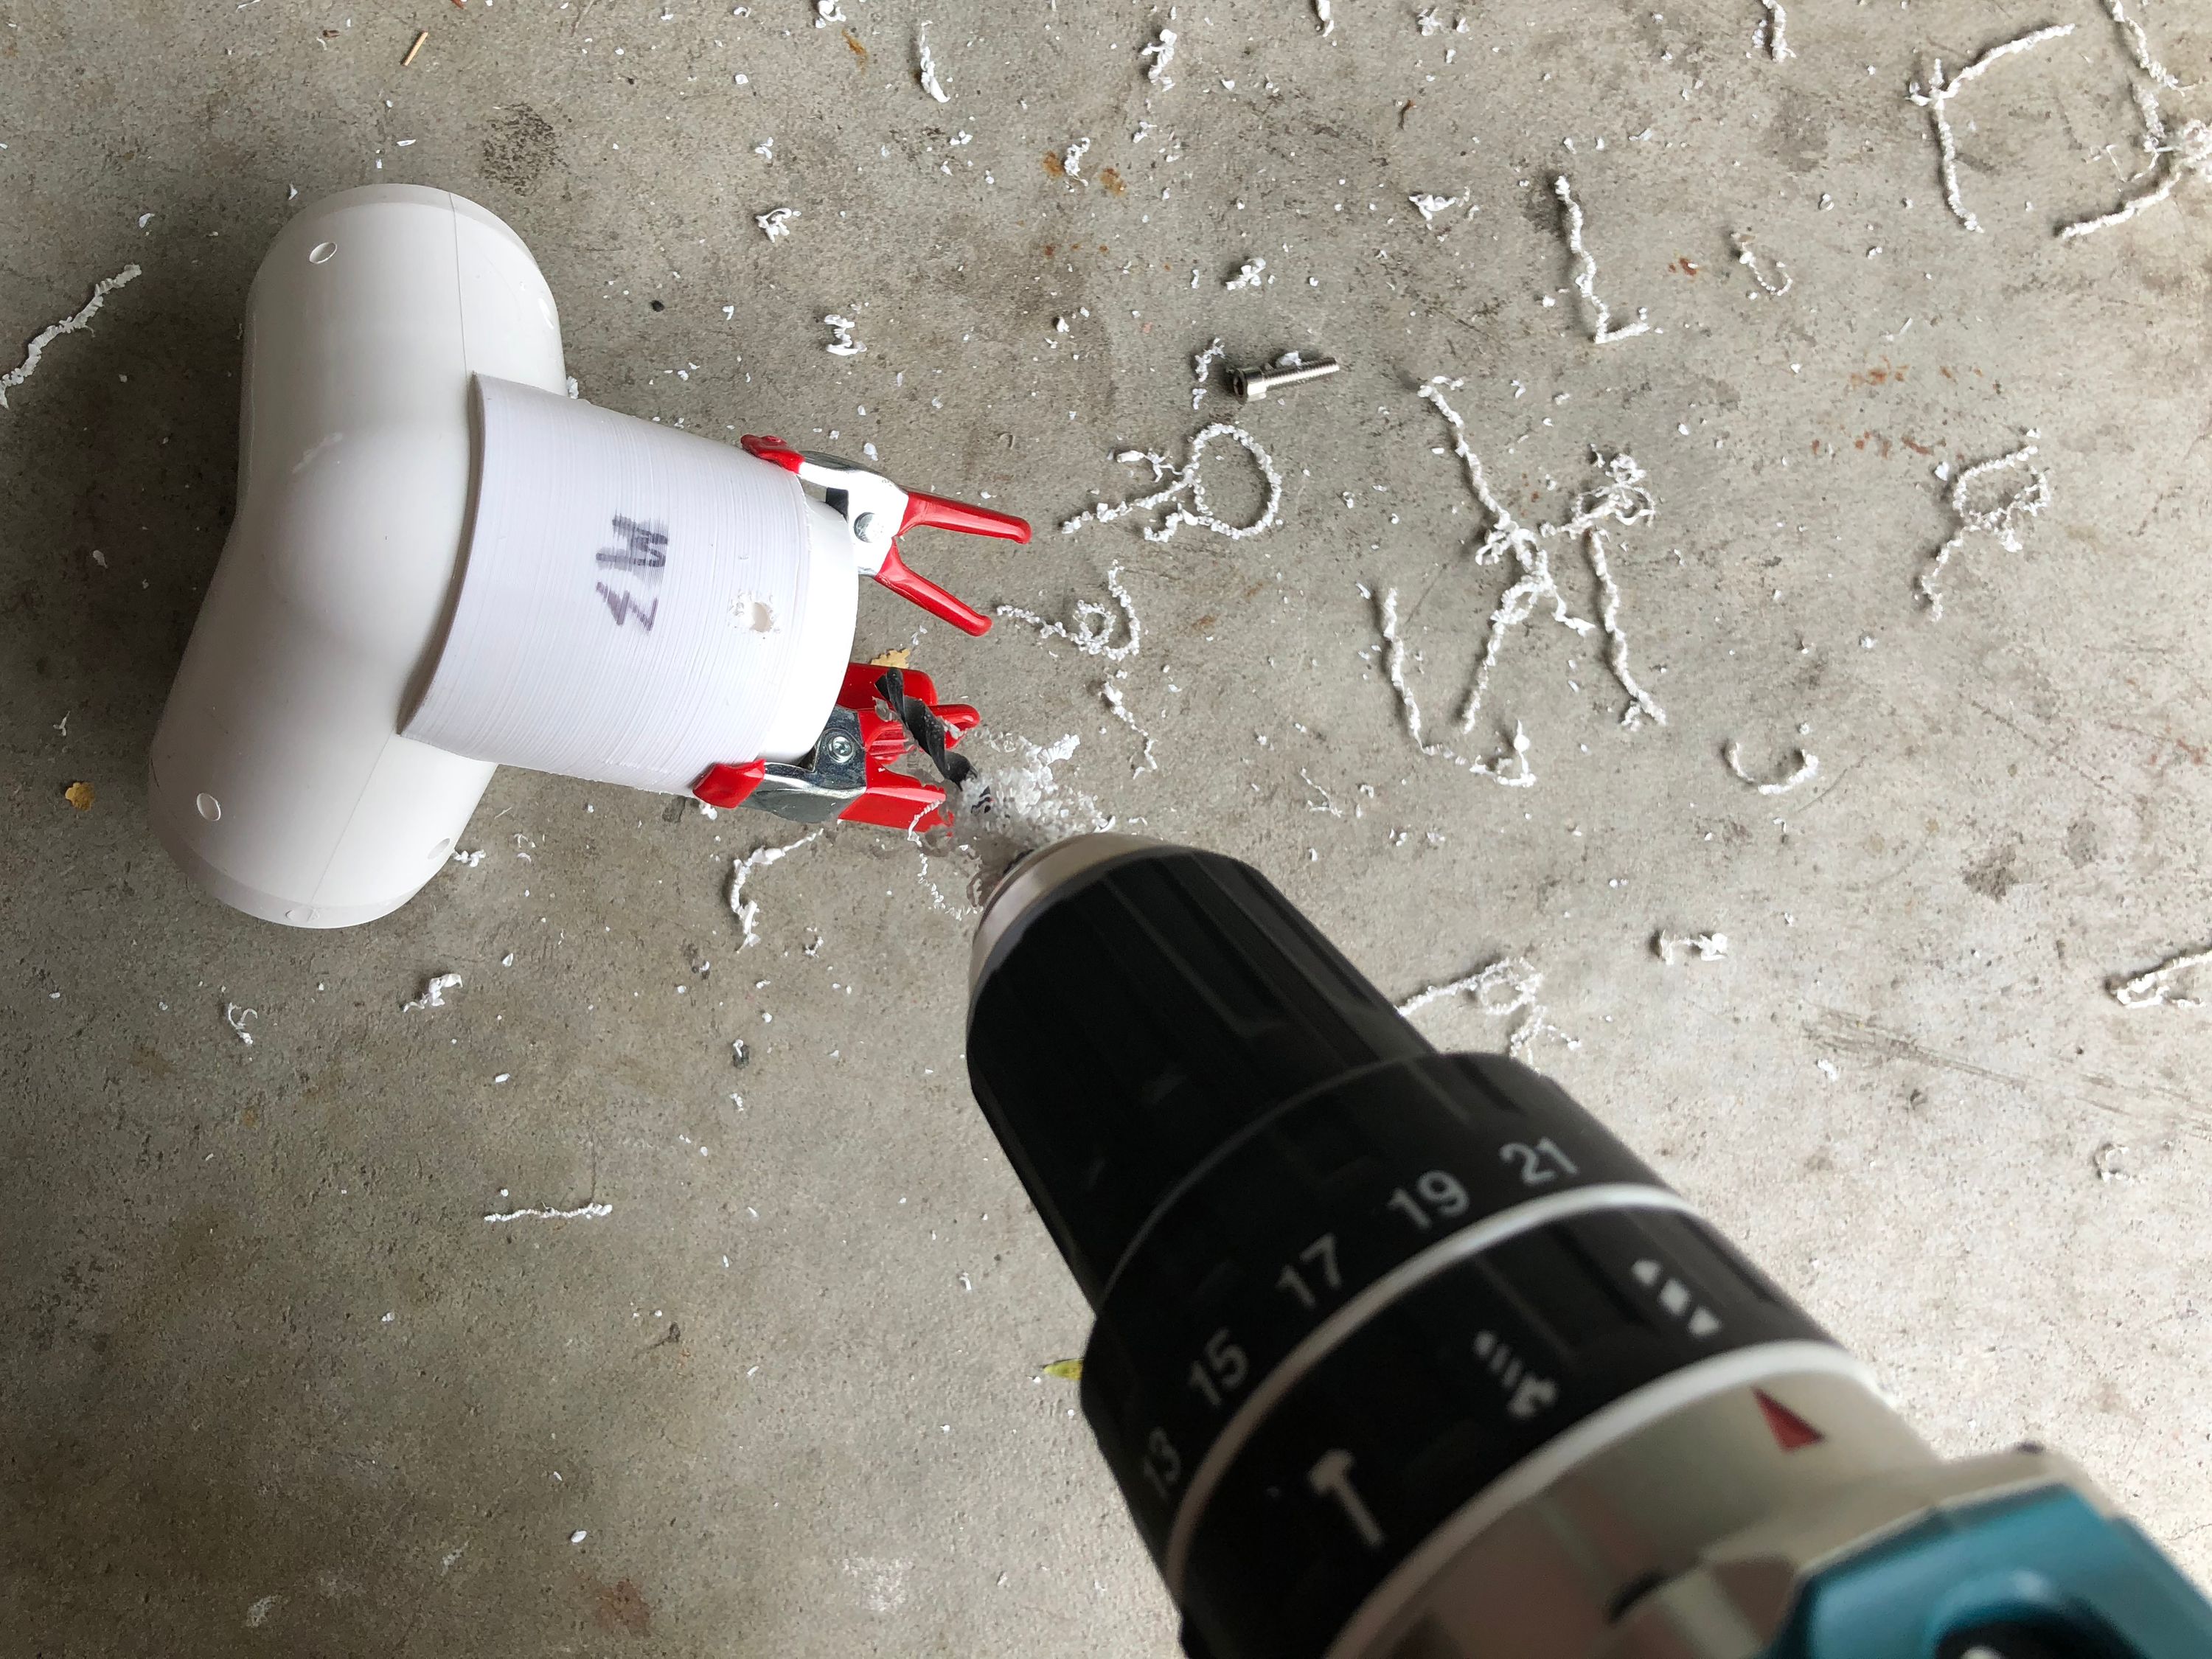
The printed drill guides that i showed last post turned out to work very well for the purpose. They fit perfectly on top of the part and made drilling equal holes a breeze. As you can see here the first one fit the entire bar and mounted to a plank to ensure equal holes on both sides whereas the second fitted over one of the corners in order to allow drilling 3 perfect holes per outlet.
With all the parts printed (24+ barholders) and bolts glued into the holders i was able to mount together the physical parts without the actual LED bars within them to test out the rigidity of the solution so far.
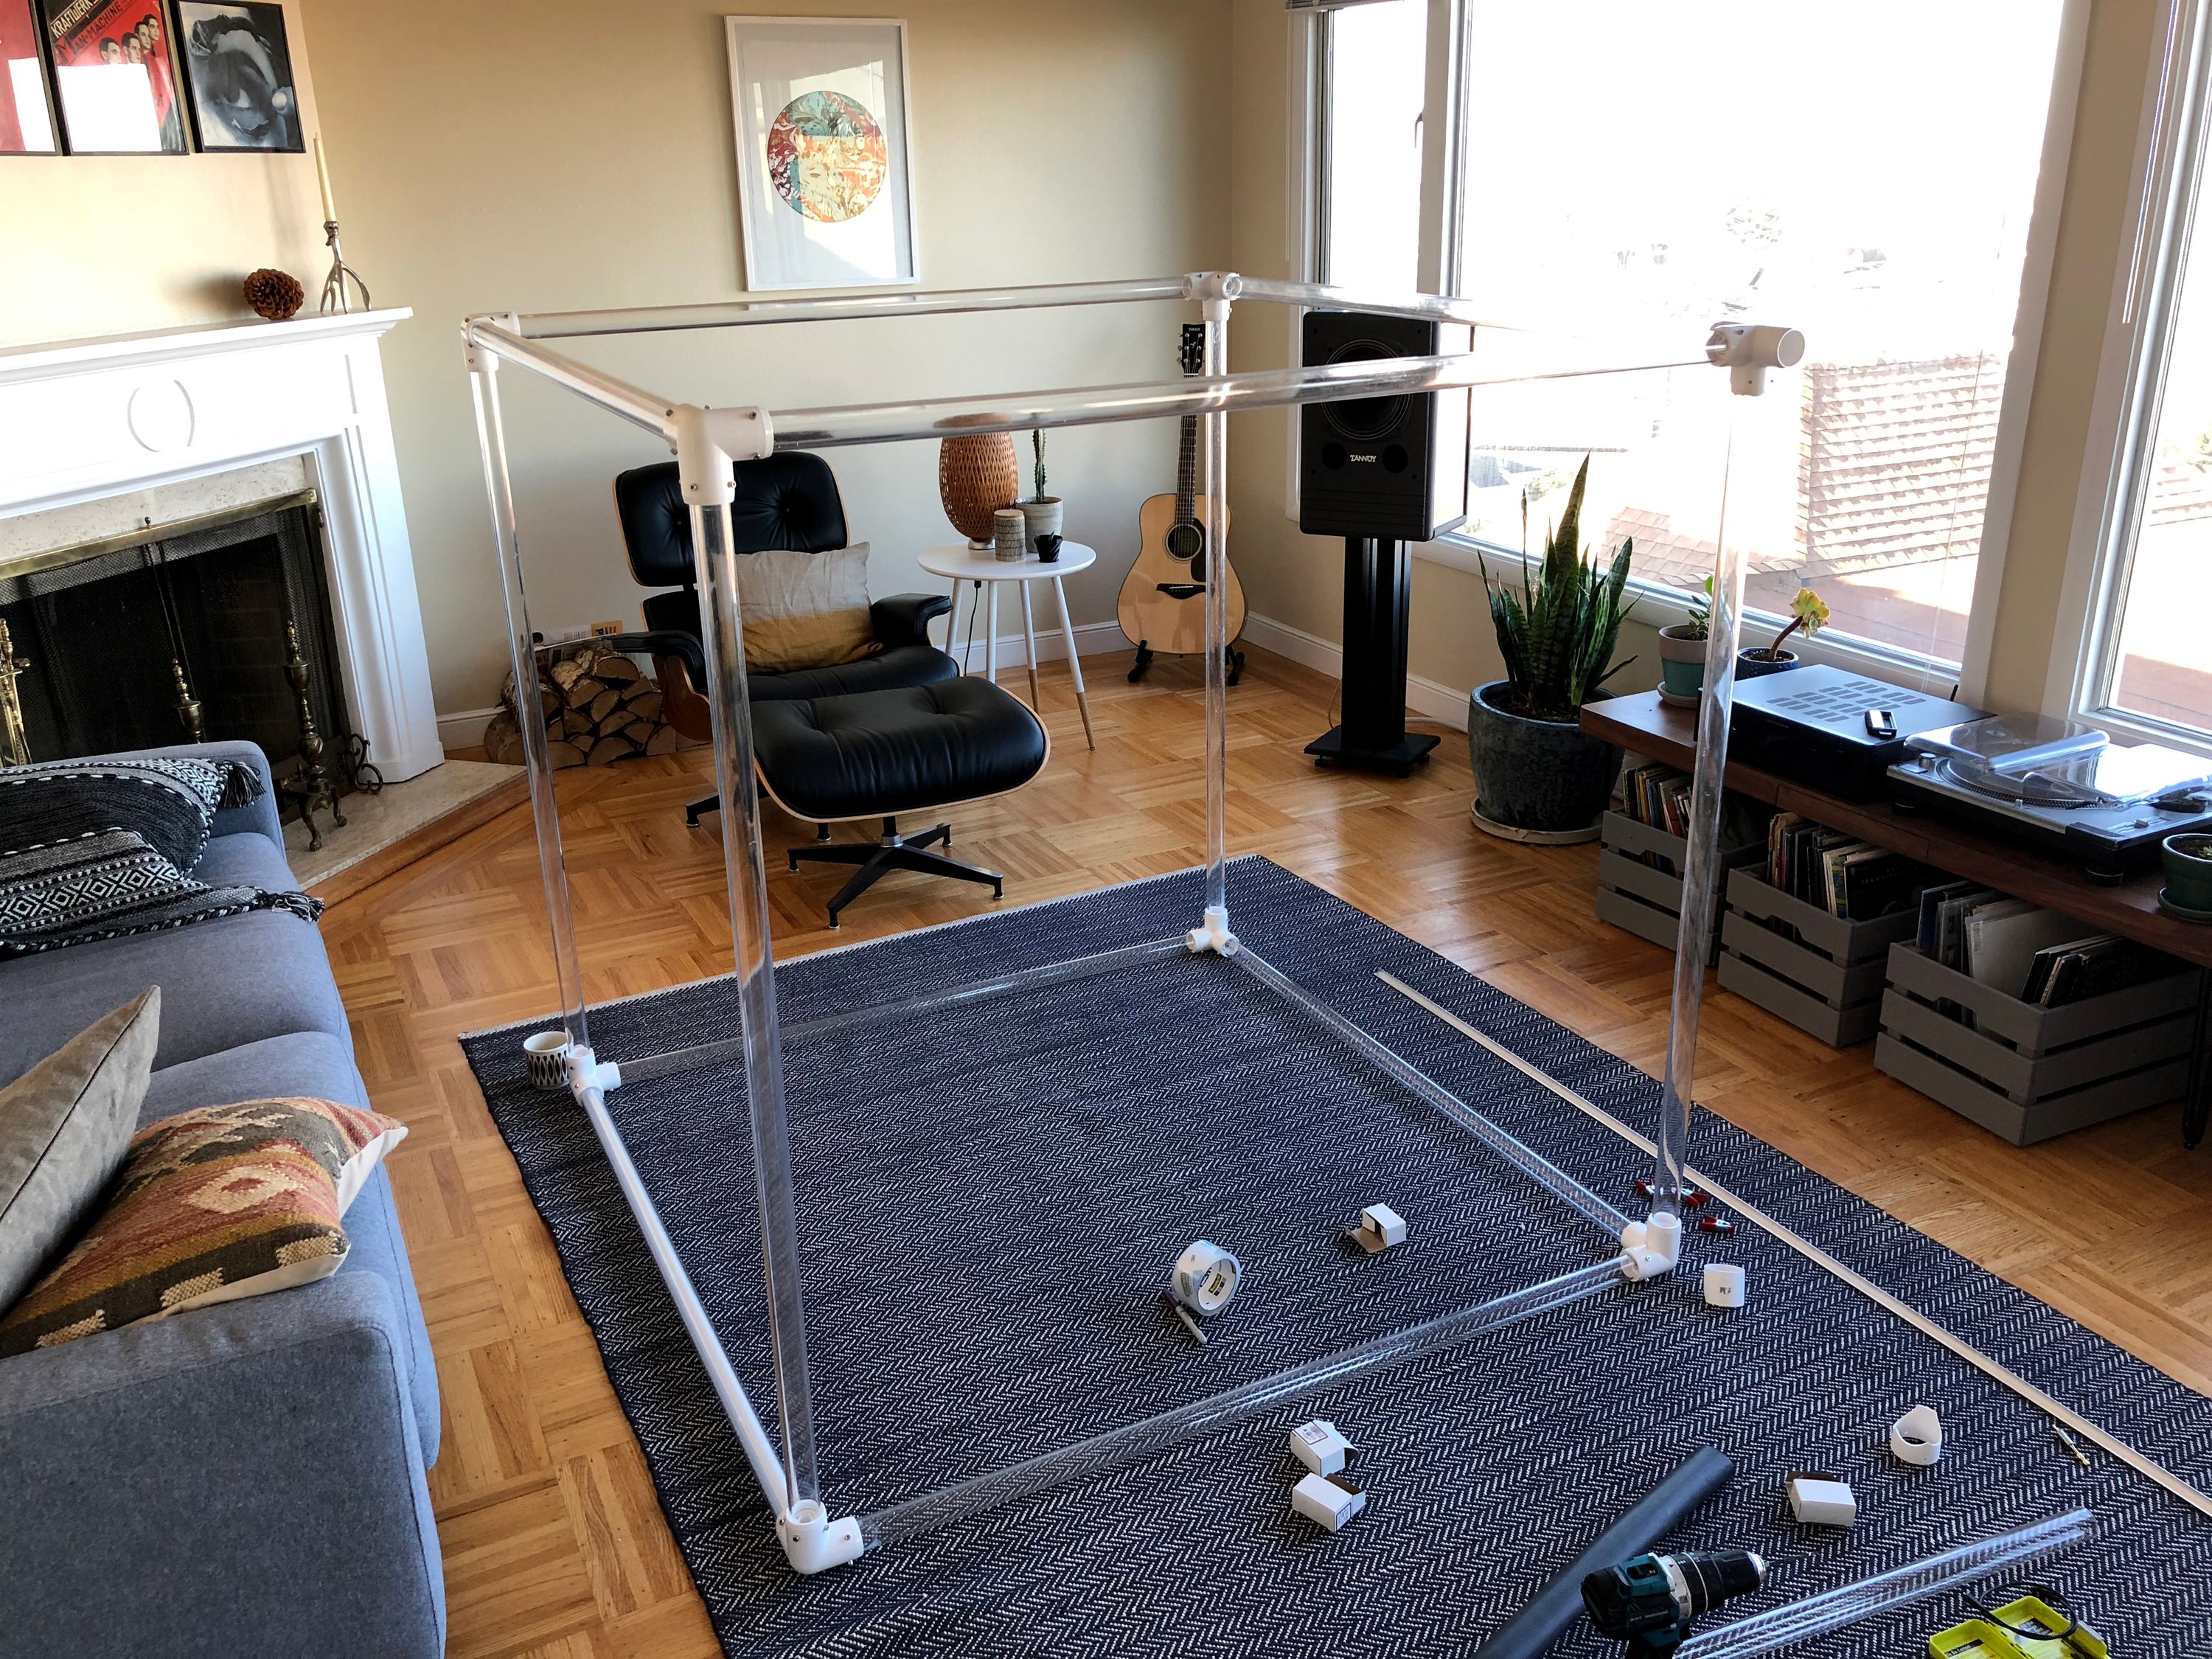
Turns out that it fits extremely snug, there was some extra drilling for some alignment purposes but the design 99% works for the use case. Huge relief right here since I’ve been very worried about if the actual thing will come together in the end. This leaves us with 2 remaining large tasks instead of 3, namely electronics and software. There has been a lot of changes in how I’m attacking the electronics but I will leave that for the next post as I believe that there’s more conclusion to be had by explaining it in more detail so that leaves us to the software part.
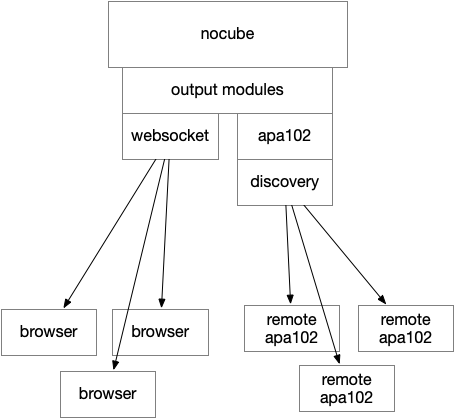
In an earlier post i discussed about what the optimal solution was for having a lot of CPU horsepower yet a dead simple SPI solution to feed bits to the APA102 LED strips. After playing around with USB->SPI bridges and a variety of different solutions, all working but not working perfectly, the most obvious solution surfaced by itself. Sometimes i forget that most computers today are outfitted with a standard high speed communication bus that can be switched between devices and easily extended, namely hardwired Ethernet. Even if the Raspberry Pi is too slow to drive pattern generation and FFT it can without a problem just consume network traffic and convert that into APA102 data at the desired framerate. So i spent time building a Raspberry Pi bridge that connects using ZeroConf/Avahi and consumes pixel traffic from the nocube host.
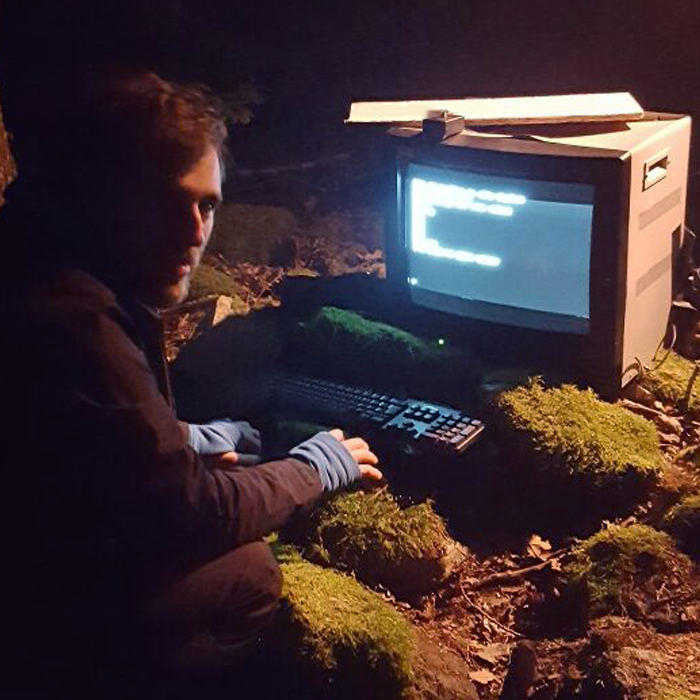
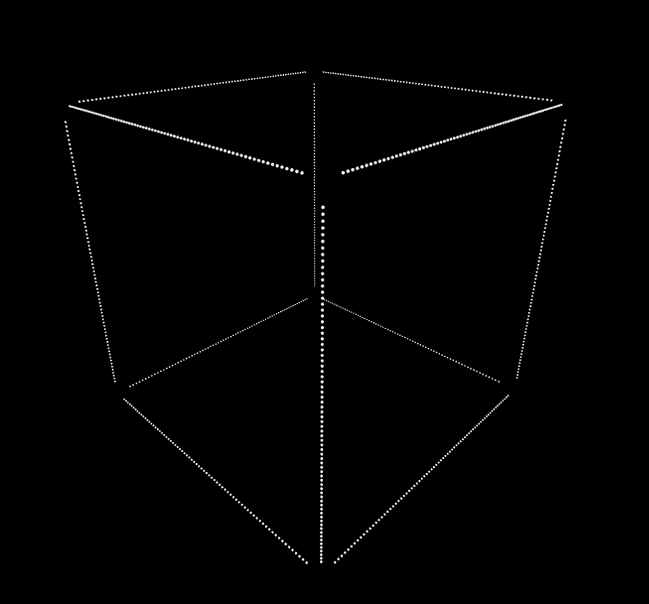
Another problem that quickly surfaces was the need of having a way of testing out patterns and code without having the cube setup, leading me to build a “simulator”. The simulator was surprisingly easy, since all the “pixels” are mapped in a cartesian coordinate system between 0 and 1 (float64), rendering the pixels in Three.JS took an hour or two with the largest problem being figuring out how to efficiently stream the color updates per pixel. Here’s how the rendering currently looks in Chrome.
After this I started on the actual audio processing part of this project with Aubio. I rescurrected a seemingly abandoned project on Github and added the bindings to the C code i needed that didn’t exist in the current bindings (now available in my fork). With this in place i wrote a simple naive FFT pattern to test how it would look. In this case the pattern just renders the 1024 bins summed down to nearest pixel in the bin. It doesn’t really look great when rendered naively at 5 FPS in a web browser, but here it is regardless.
Apart from this there has been general work on the processing pipeline in the project, now allowing for multiple processing pipelines to run simultaneously in a threaded manner feeding into the result per frame. There is a new rendering loop that allows the internal generation to run at a fixed framerate which lets outputs lock onto that framerate instead of having the output dictate the framerate of the rendering. This makes sure that the patterns renders in full speed on the device I’m using regardless if i have an output connected or not, allowing me to benchmark the performance of the patterns.
Seeing the demo come together has me convinced that this will look really good once up and running as a complete project. There is still a lot of work to do but every day gets me one step closer.