Struggles with Limescan
In 2018 I built a small BLE (Bluetooth Low Energy) RFID reader to enable our small iPad PoS app that I called Limetree. It’s been about 3 years since I created this and looking back I’ve come far from this very simple design. This was my first 3D printed project and at the time I was still designing the parts in SketchUp. For an unrelated reason I needed the NRF52832 feather in this device for another project so I pulled it out somewhere in mid-2020 as I had no need for the scanner during COVID. As there is a high chance I get to travel to Sweden again this year (fully vaccinated now!!!), it was time to reassemble the scanner!
Well, it didn’t work out as planned. For some reason the exact same wiring and code just refused to work and in frustration I soldered and desoldered until I damaged the Feather, which lead to the NRF52 chip refusing to boot. Oh well, guess it was time to upgrade to the NRF52840 anyway. Quick primer on the differences between these two feathers is that the latter of the two (hereafter referred to 840) has a native USB stack, which means the main chip handles the USB interface against the host computer. On the 832, there is a separate microcontroller handling USB and bootstrapping the device which prohibits you from having fancy functions such as U2F. This sounded great to me, usually microcontrollers are “the less components, the better” and I decided to buy the 840 instad of the 832 as a replacement.
The NRF52840 arrived and I started the work on updating the code to make it run on the NRF52840. The device has a new RGB LED which I of course wanted to take advantage of. Once I felt reasonably certain that the code matched the differences I soldered on the wires to the PN532 breakout that I had from the earlier version and booted it up. It didn’t work. After tinkering back and forth with the code I got really frustrated because it seemed to work SOMETIMES. I would change something, burn the firmware for it to work for a few minutes and then restart it and it wouldn’t work again. If you’ve ever done programming, the worst problems to debug are the ones that are not predictable because there is usually very little indication what’s going wrong.
I don’t own a SWD debugger so most of my debugging here is print statements and blind debugging using the oscilloscope. However the problem I seemed to be having here happened before the serial line initialized properly, meaning that whatever output I wrote to the computer from the microcontroller was lost into the void. I quickly realized that I could use the on-board status LED to just show different colors upon reaching certain parts of the code and wrote a quick “status” function which incremented colors every time it was called, allowing me to see where it stopped. In theory, this should yield me the same color every time I started the chip which would allow me to see where it got stuck on boot. Of course, that didn’t work out either. It stopped at random points during the bringup of the chip. Almost out of ideas I started doing really harsh “clean turkey” debugging, starting with all code commented out and bringing piece after piece into the library.
Eventually it cleared, the Adafruit Neopixel library I was using for easy control of the LEDs was somehow interfering with the BLE shim that Adafruit provided which sits on top of Nordic Semiconductors BLE stack. To understand this it’s important to know that while all these microcontrollers can execute code within the “Arduino Framework” (which I wrote my shit in because I couldn’t be bothered in 2018), the “framework” is implemented differently depending on which microcontroller you’re using. Coming from using x86 processors for the past 25 years this is a bit hard to wrap my head around but the Arduino “environment” is more like libc, a set of common functions you can compile against which has stuff like ports, GPIO and hardware functions mapped for you. It also provides a setup() function which is called once and loop() function which is called in a loop as long as the device is powered.
On an old AVR Arduino from which the framework stems from, you essentially controlled the entire CPU. Your code ran in a loop and the loop was bootstrapped by the framework. This means that once the processor enters loop(), you are in control of the execution of the entire processor. There is no operating system or multitasking going on which allows you to do a lot of nifty tricks with the hardware. something that other libraries often used.
//This code is really from the Arduino AVR core
//https://github.com/arduino/ArduinoCore-avr/blob/master/cores/arduino/main.cpp
int main(void)
{
    init();

    setup();

    for (;;) {
        loop();
        if (serialEventRun) serialEventRun();
    }

    return 0;
}
On a microcontroller like NRF52840 or another popular chip like Espressif’s ESP32 this is no longer true. These devices need to keep a BLE radio or WiFi radio active and these radios are way too complex to be controlled by the user and managing the timing requirements of these stacks. For that reason these devices often run on an RTOS (real-time operating system), the NRF52840 on Zephyr RTOS and ESP32 on FreeRTOS. What this means in reality is that your loop() function is scheduled onto the OS with the lowest priority, allowing the core to deal with other more important tasks for the radio to operate in between the calls to your function. As these cores often run at significantly higher speeds (64 MHz/240MHz vs 16Mhz for the AVR) there is enough headroom to run normal Arduino code and schedule the radio without impacting the Arduino libraries. The delay() function that on AVR halted the execution insteads
just yields back to the scheduler with a request to be woken up after X milliseconds.
Why does all this matter? I wanted to re-use the code for this project even though I prefer the ESP32 (the ESP32 having dual cores, making it easier to schedule tasks) but ince the NRF52840 already ran a RTOS I figured that I could just schedule tasks exactly like the rest of the libraries and yield() in the Arduino bootstrapped loop. However every time I tried to create one additional task with the Neopixel and the BLE stack, the microprocessor froze. After a lot of searching I stumbled onto a lead on the Adafruit Forums where one person seems to acknowledge that combining the Neopixel library with the BLE stack seems to cause a conflict which leads to the crash. After digging even deeper it seems that the Adafruit Neopixel library is one of those libraries that try to make the most out of the AVR core. Specifically the task that it gets scheduled on runs for a long time which is “fine” when you
only have one task to defer to but as soon as you start introducing multiple tasks, the BLE stack gets “starved” and crashes the execution as it fails to maintain realtime. After having said FML a couple of times while realizing this I quickly switched out the Neopixel library to another library I use on the ESP32 named FastLED and this worked without a problem.
OK WE DONE HERE NOW! RIGHT? RIGHT???? right… ?
I connect it all back up together to start testing against the iPad and see that the status LED still doesn’t fully go to green (the color I selected for success). The device fails to connect to the PN532 (RFID reader)??? Down the rabbit hole again it seems. However this is yet again one of those “sometimes” issues where every reboot seems like a gamble if it will come up. I connect the feather and breakout to the oscilloscope and start trying to identify what’s going on.
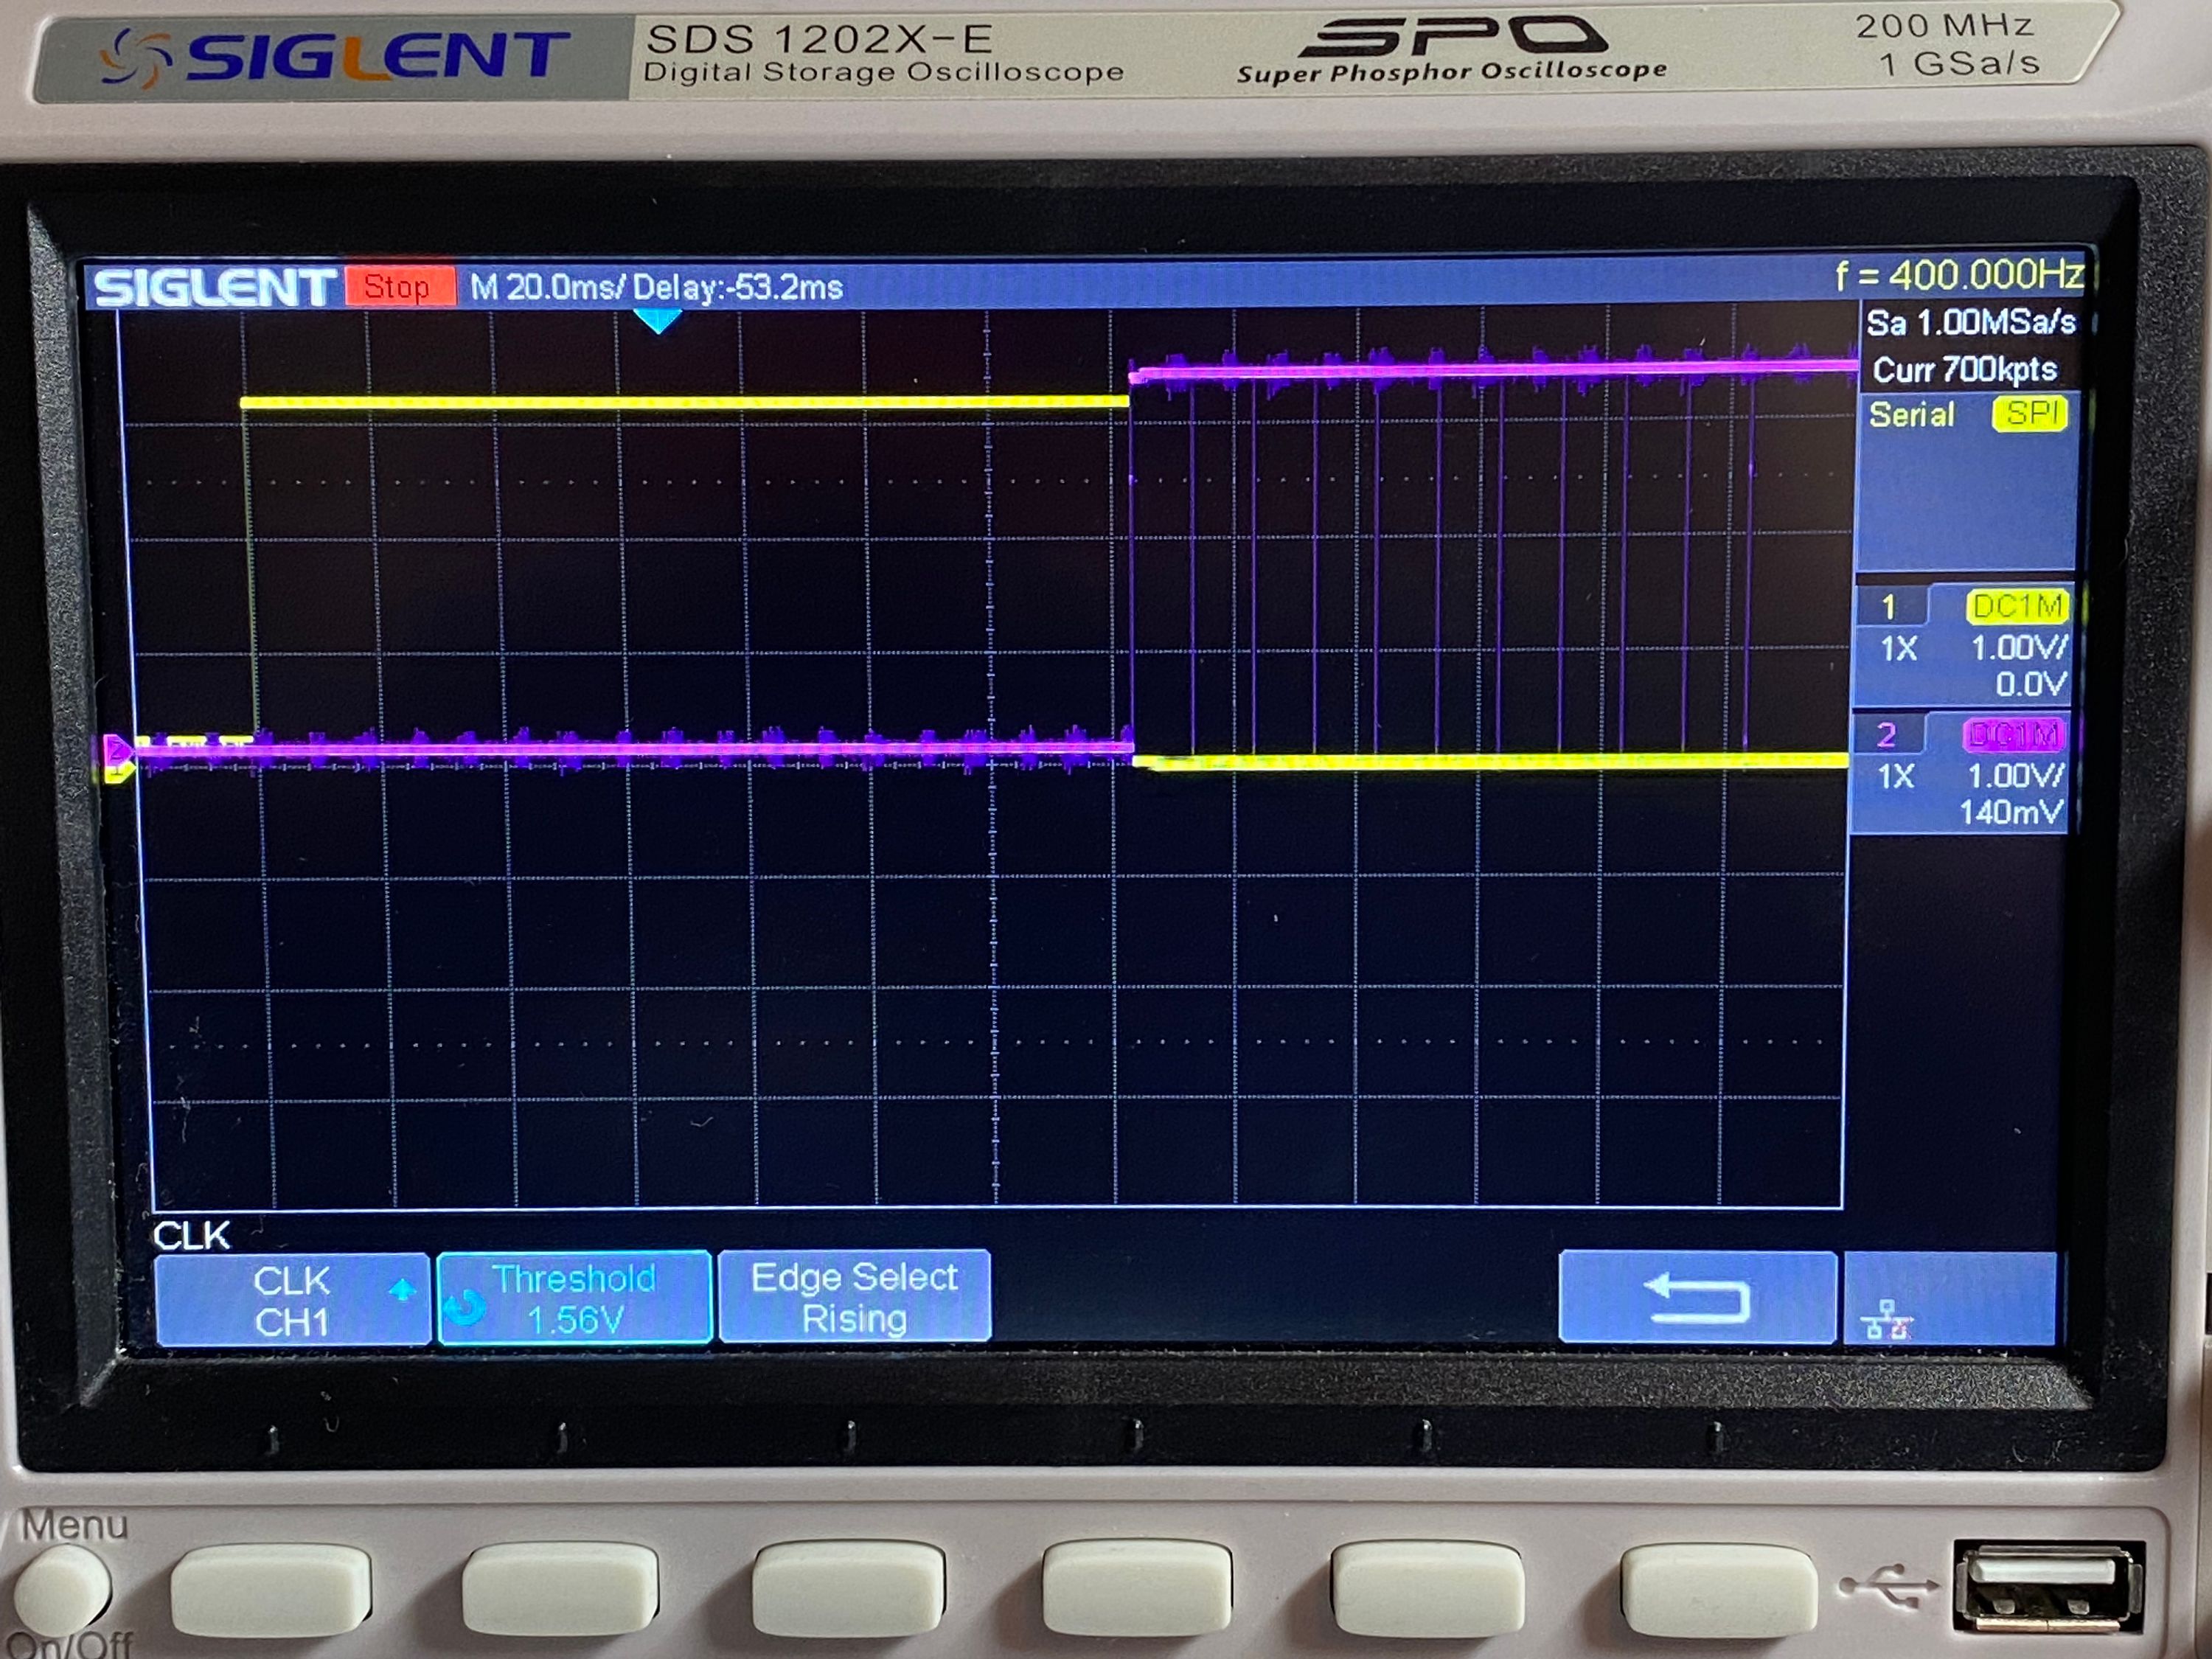
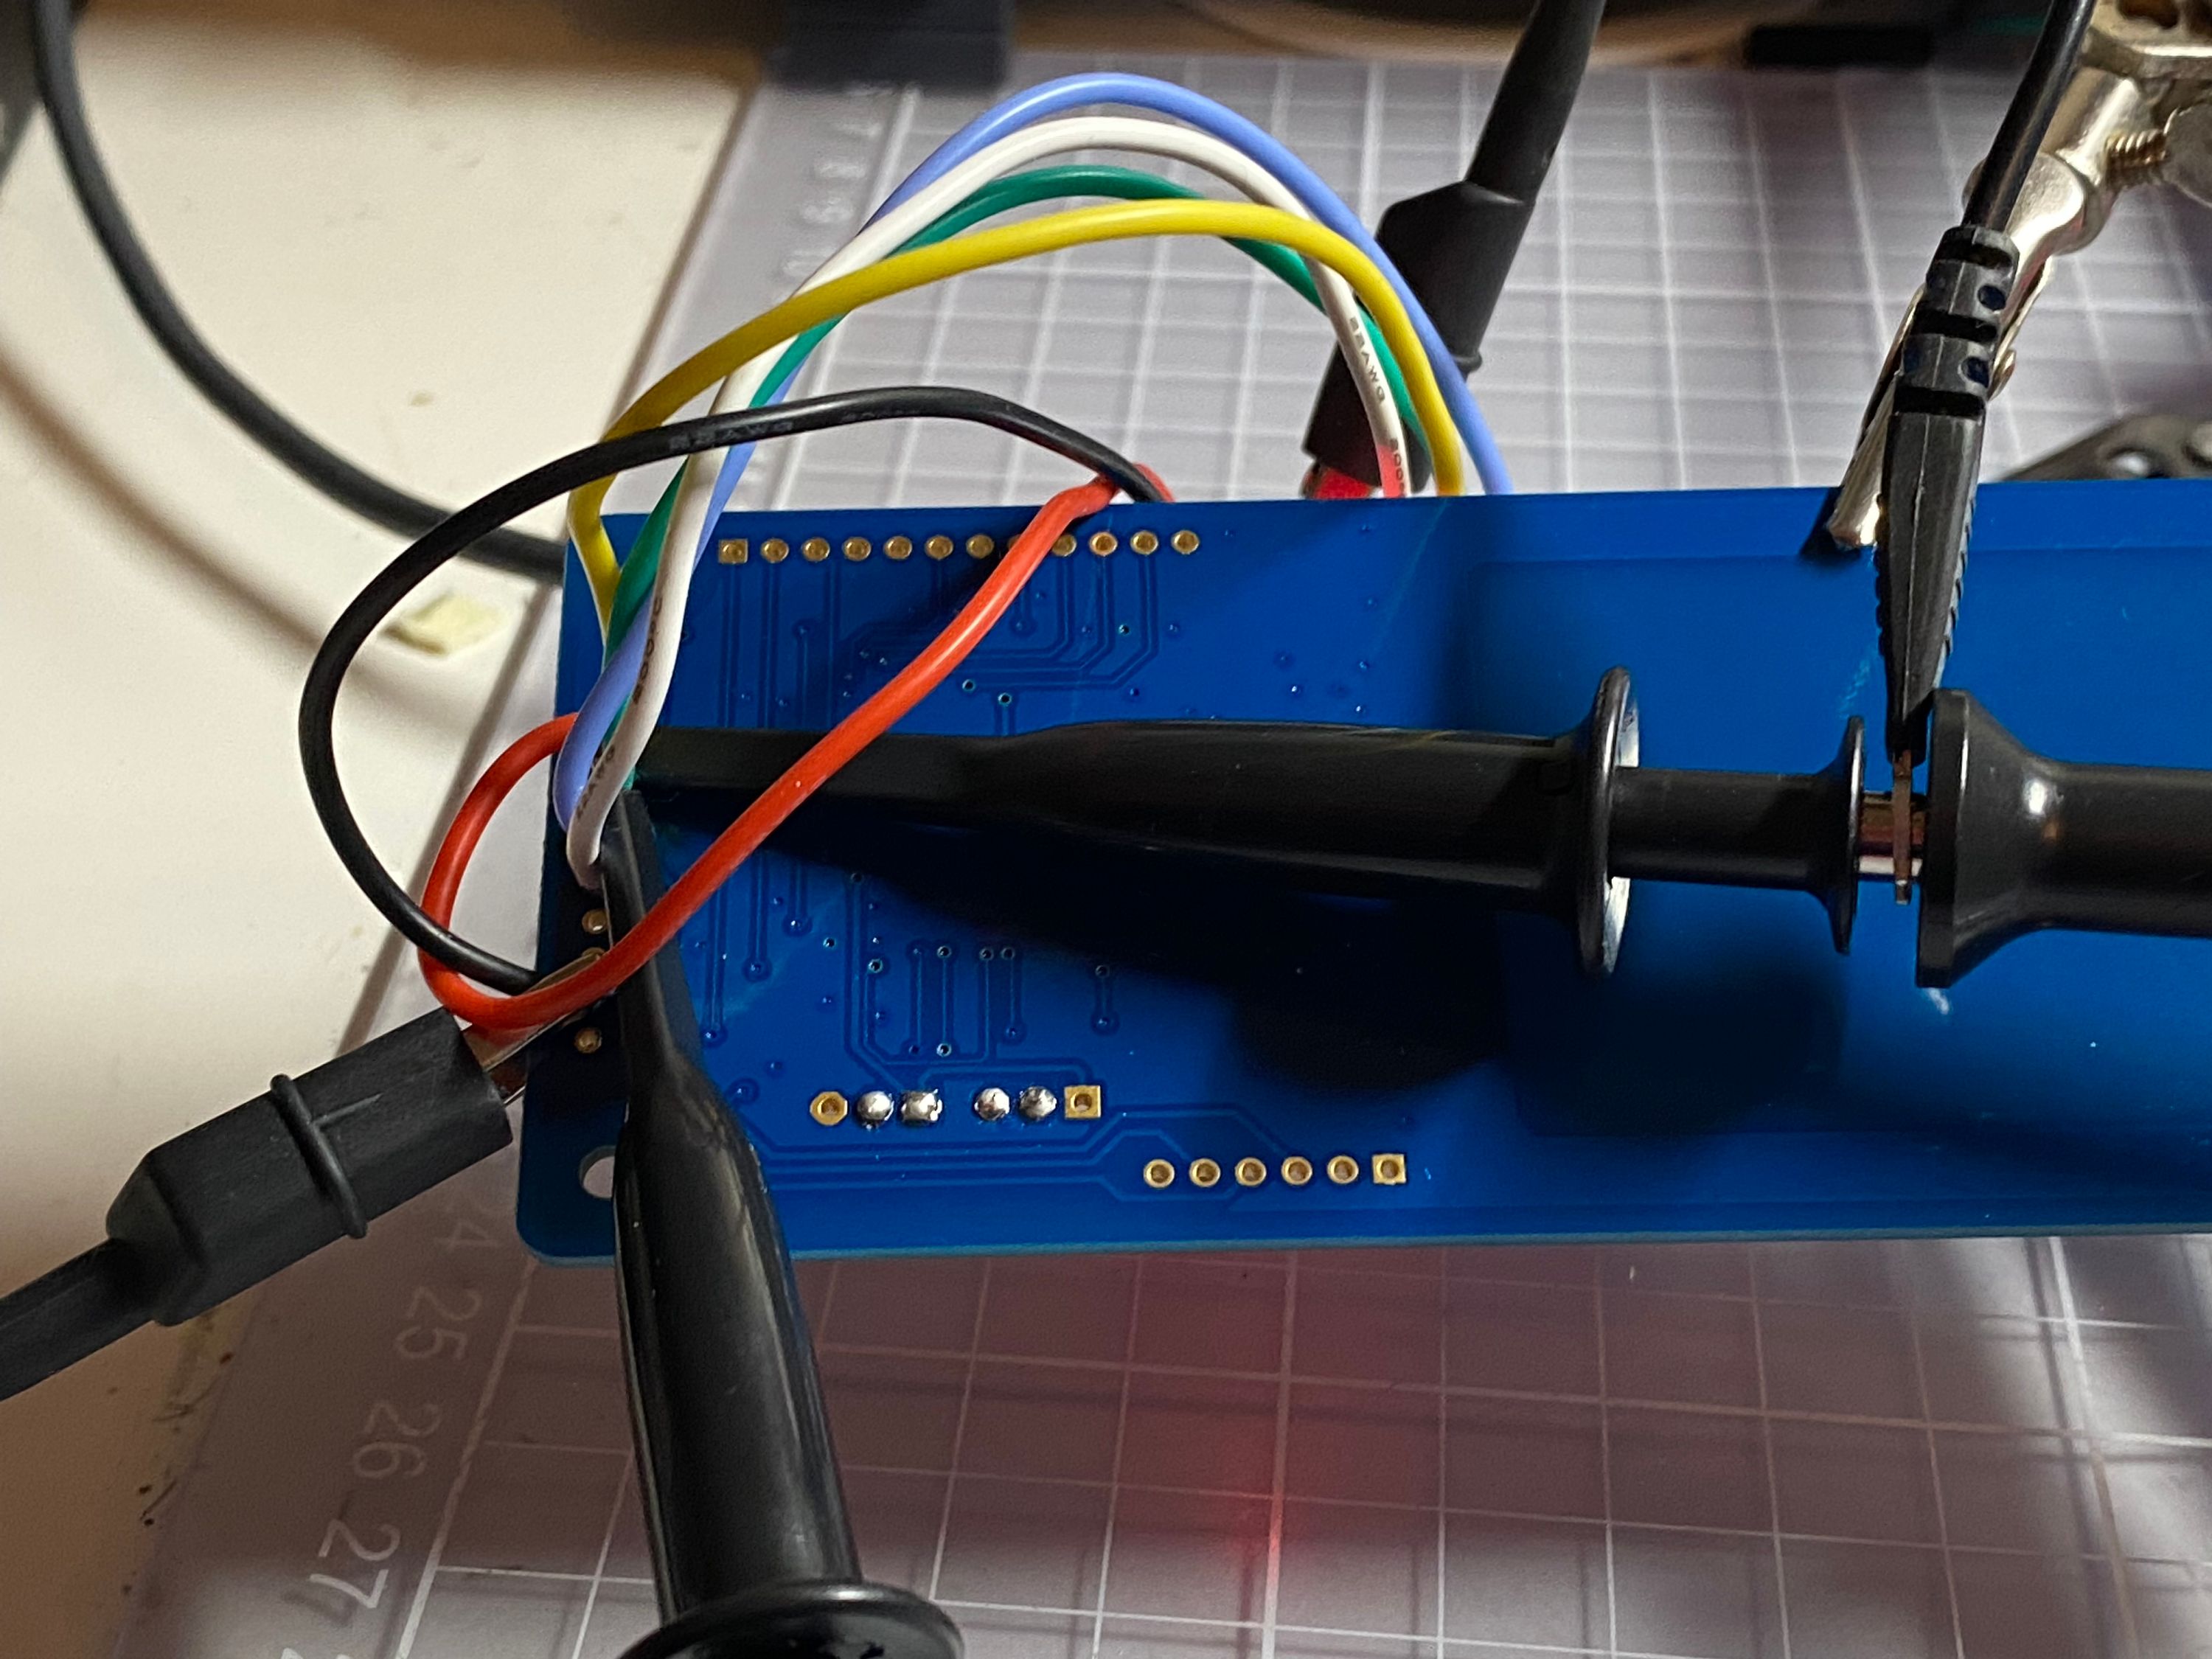
There is a clock signal and there is a data signal going in both directions so it’s clear that the chip is at least speaking SPI. I switch back and forth between the computer and the chip to try to figure out what’s going on. Eventually I see that the signal only bangs out “sometimes”. Thinking back to what we had before, the PN532 is wired over SPI and I have a suspicion that the earlier problem is related. But why did this work so well with the NRF52832? After searching for a long time I think that I eventually found the issue in the unlikely place of the CircuitPython implementation for Adafruit, as the developers of that runtime also dealt with this. You see that the NRF52832 had an “errata” (faulty hardware implementation) for the SPI which lead the developers at Adafruit to use a software SPI implementation for the older chip, documented here. So essentially what I’m discovering here is the hardware SPI on the NRF52840 is weird and fails to sync with the PN532 for some unknown reason. I’m guessing it’s some sort of assumption in the Adafruit library for the breakout, as many people have complained about similar problems with the ESP32 in the GitHub repo.
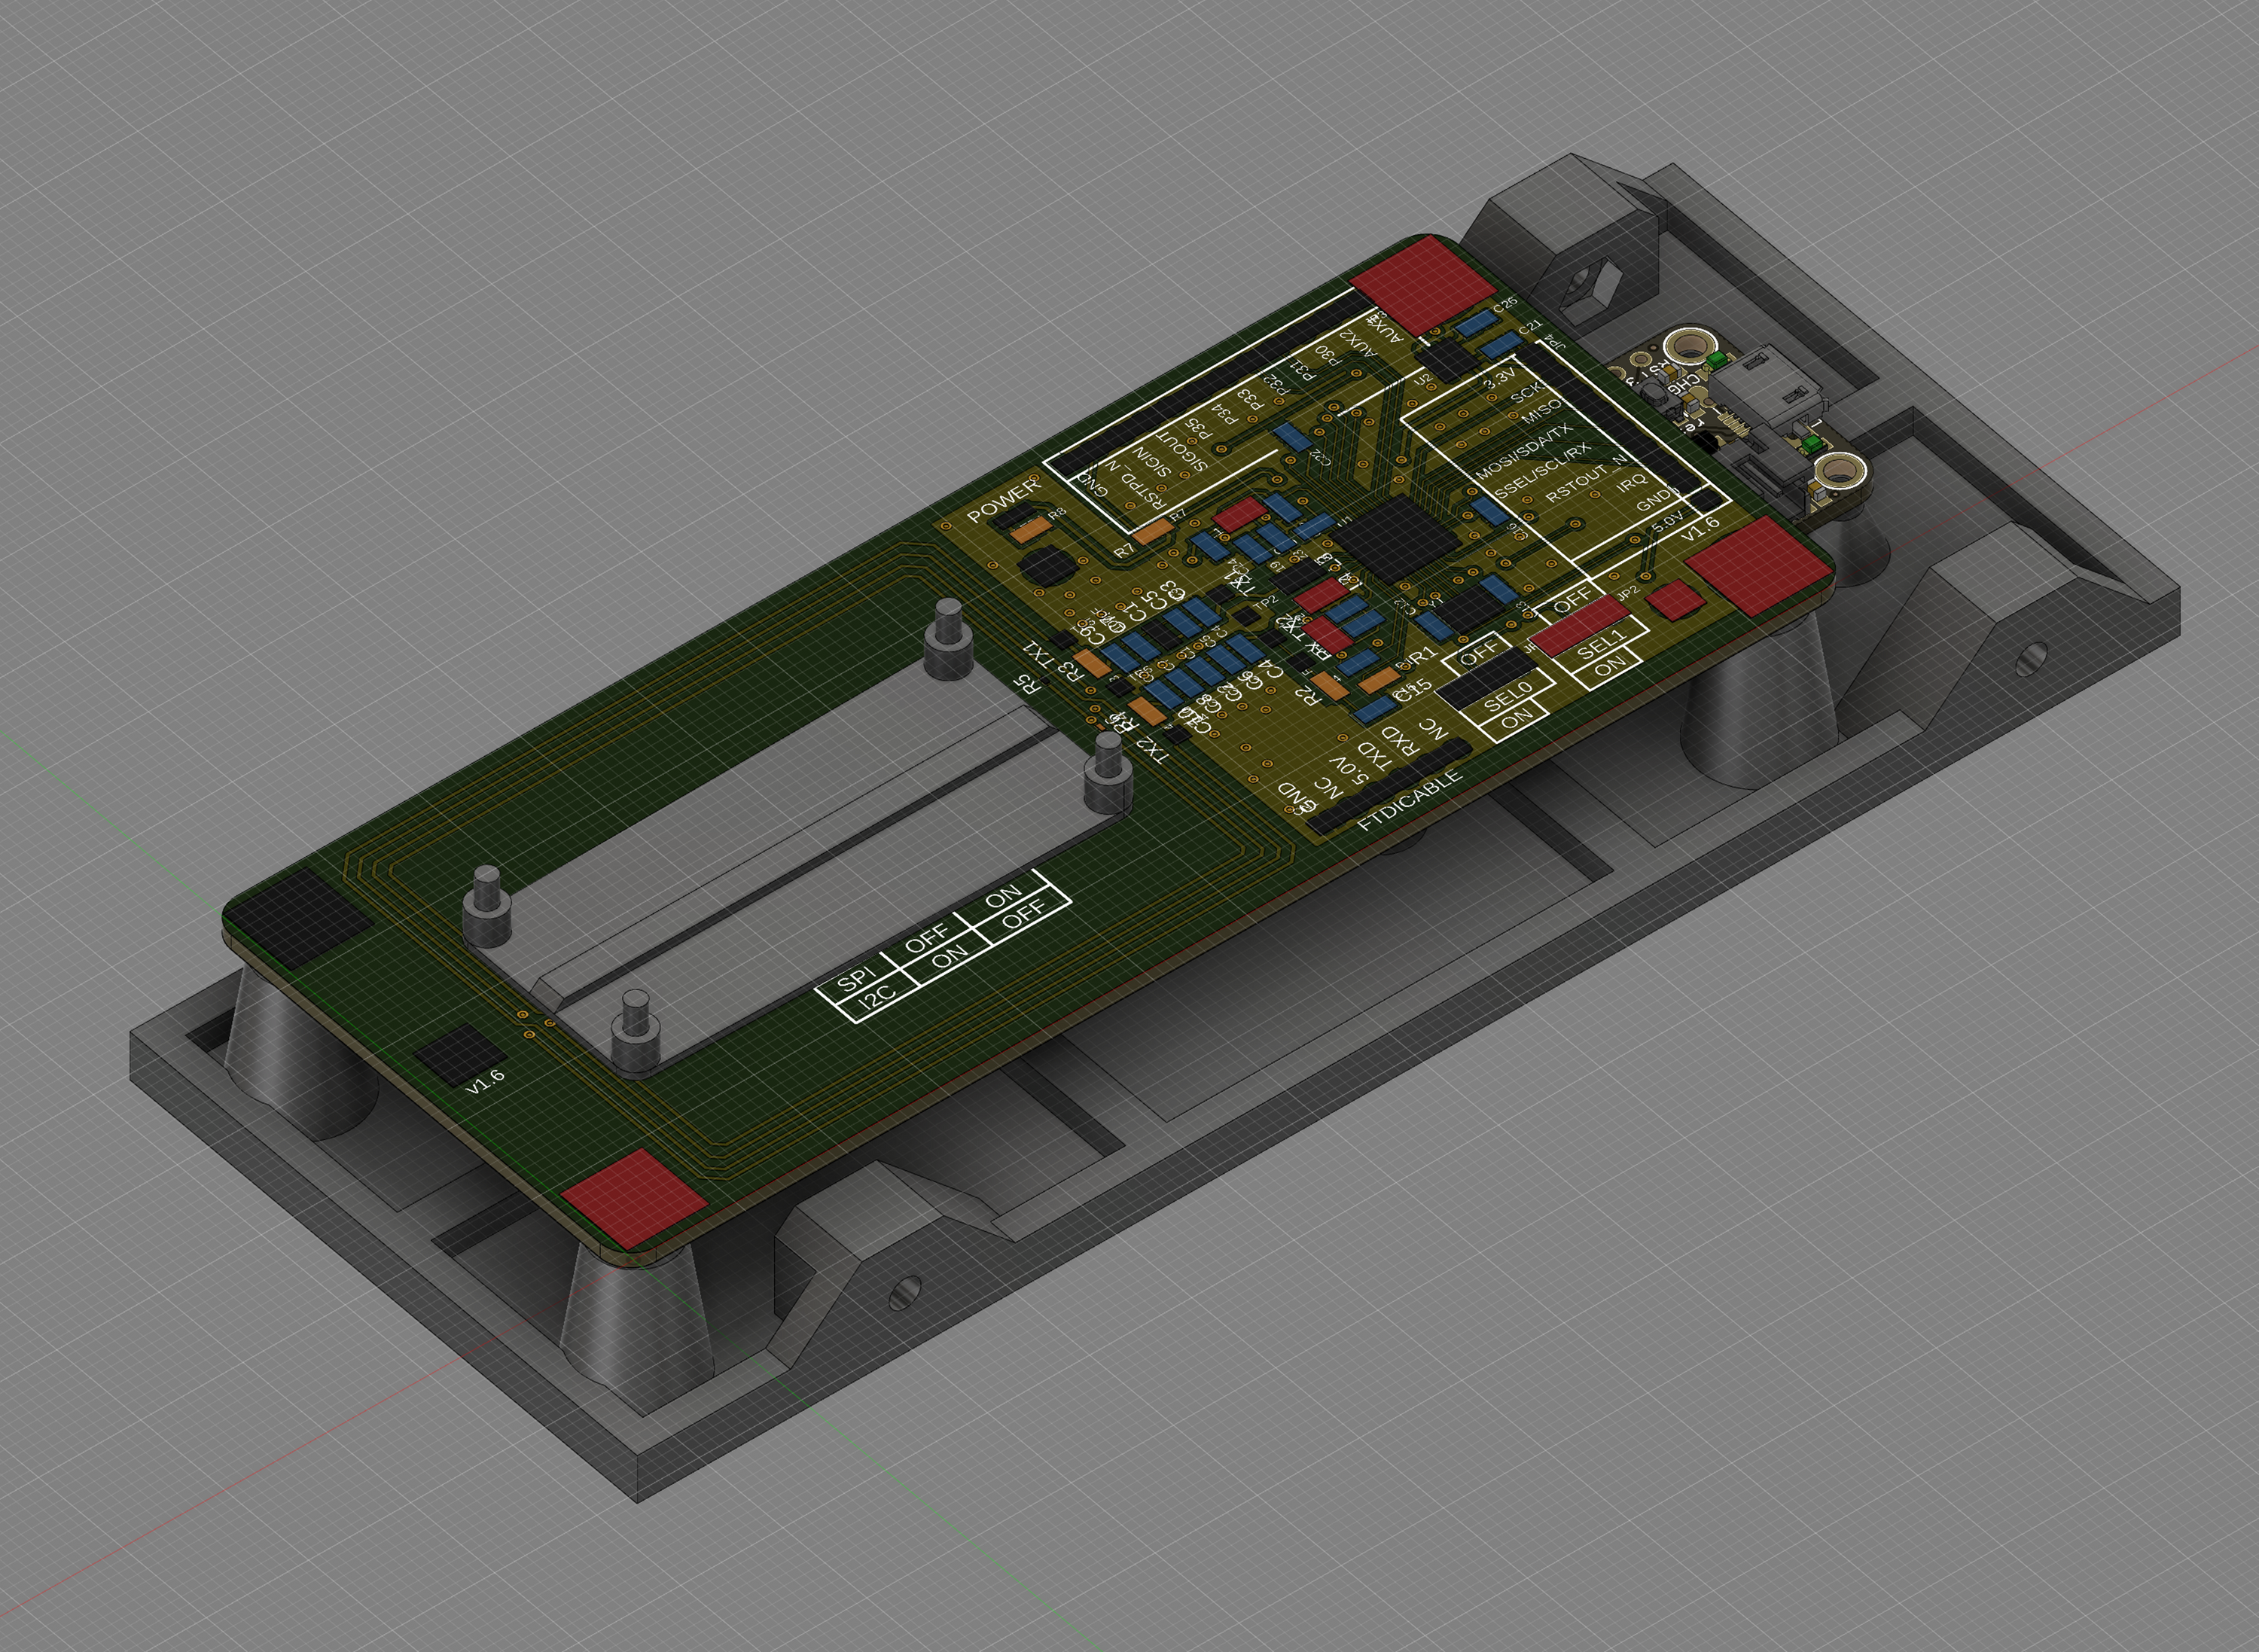
At this point I couldn’t be bothered to go deeper and decided to switch the hardware protocol to use I2C instead. The benefits of I2C vs SPI can be debated but for my use case these are interchangeable apart from having to solder the additional pullup resistors. I soldered this together and configured the code to use I2C and it worked on the first try. Board comes up with BLE and the device now works exactly as the NRF52832 did. At this point I’ve massacred the code a fair bit and it was never in good shape to begin with. One should always leave code in better shape than one found it so I end up spending some time on cleaning up the codebase and utilizing the ZephyrRTOS task scheduling instead for the loop based programming model I did earlier.
Because I had spent so much time digging into the code I also finally learned how BLE “works”. My previous mental model about BLE is that it’s a “wireless serial port” which is very far from the truth. A much better way to think about BLE is that you can write values into the void and tag them as representing specific characteristics, anyone that happens to listen to those messages can easily decode those. With that knowledge I could rewrite a lot of the earlier code I had to work around “BLUART” and just make my own characteristic. Code is of course on Github.
LETS REASSEMBLE IT
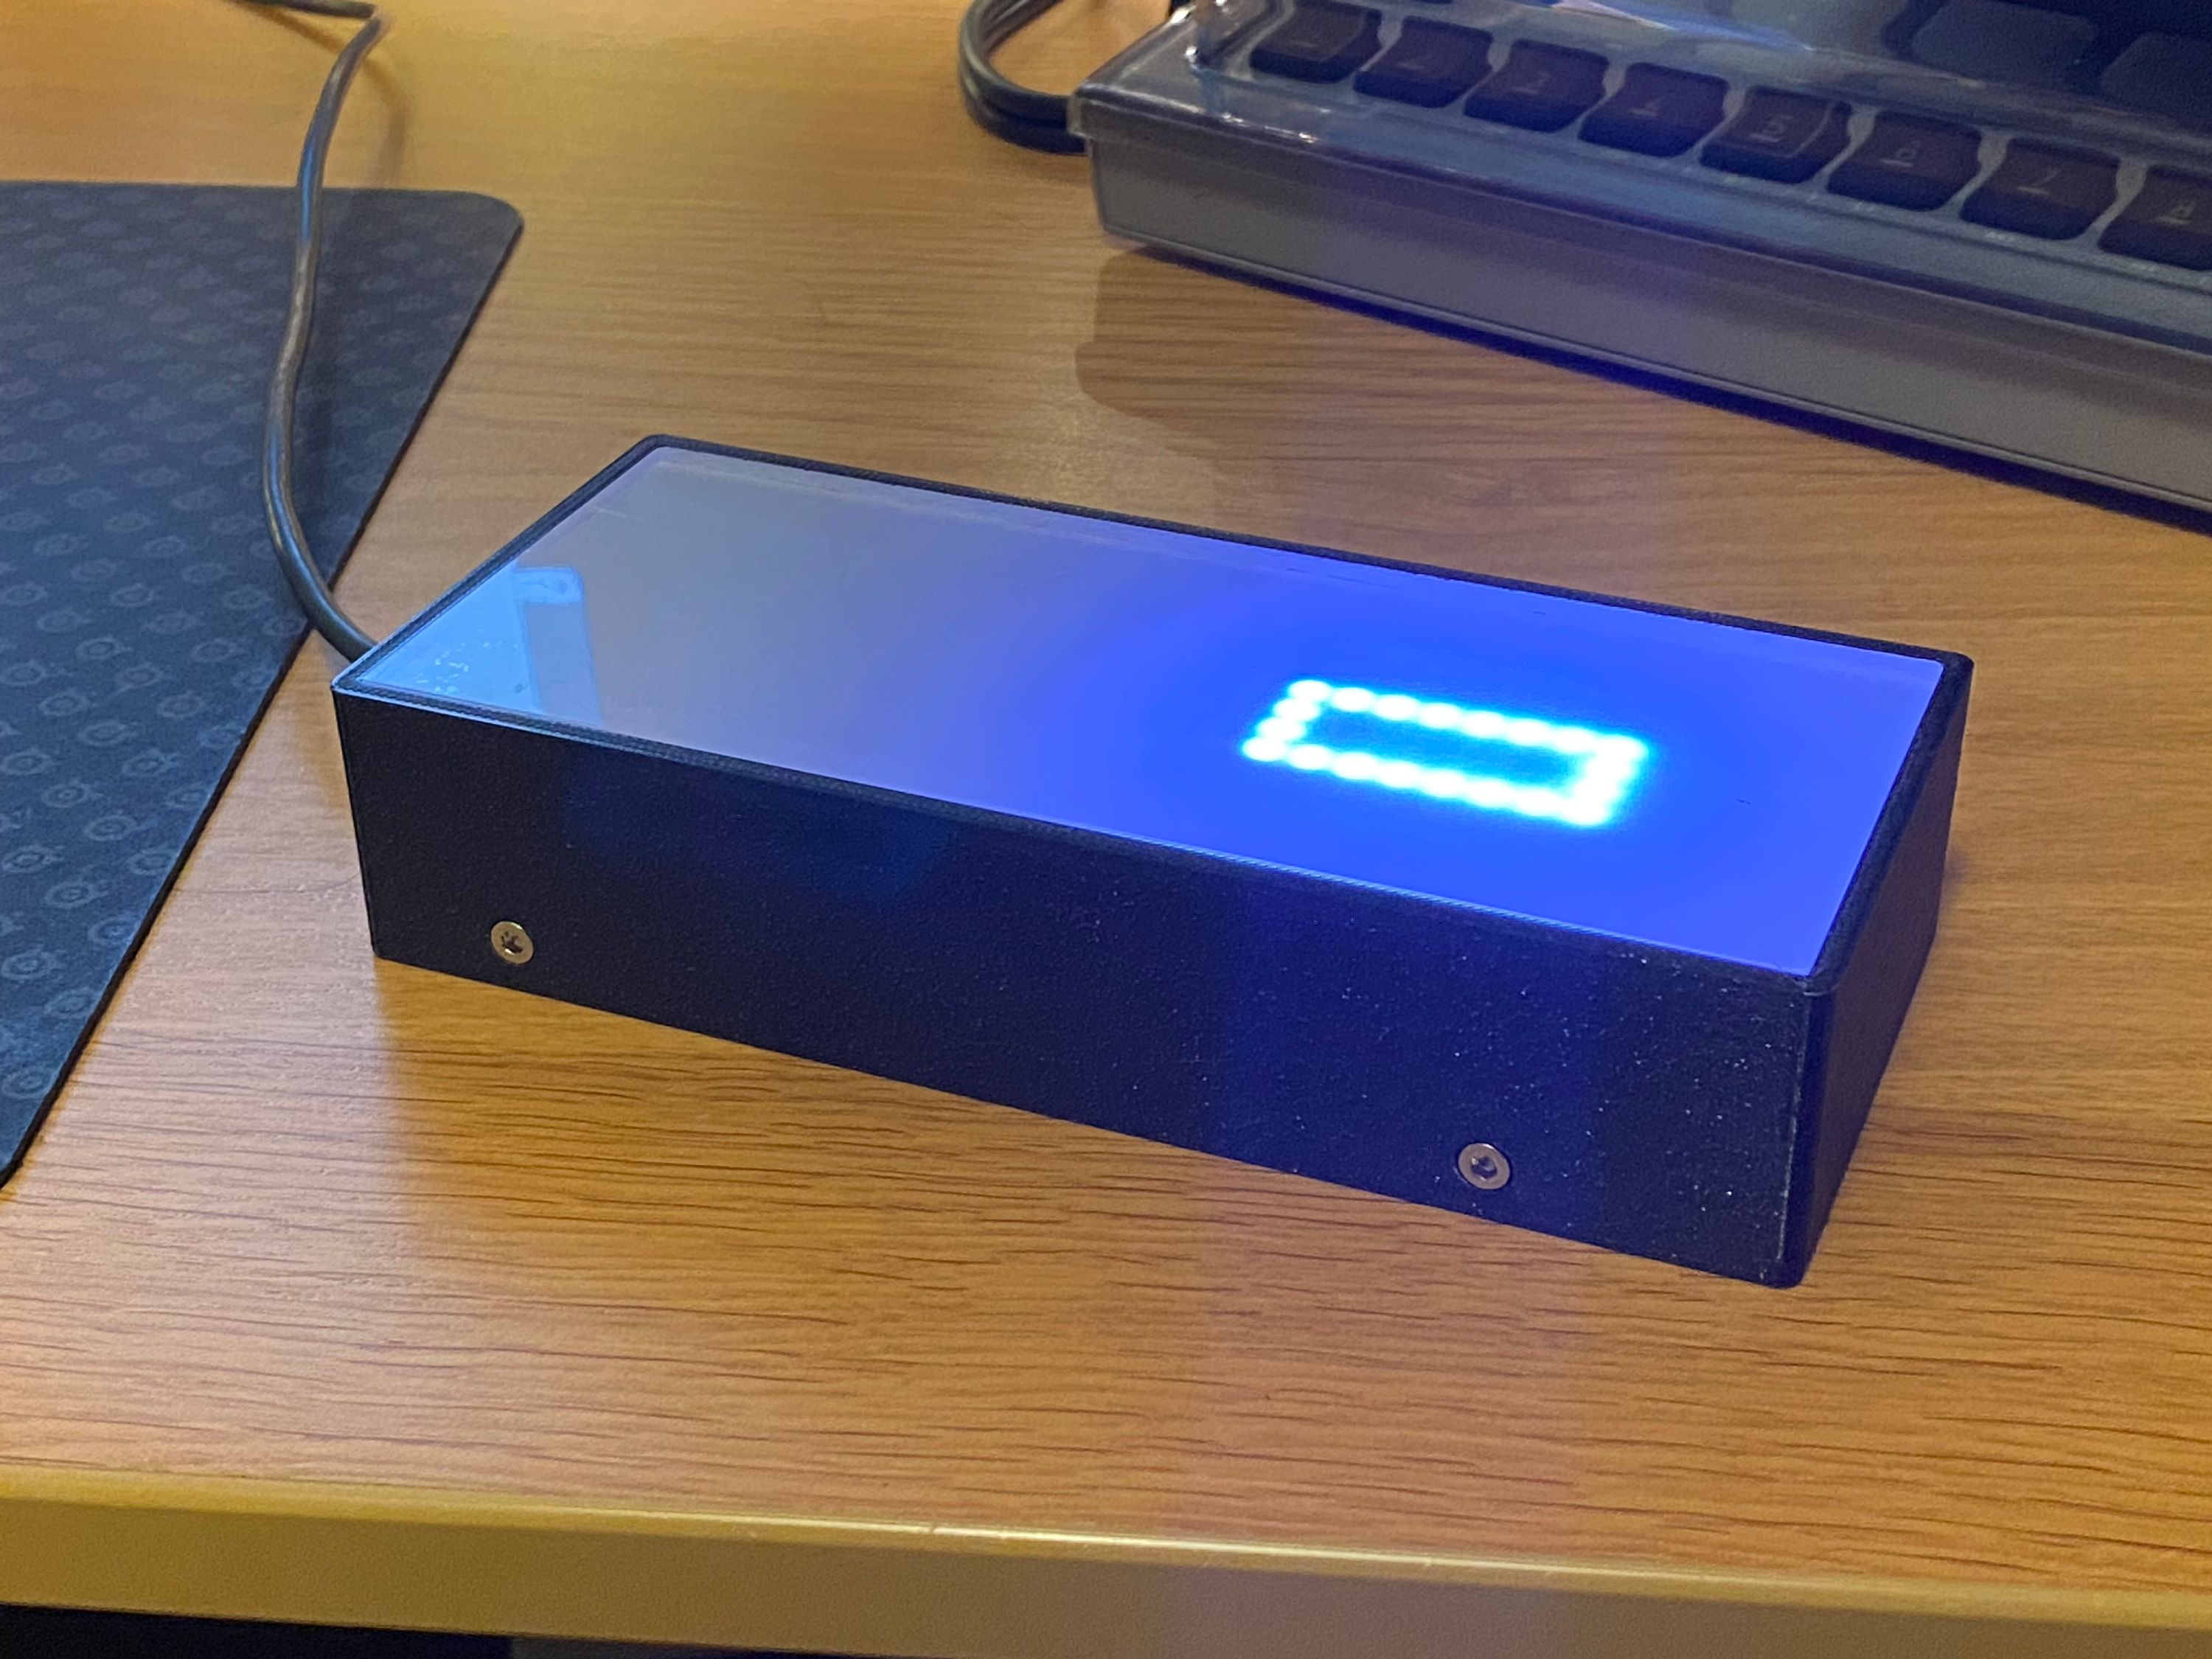
With my luck throughout this “simple switch”, of course the first thing that happens when I reassemble it into the old 3D printed case is that I crack the pins in the case. This design was my first and in hindsight it’s so badly designed that I’m almost ashamed of it. Sure, everyone begins somewhere but this case was too dumb of a design to be SLA printed. Only one thing to do, open up Fusion and design a new one. I re-used the formfactor from the previous design as I couldn’t be bothered to buy a new piece of frosted plexiglass.
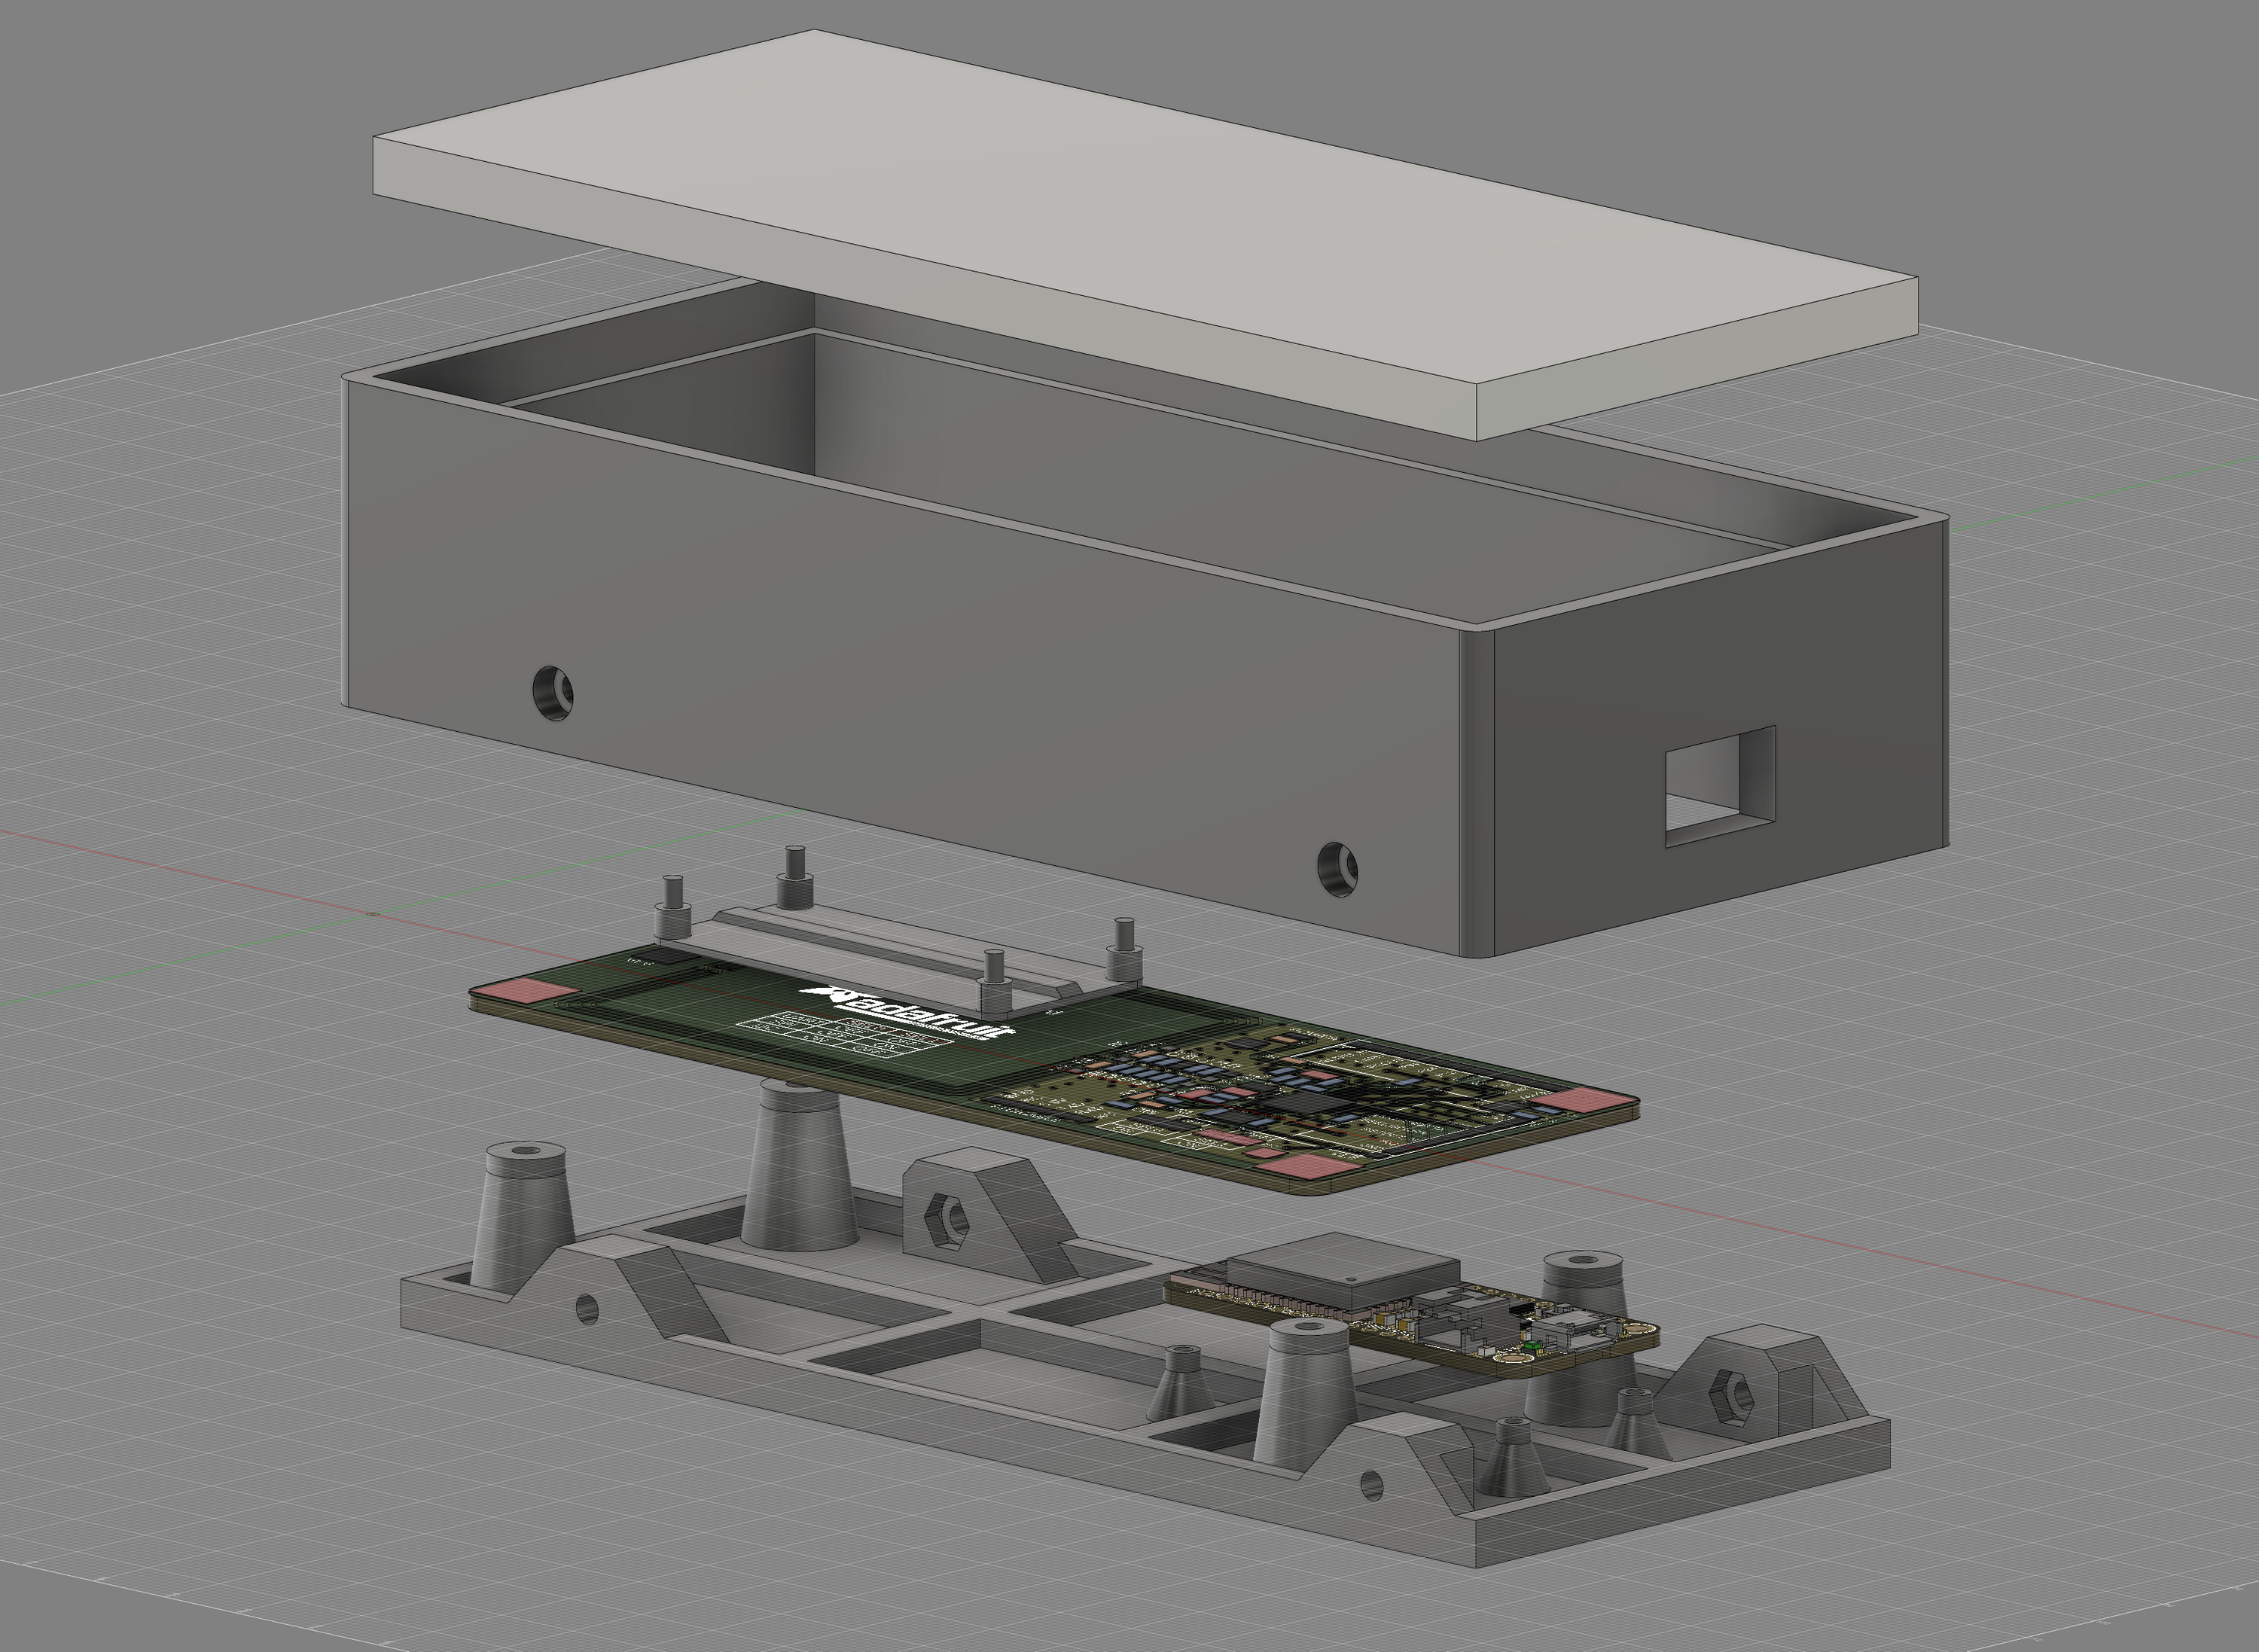
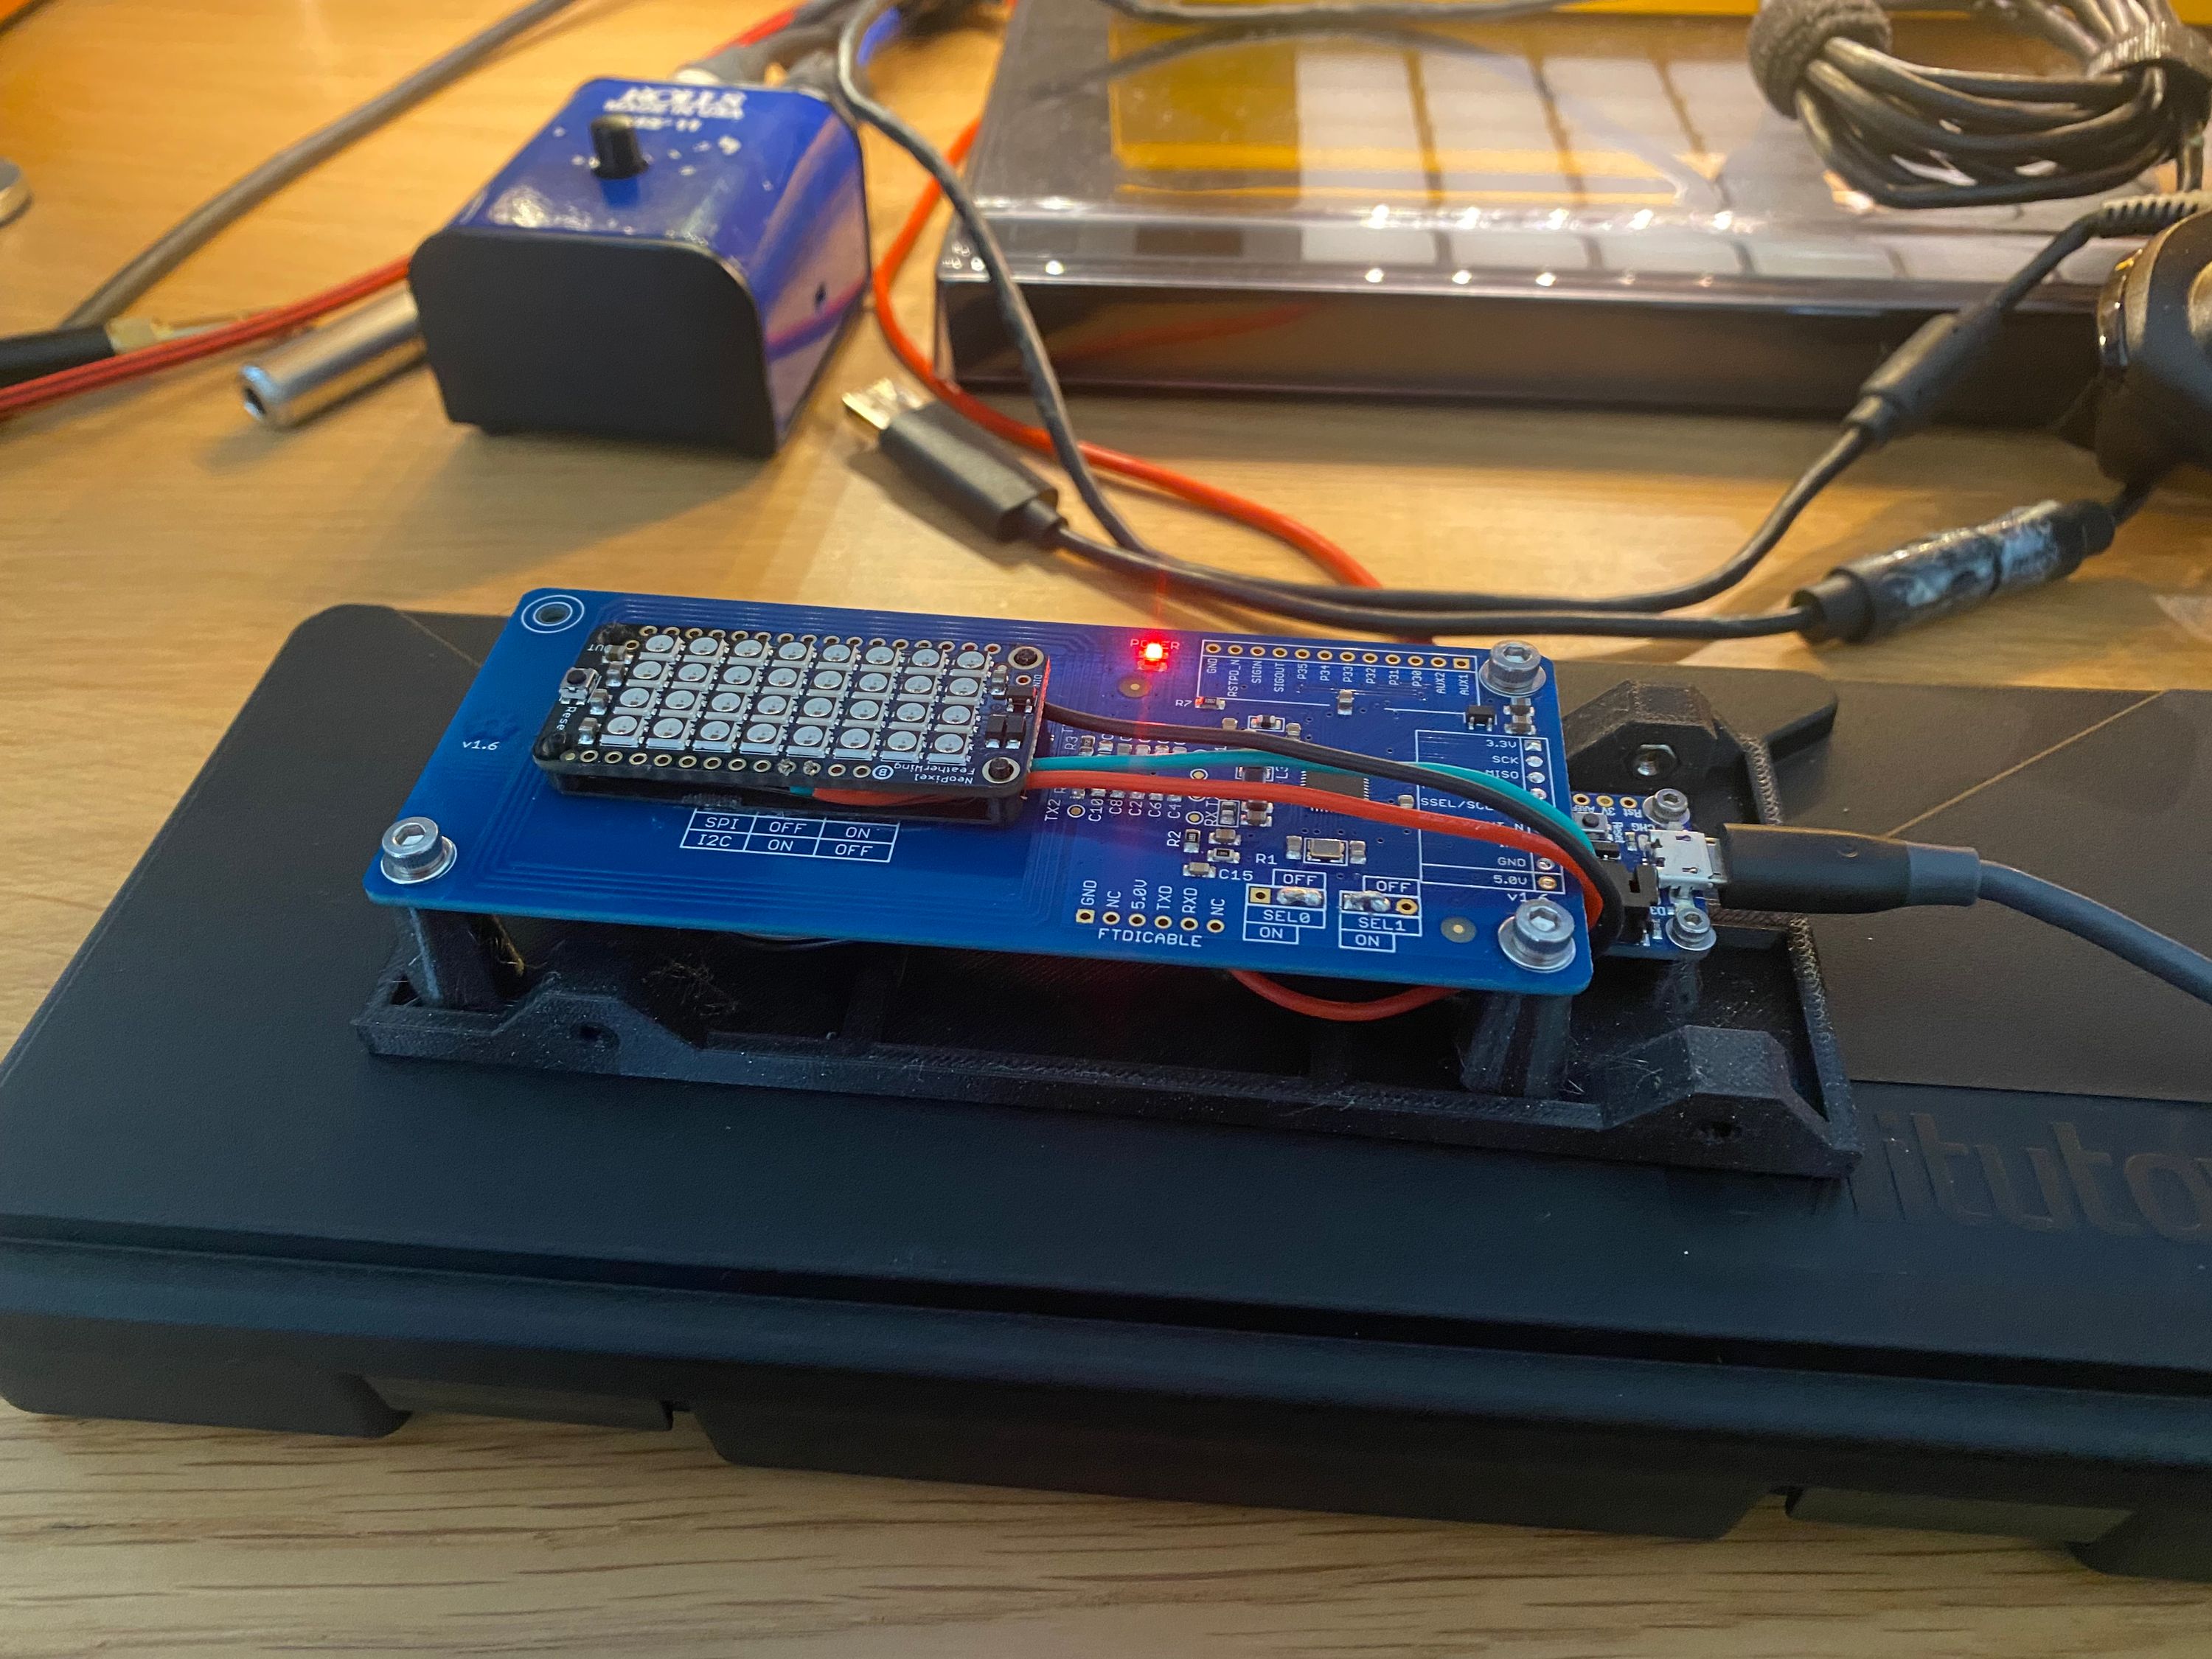
This was also an opportunity to fix up the cabling from the earlier version. The earlier version relied on adhesive tape to fixate the Feather to the center of the board for the 4x8 LED array. This time I 3D printed a separate module that would hold the LED featherwing. Mounted this together using some screws and it’s night and day in fit compared to the older version. I do not want to re-experience the pain of debugging this microcontroller but improving physical designs is really fun.
Closing words for this one is that it’s easy to assume that other people have figured your specific use case out before and designed for it. This might be true in the world of X86 where there’s millions of users but for smaller microcontrollers, the likelihood of someone solving one problem the way you do is very low. I’ve also realized why most developers end up transitioning out from using the Arduino framework, while it’s a great way to bootstrap learnings it just makes too many assumptions about logic flow on more modern processors. I hate to “blame the hardware” and I should probably just bite the bullet and buy an SWT debugger at some point. My digital caliper also broke when designing the case so I got a new one, icing on the cake to this I guess.